3
P
APER
H
ANDLING
3.9
3
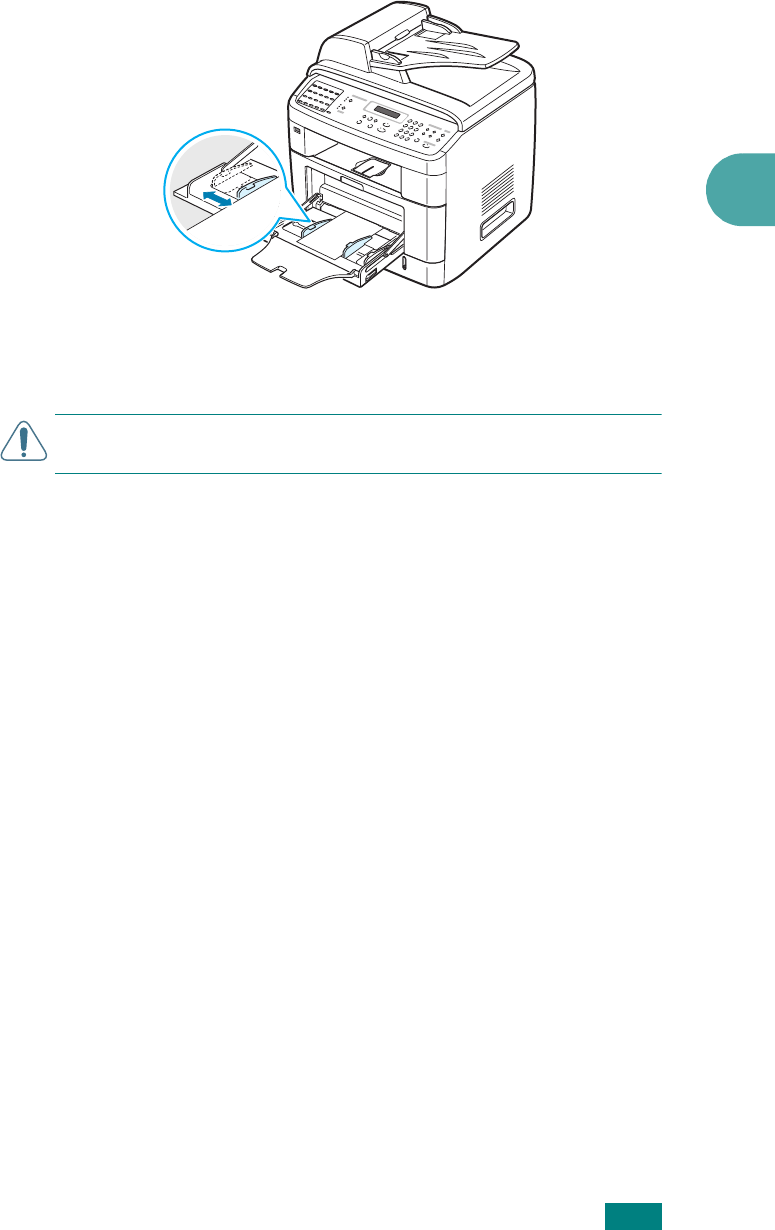
Squeeze the width guide and adjust it to the width of the
print material without bending it.
4
If you want the machine to stack the printed pages on the
rear output slot, open the rear door to use the rear output
slot.
C
AUTION
: Make sure to open the rear output slot when you print
on transparencies. If not, they may tear while exiting the machine.
5
After printing, fold away the paper support extension and
close the Multipurpose tray.
Tips on Using the Multipurpose Tray
• Load only one size of print material at a time in the
Multipurpose tray.
• To prevent paper jams, do not add paper when there is
still paper in the Multipurpose tray. This also applies to
other types of print materials.
• Print materials should be loaded face up with the top edge
going into the Multipurpose tray first and be placed in the
center of the tray.
• Always load only the print materials specified in the
Specifications on page D.6 to avoid paper jams and print
quality problems.
• Flatten any curl on postcards, envelopes, and labels before
loading them into the Multipurpose tray.
• When you print on 76 mm x 127 mm (3 x 5 in.) sized
media on the Multipurpose tray, open the rear door to use
the rear output slot.
• Make sure to open the rear door when you print on
transparencies. If not, they may tear while exiting the
machine.
• If you experience jams with card stock feeding, turn the
paper around the tray again.


