REPLACING THE PRINT HEAD CL408e and CL412e
The print head on the CL4XXe printers is a user-replaceable item. If it becomes
damaged for any reason, it can be easily removed and replaced. Contact your local
SATO representative for information on obtaining a new print head.
Supplies needed: No. 2 Phillips screwdriver (a magnetic tip is helpful)
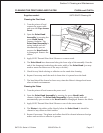
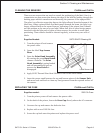
1. Turn the printer off and remove
the power cable and open the
Top Access Door.
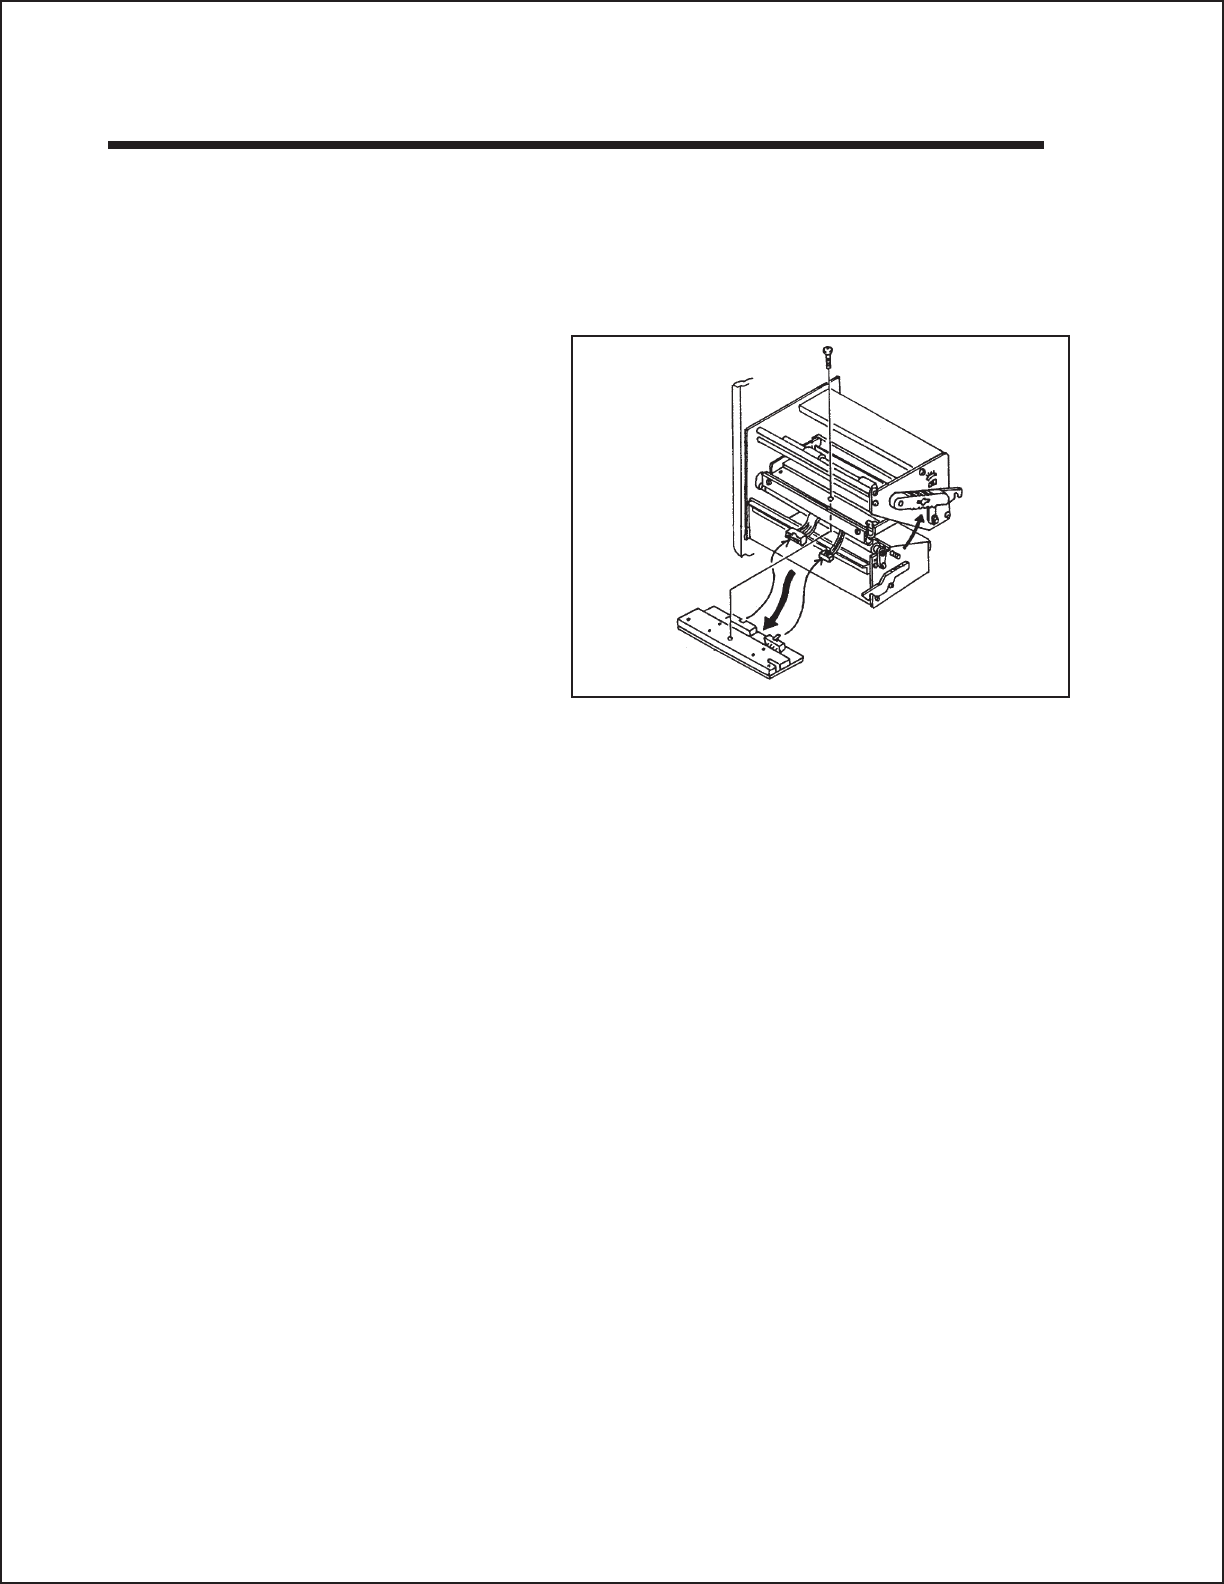
2. Open the Print Head
Assembly by rotating the green
Head Latch counter-clockwise.
The Print Head Assembly is
spring-loaded and will
automatically open as soon as
the Head Latch is disengaged.
3. Remove the ribbon from the
Ribbon Rewind Spindle if
necessary.
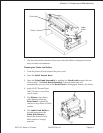
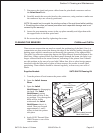
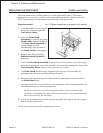
4. View the Print Head Assembly from the front of the printer. Locate the single
mounting screw on the top of the assembly. It is accessible through the hole in the
Top Assembly Plate. Unscrew the screw and set it aside.
5. The Print Head should now be loosened from the top of the assembly by
grasping either side and carefully pulling it forward.
6. Disconnect the signal and power cables from the print head connectors and set
the Print Head aside.
7. Carefully attach the new print head to the connectors, using caution to make sure
the connector keys are correctly positioned.
NOTE: Be careful not to scratch the printing surface of the print head while
installing it. Scratching the surface will cause permanent and irreparable damage
and is not covered by the warranty!
8. Locate the mounting screw in the top plate assembly and align it with the tapped
hole in the new print head.
10. Re-secure the print head by tightening the screw.
Page 4-8 9001074 Rev. B SATO CL Series “e” Printers
Section 4: Cleaning and Maintenance


