LABEL DISPENSE OPTION CL608e and CL612e
The CL608e and CL612e Label Dispense Option is an external mechanism that
provides the ability to print labels in the “demand” mode. It is attached to rear of the
printer with two screws and is connected to the internal drive mechanism of the
printer. When the label dispenser is installed and configured for operation, the printer
dispenses one label at a time, peeling the backing from the label, which allows for
immediate application to the product by the operator.
Operator Setup
The following steps should be taken to set up the Label Dispense Option.
1. Install the option using the instructions provided with the unit. The installation
time is approximately 30 minutes.
2. Power the printer ON.
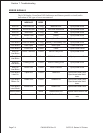
3. The printer must be configured to used the label dispenser option. Switches
DSW3-1 and DSW3-2 on the front panel are used to configure the printer. To
enable the dispenser, both DSW3-1 and DSW3-2 should be in the ON position.
4. Remove enough labels from the backing paper to provide 24 to 30 inches of
backing free from labels.
5. Open the Print Head assembly and feed the backing paper through the print
area in the normal manner.
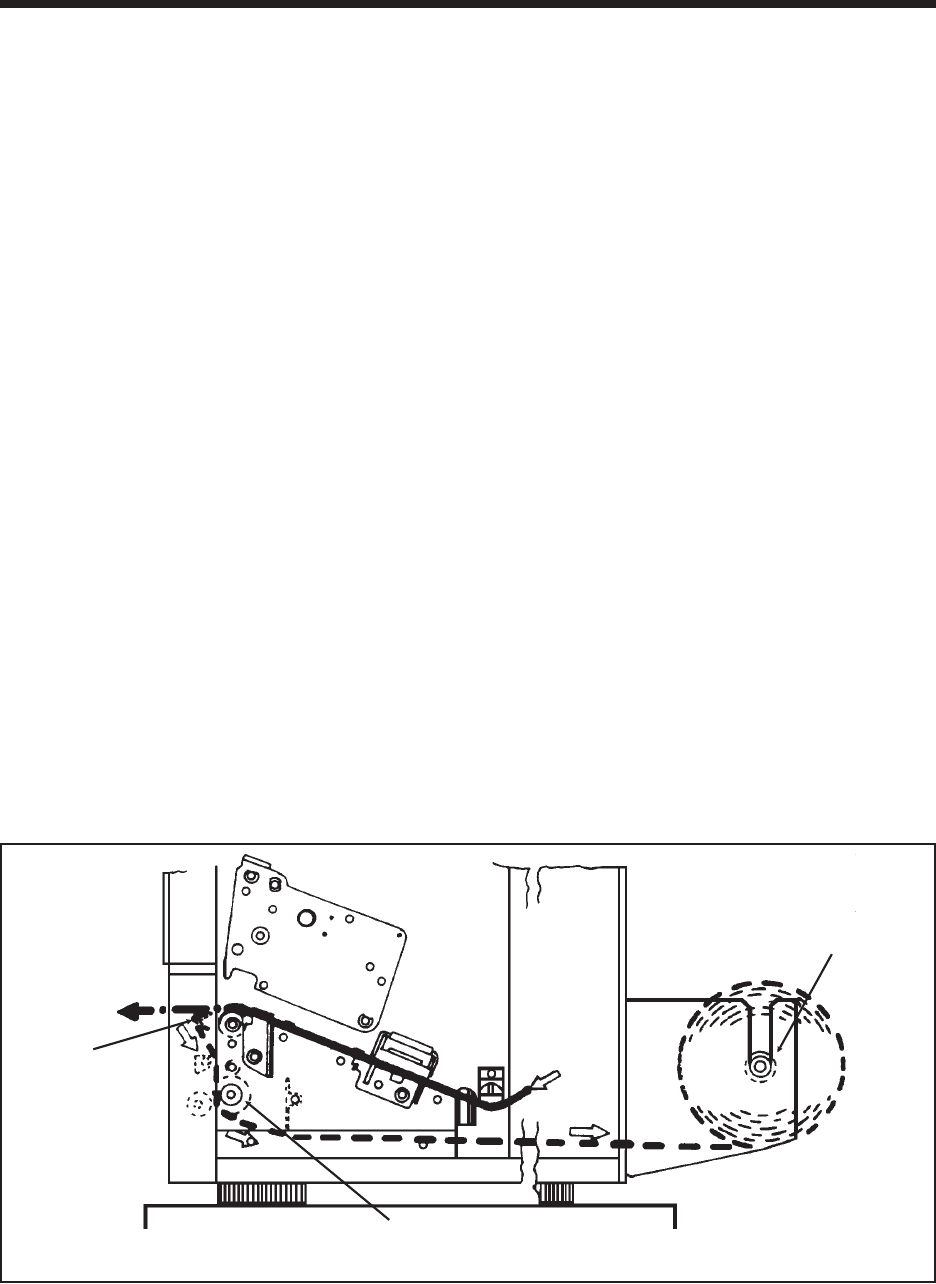
6. At the label exit area, feed the backing paper down and behind the Knurled
Roller, then back down and around the Backing Roller.
7. Feed the backing paper out the slot in the bottom rear of the printer and attach to
the Backing Rewind Spindle.
SATO CL Series “e” Printers PN 9001074 Rev. B Page A-3
Appendix A: Optional Features
Label Dispenser Routing, CL608e/CL612e
Knurled
Roller
Backing
Roller
Backing
Rewind
Spindle


