


Unit 6: Maintenance
SATO XL400-410e Operator Manual PN 9001135A Page 6-4
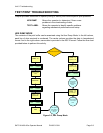
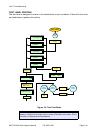
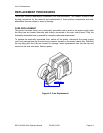
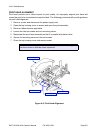
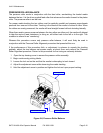
PRINT HEAD REPLACEMENT
If the print head becomes damaged or wears out, it can be easily replaecd using a screwdriver.
Critical adjustments are not required because the print head is a subassembly mounted to a
permanent, factory adjusted mechanism.
1 Switch off the printer and disconnect the power supply cord.
2 Open the top housing cover
3 Unlatch the print head and remove the ribbon stock.
4 Relatch the print head and remove one mounting screw securing the defective print head.
5 Unlatch the print head and disconnect the two wiring harnesses from defective print head.
6 Connect the two wiring harnesses to the replacement print head.
7 Secure replacement print head to the print assembly using one mounting screw.
8 Clear the print head counter. Refer to the relative procedure for instructions if required.
9 Reconnect power supply cord and reload ribbon stock.
10 Test cycle to ensure proper function and close the top housing cover.
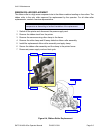
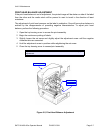
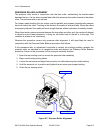
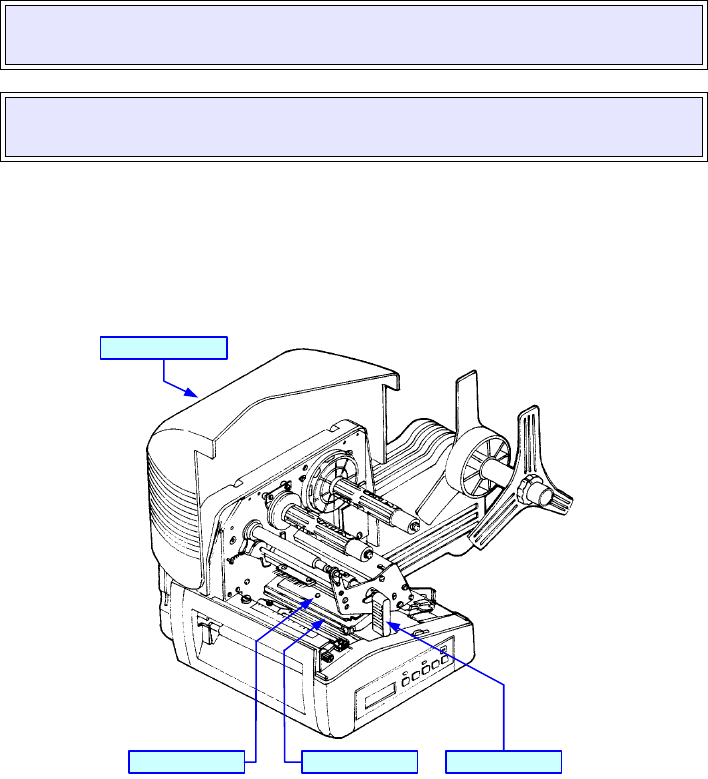
Figure 6-3, Print Head Replacement
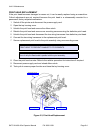
CAUTION: EXCERSIZE CARE WHEN INSTALLING THE REPLACEMENT
PRINT HEAD TO PREVENT DAMAGE TO ITS ELEMENTS.
NOTE: A properly installed tear bar will be oriented so that it folds down in
front of the print head andd is parallel with the print assembly.
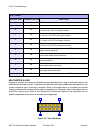
Head Latch Lever
Top Housing Cover
Mounting Screw Print Head