


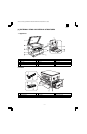

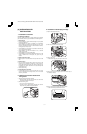
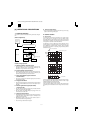
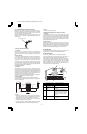
6) Remove the pawls (3 positions) of the protective cover at therear
side.
7) Remove the protective cover.
• Pull the cover in the arrow direction to remove.
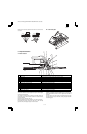
8) Insert the developer cartridge.
• Gently insert the developer cartridge along the guide until it
locks.
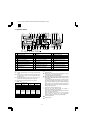
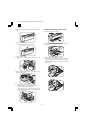
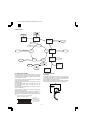
9) Fix the developer cartridge with the fixing screw which is packed
together with the machine.
10) Close the front cover A, then close the side cover B.
• When closing the front cover, gently press the both sides.
• When closing the side cover, hold the knob.
• When closing the covers, be sure to close the front cover first,
then close the side cover. If closed in a wrong sequence, the
covers may be broken.
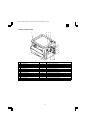
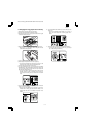
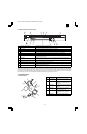
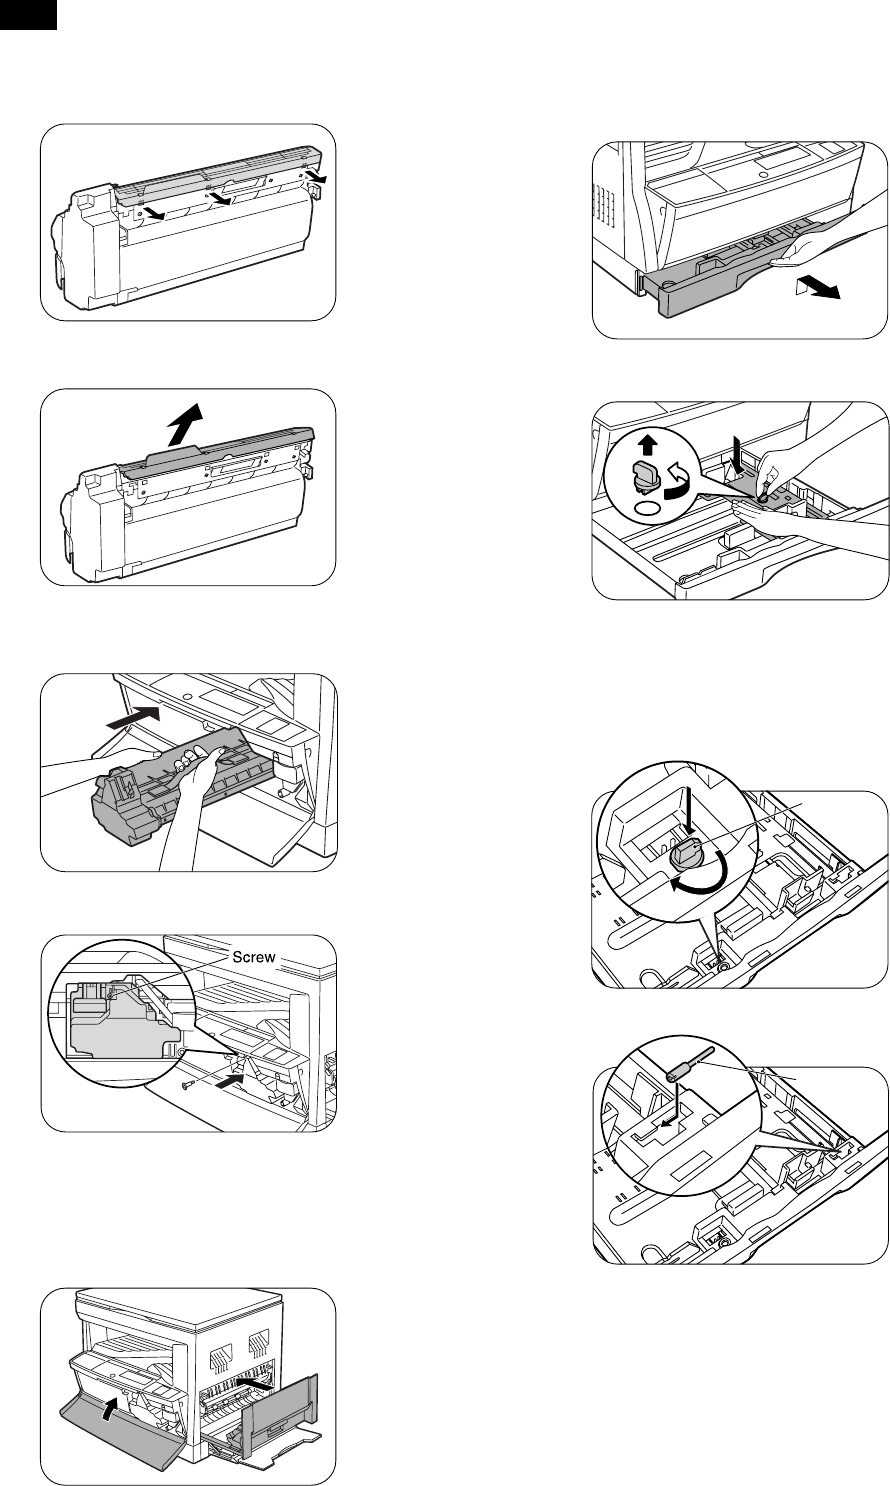
4. Removal and storage of fixing screw
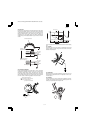
1) Lift the knob and gently pull out the tray.
2) Hold the paper pressure plate and turn the fixing screw in the
arrow direction.
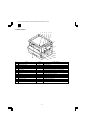
3) Store the fixing pin and the fixing screw in the tray.
• Store the fixing screw which was removed in the above proce-
dure 2 and the fixing screw which was removed in procedure 2
of 2.
• Removal of protective material and fixing screw in the storage
place in the tray.
A
B
Pressure
plate
lock
Screw
AR-161
AR-160/161 FM/E [5] UNPACKING AND INSTALLATION 10/20/1998
5 – 2