


Appendix D: BIOS Recovery
D-1
Appendix D - BIOS Recovery
The recovery procedure described in this section is to be used only when advised
by your Supermicro Technical Support representative, or in cases of emergencies
where the system no longer can boot due to a corrupted BIOS. DO NOT re-program
(re-ash) the BIOS if your system is running properly.
D-1 Recovery Process from a USB Device/Drive
(Recommended Method)
If the BIOS le is corrupted and the system is not able to boot up, this feature will
allow you to recover the BIOS image using a USB-attached device. A USB Flash
Drive or a USB CD/DVD ROM/RW drive may be used for this purpose. Please note
that a USB Hard Disk drive is NOT supported at this time. Also note that COM1
is the only COM port recognized by the recovery process. Below is a two-part
procedure to recover the BIOS:
Part 1: Boot Sector Recovery Process
1. Using a different system, download and copy the correct BIOS binary image
into a USB ash device or a writable CD/DVD disc's Root "\" Directory. Rename the
downloaded le to "super.rom", so the recovery process can recognize and read
the BIOS binary le.
2. Insert the USB device that contains the new BIOS binary image (“super.rom”)
and power the system down.
3. While powering on the system, press and hold <Ctrl> and <Home> simultane-
ously on your keyboard until the USB device's LED indicator comes on. This will
take a few seconds or up to one minute.
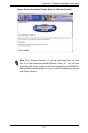
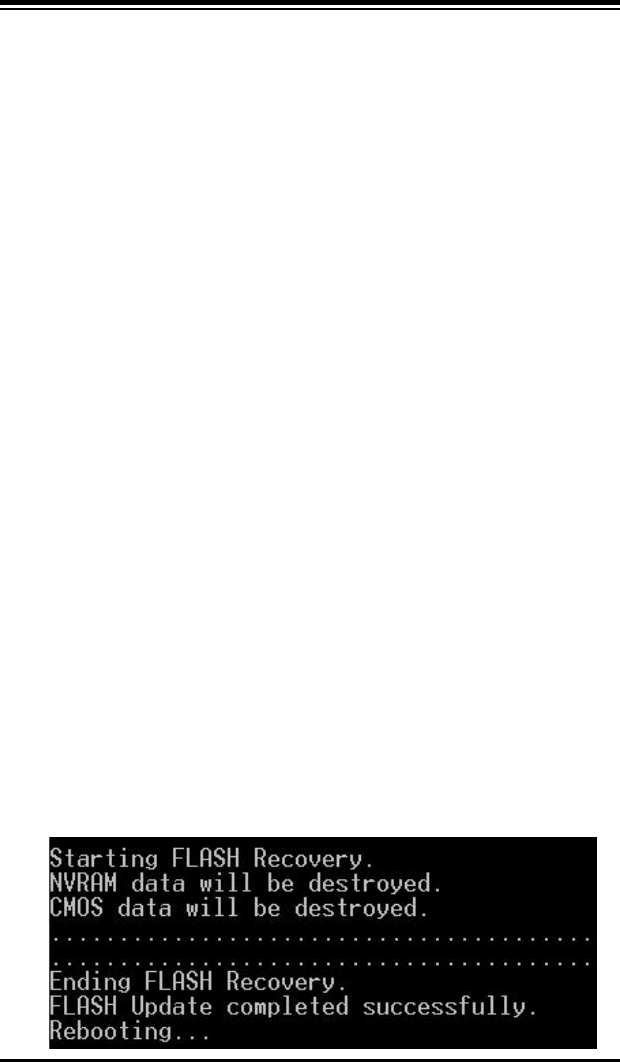
4. Once the USB device's LED is on, release the <Ctrl> and <Home> keys. The
system may generate beep codes to indicate that the BIOS ROM rmware is being
reprogrammed. The screen will also display a message as shown below. DO NOT
INTERRUPT THIS PROCESS!