®
12
Precautions For installation
Precautions For Installation
The high quality display effect can be guaranteed only when the projector is correctly installed. Generally, the
light source facing the screen should be reduced or eliminated as much as possible. The contrast of images
will be obviously reduced if the light such as the beam from glass window or searchlight directly shines on
the screen. Images may appear faded and less vibrant.
Projector Installation and Setup
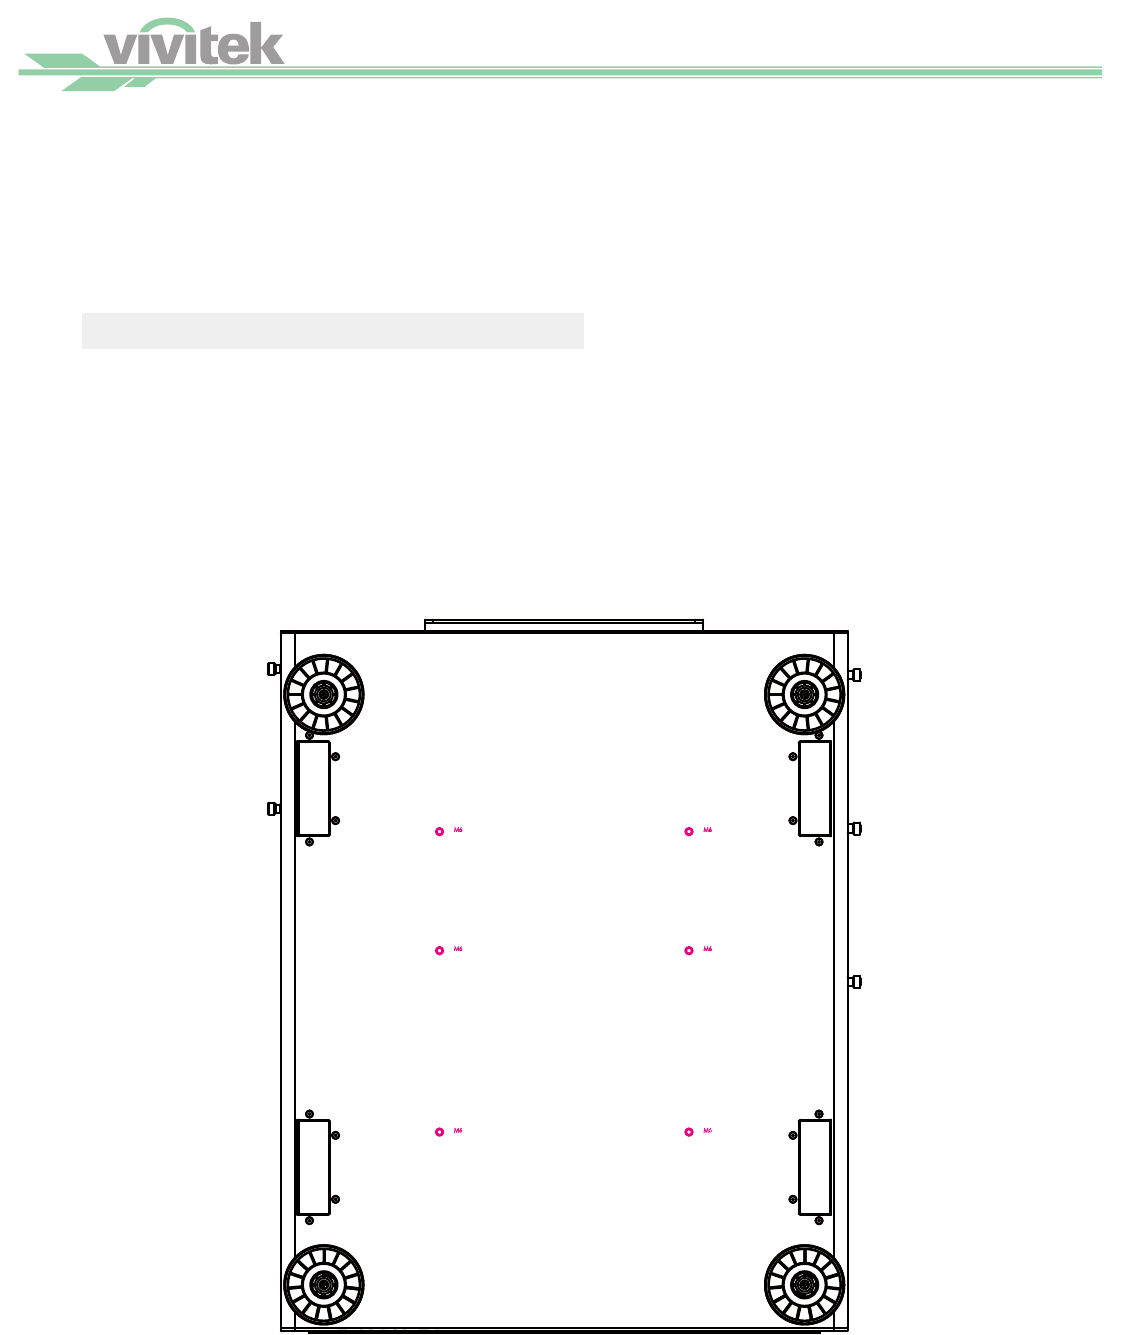
There are 6 fixture screw holes at the bottom of projector for ceiling mounting. The available installation op-
tions are as below.
Front: Install the projector on the table and project the image forward.
Rear: Install the projector on the table and project the image from rear.
Ceiling + Front: Mounting the projector on the ceiling and project the image forward.
Ceiling + Rear: Mounting the projector on the ceiling and project the image from rear.
6 xture screw for ceiling mount
The screw is M6*17mm
Note: The maximum length of screws is 18mm.


