HARDWARE BASICS HARDWARE BASICS
10
9
List of Parts
Set of Rubber Parts (with
runners)
Set of Rubber
parts: 2
Foot A: 6
Foot B: 6
Leg Housing: 2
Antenna socket: 2
Antenna Protector: 4
(2 are spares)
Plastic Antenna: 4
Plastic Leg: 8
Tire Foot: 8
Other Parts
Special plastic leg wire (thick): 1
Special plastic antenna wire (thin): 1
Robot Works CD: 1
Interface: 1
Interface Cable
(RS-232C serial connection): 1
Sheet of decals: 1
Instruction Manual (this manual): 1
Test Field: 1
The Basics
Assembling the Mechanism
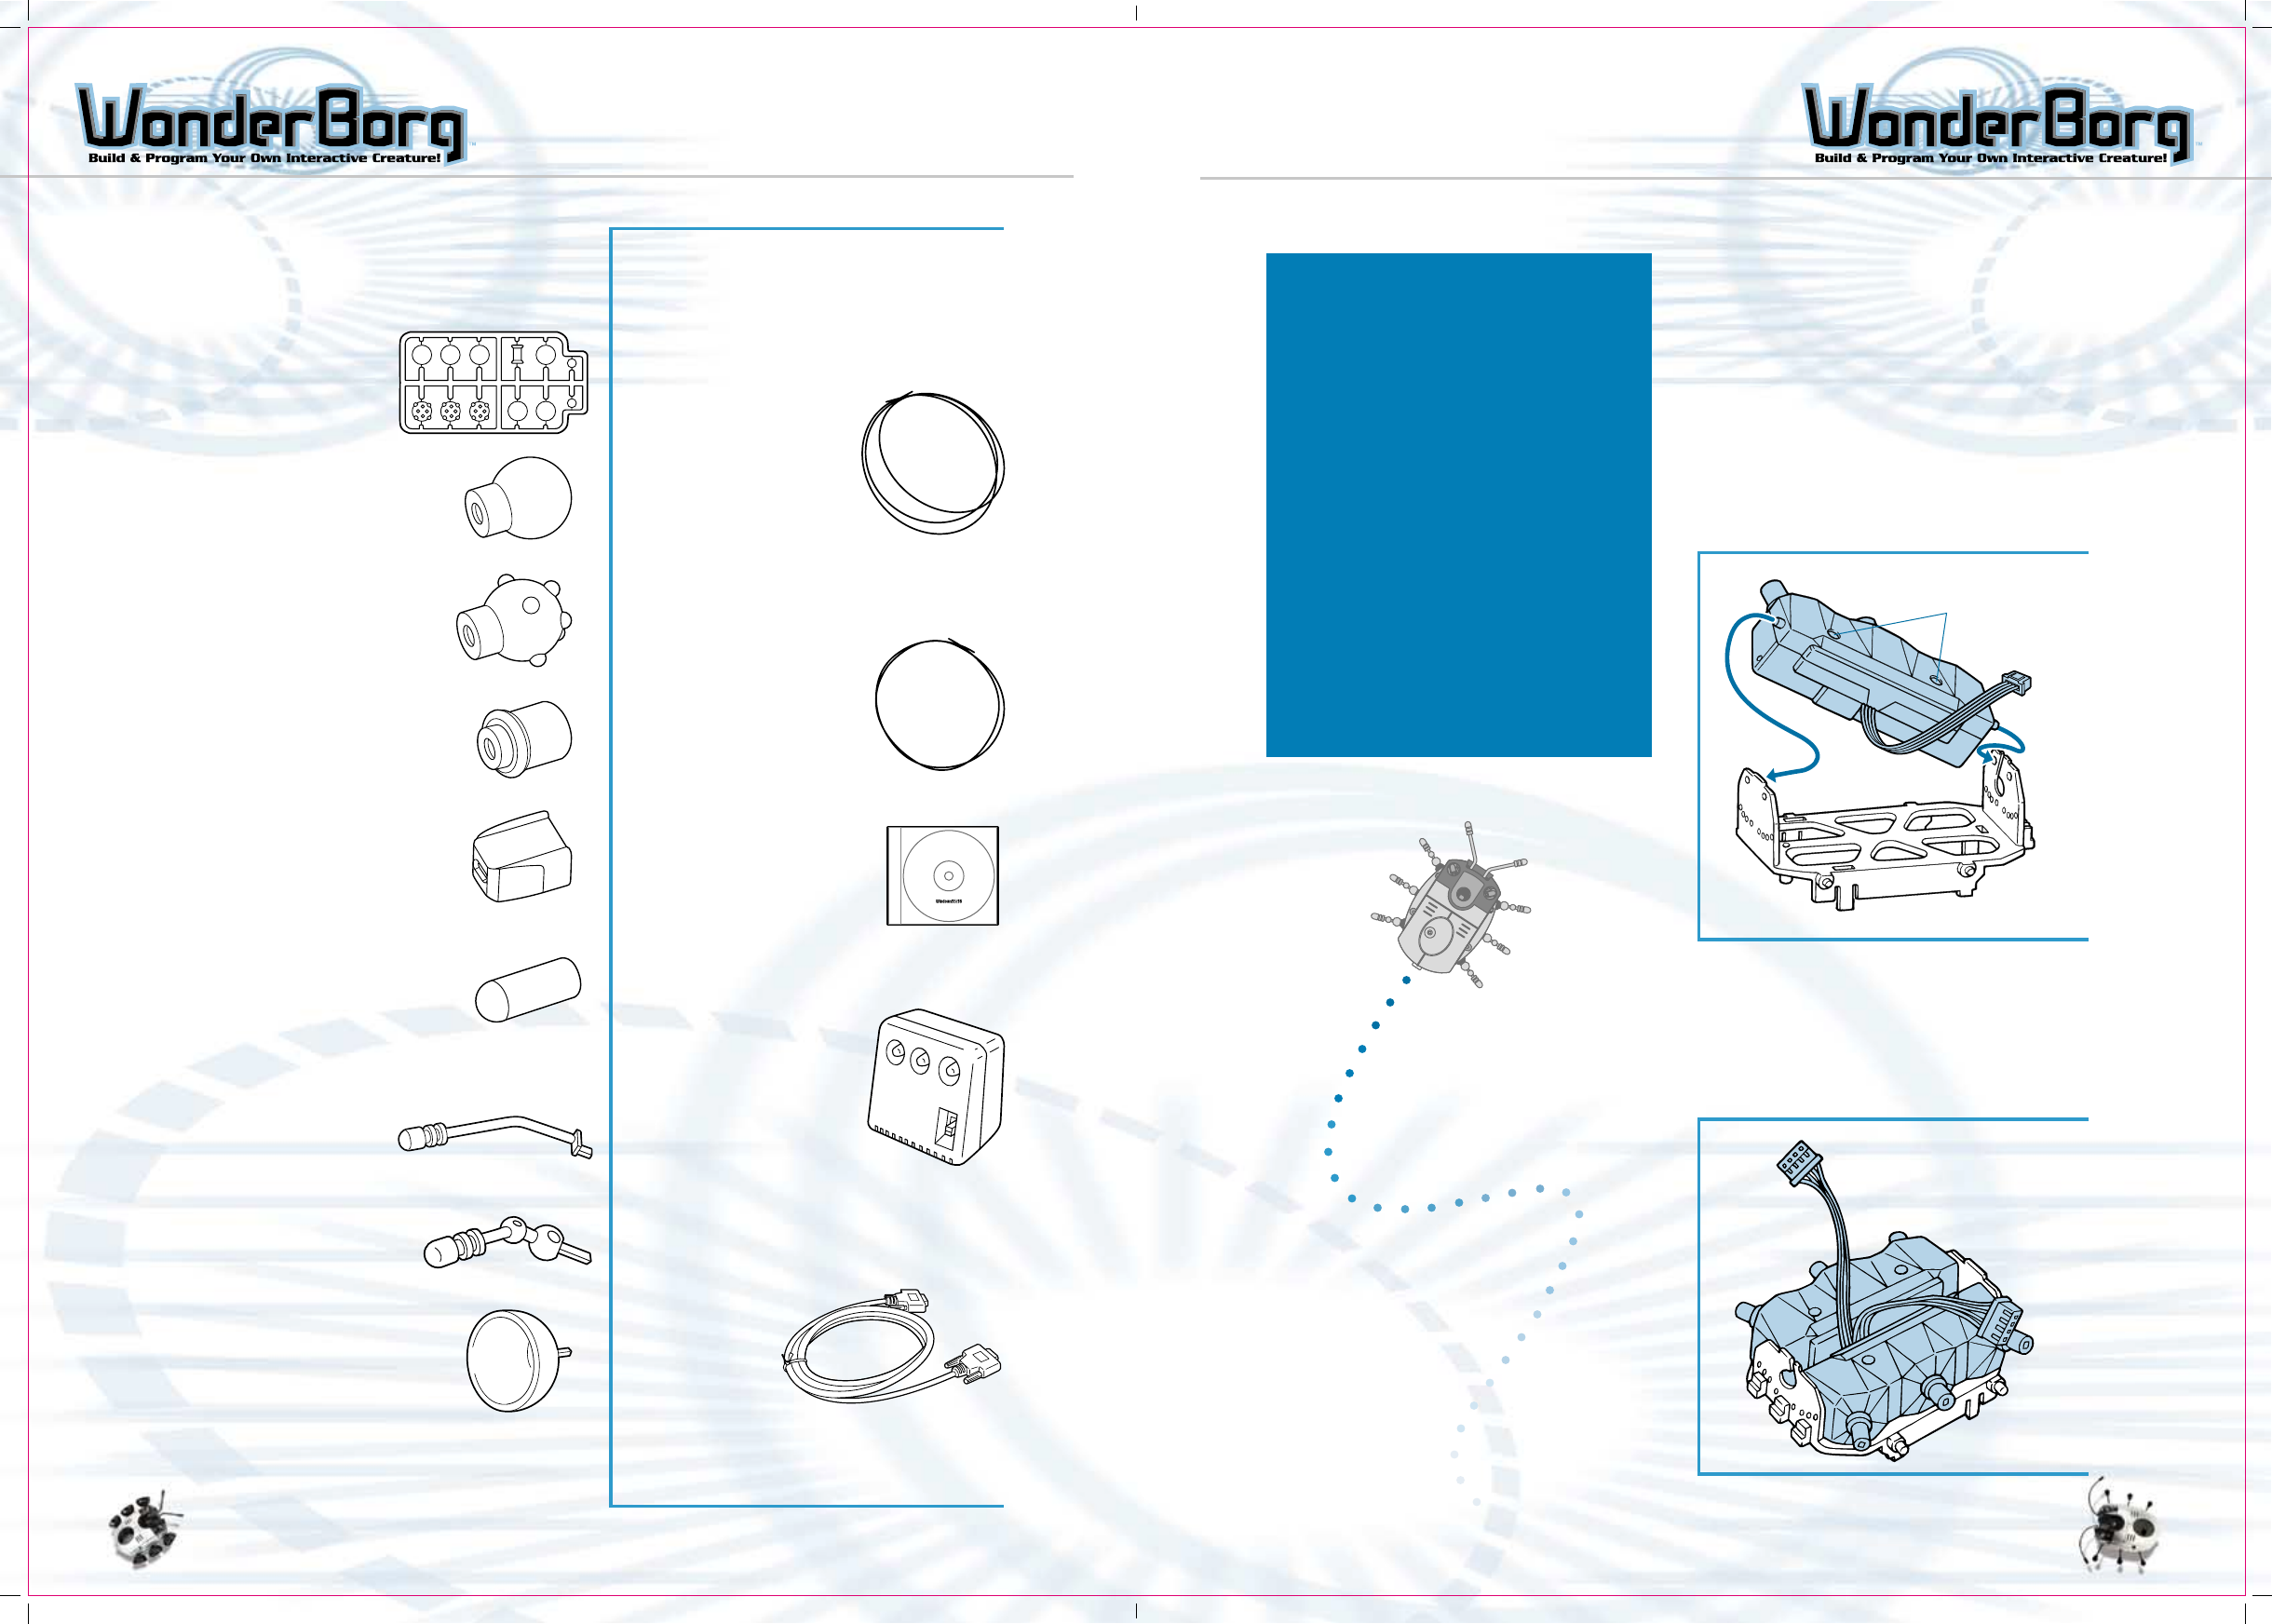
1-1
Using your fingers to open the frame
slightly, take one of the motor units and
slot the pins on its front and rear into
the holes in the frame. The motor unit
should be inserted so that the cable exit
is facing the inside, and the screws are
uppermost.
Note: Be careful to insert the motor unit
the right way up.
1-2
Insert the other motor unit in the same
way. Make sure the cables are protruding,
as shown in the diagram. The assembly
of the WonderBorg mechanism is now
complete.
Screws
Now, at last, you are ready
to start assembling the
WonderBorg.
Please be sure to follow the
instructions exactly.
You will need to be extremely
careful, because you are going
to assemble a set of precision
electronic parts.
Be careful not to mix any of
the parts which look similar
to one another, such as the
gears.
But don’t worry too much, or
it won’t be any fun. Have fun
assembling your WonderBorg -
just take it nice and slow.


