


2
2-12
BASIC FUNCTIONS
2
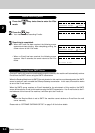
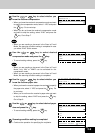
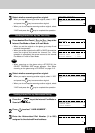
Press the key.
• When you set the original on the glass, go to step 3 and
continue the operation.
• When you set the original on the ADF or RADF, the machine
scans the original and sends the Internet Fax. After
operation is completed, the screen returns to the Internet
Fax Mode or E-mail to Scan Mode.
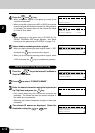
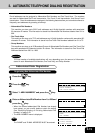
SCANNING TO MEMORY
JOB NUMBER : XXX
SCANNING PAGE : YYY
RESIDUAL MEMORY : ZZZ%
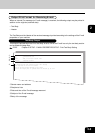
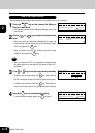
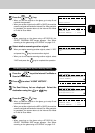
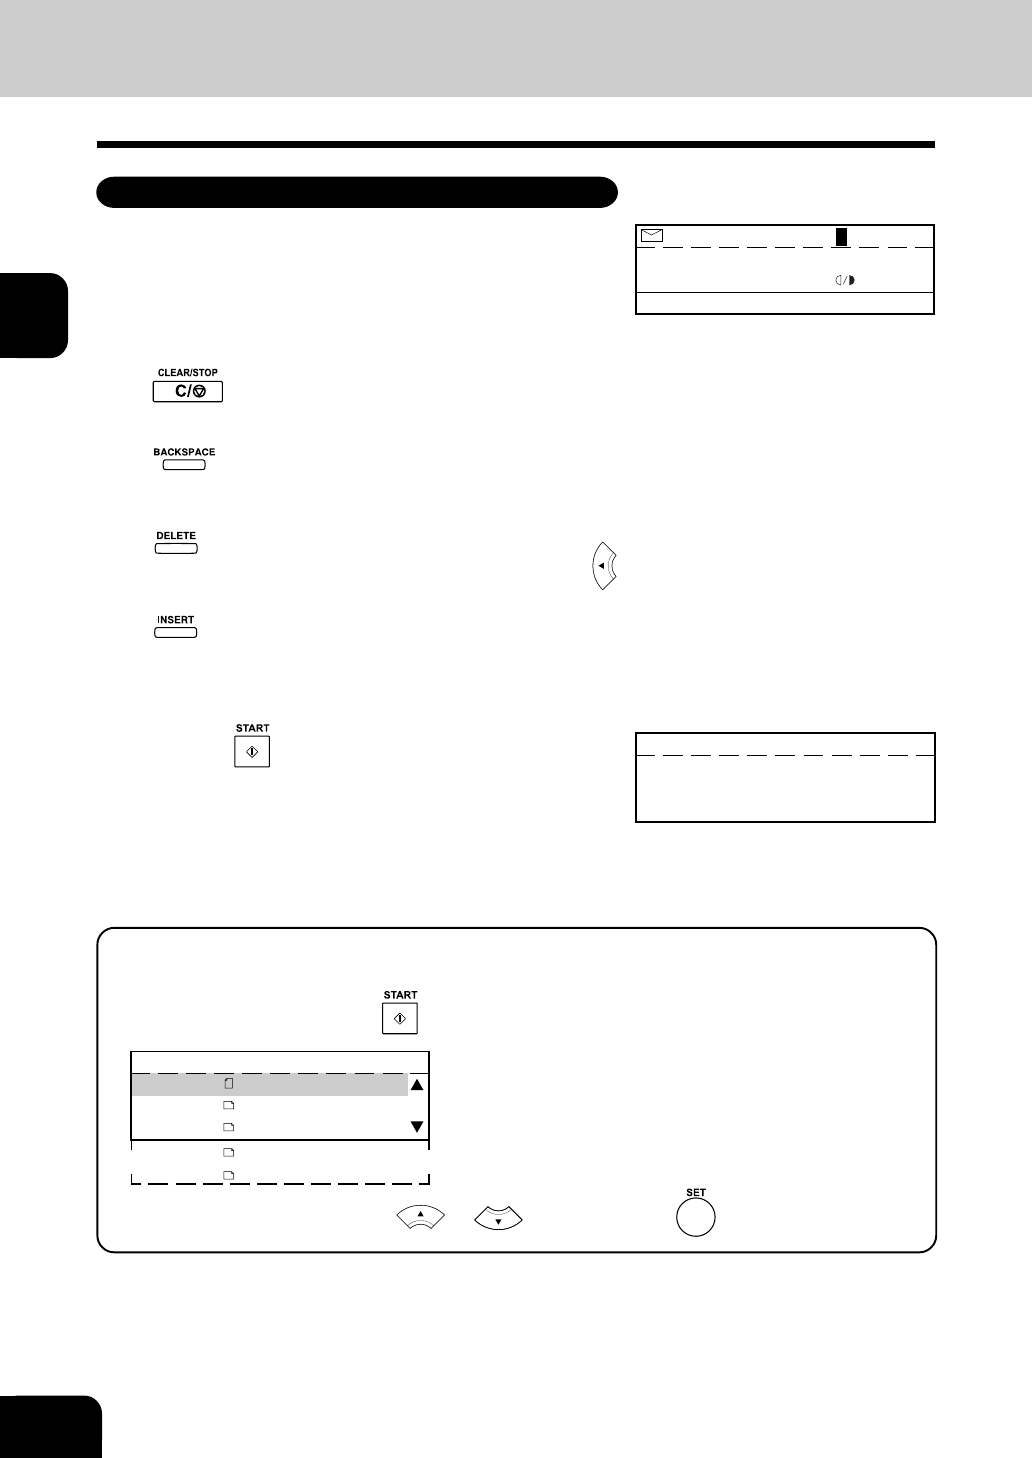
When scanning on the glass using e-STUDIO16:
When you set the original on the glass of e-STUDIO16, you have to select the original size before
scanning. When you press the
key, the SELECT ORIGINAL SIZE screen is displayed.
Select original size
1.LT
2.LD
3.LT-R
4.LG
5.ST-R
Select the original size using the or key and press the key to start scanning.
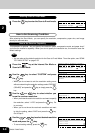
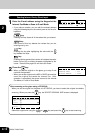
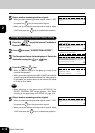
1
Enter the E-mail address using the Keypad at the
Internet Fax Mode or Scan to E-mail Mode.
• If you make a mistake, you can edit the entered address
using the following keys on the control panel or the function
keyboard.
key:
Pressing this key clears all of the values that you entered.
key:
Each press of this key deletes the values that you are
entering one by one.
key:
Pressing this key after highlighting the value with the
key deletes the value.
key:
Pressing this key permits the insertion of a desired character
before (in front of) an existing character highlighted by the
cursor. Press this key again to exit the Insert mode.
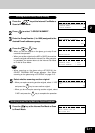
:ifax@toshiba.com
JUL04-2001 11:30AM M :100%
RESOLUTION: 200dpi
:AUTO
Sending Internet Fax by Direct Input