


2
2-16
BASIC FUNCTIONS
5
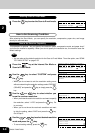
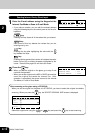
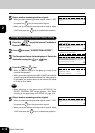
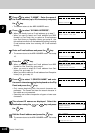
Select whether scanning another original.
When you require scanning another original, select “1.YES”
and press the
key to scan another original.
• When you do not require scanning another original, select
“2.NO” and press the
key to complete the operation.
SCAN NEXT ORIGINAL?
1.YES
2.NO
1
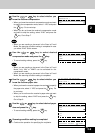
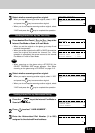
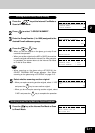
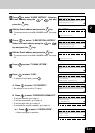
Press the key at the Internet Fax Mode or
Scan to E-mail Mode.
TELEPHONE NUMBERS LIST
1.ABB. NUMBER
2.SEARCH NAME
3.GROUP NUMBER
4.SENT HISTORY
5.RECEPTION HISTORY
2
Press to select “5.RECEPTION HISTORY”.
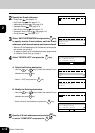
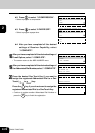
3
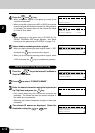
The Reception History list are displayed. Select the
destination using the or key.
RECEPTION HISTORY
user01@toshiba.com
user02@toshiba.com
user03@toshiba.com
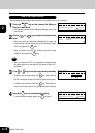
4
Press the (or ) key.
• When you set the original on the glass, go to step 5 and
continue the operation.
• When you set the original on the ADF or RADF, the machine
scans the original and sends the Internet Fax. After operation
is completed, the screen returns to the Internet Fax Mode
or E-mail to Scan Mode.
Note
• When scanning on the glass using e-STUDIO16, the
SELECT ORIGINAL SIZE screen appears. See “When
scanning on the glass using e-STUDIO16” on page 2-12.
SCANNING TO MEMORY
JOB NUMBER : XXX
SCANNING PAGE : YYY
RESIDUAL MEMORY : ZZZ%
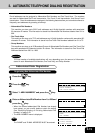
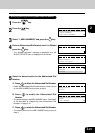
5
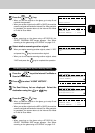
Select whether scanning another original.
When you require scanning another original, select “1.YES”
and press the
key to scan another original.
• When you do not require scanning another original, select
“2.NO” and press the
key to complete the operation.
SCAN NEXT ORIGINAL?
1.YES
2.NO
Sending Internet Fax by Reception History Dialing