


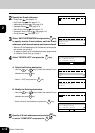
2
2-18
BASIC FUNCTIONS
5
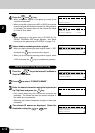
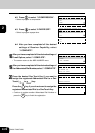
Specify all E-mail addresses and press the key
or select “COMPLETE” and press the key.
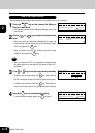
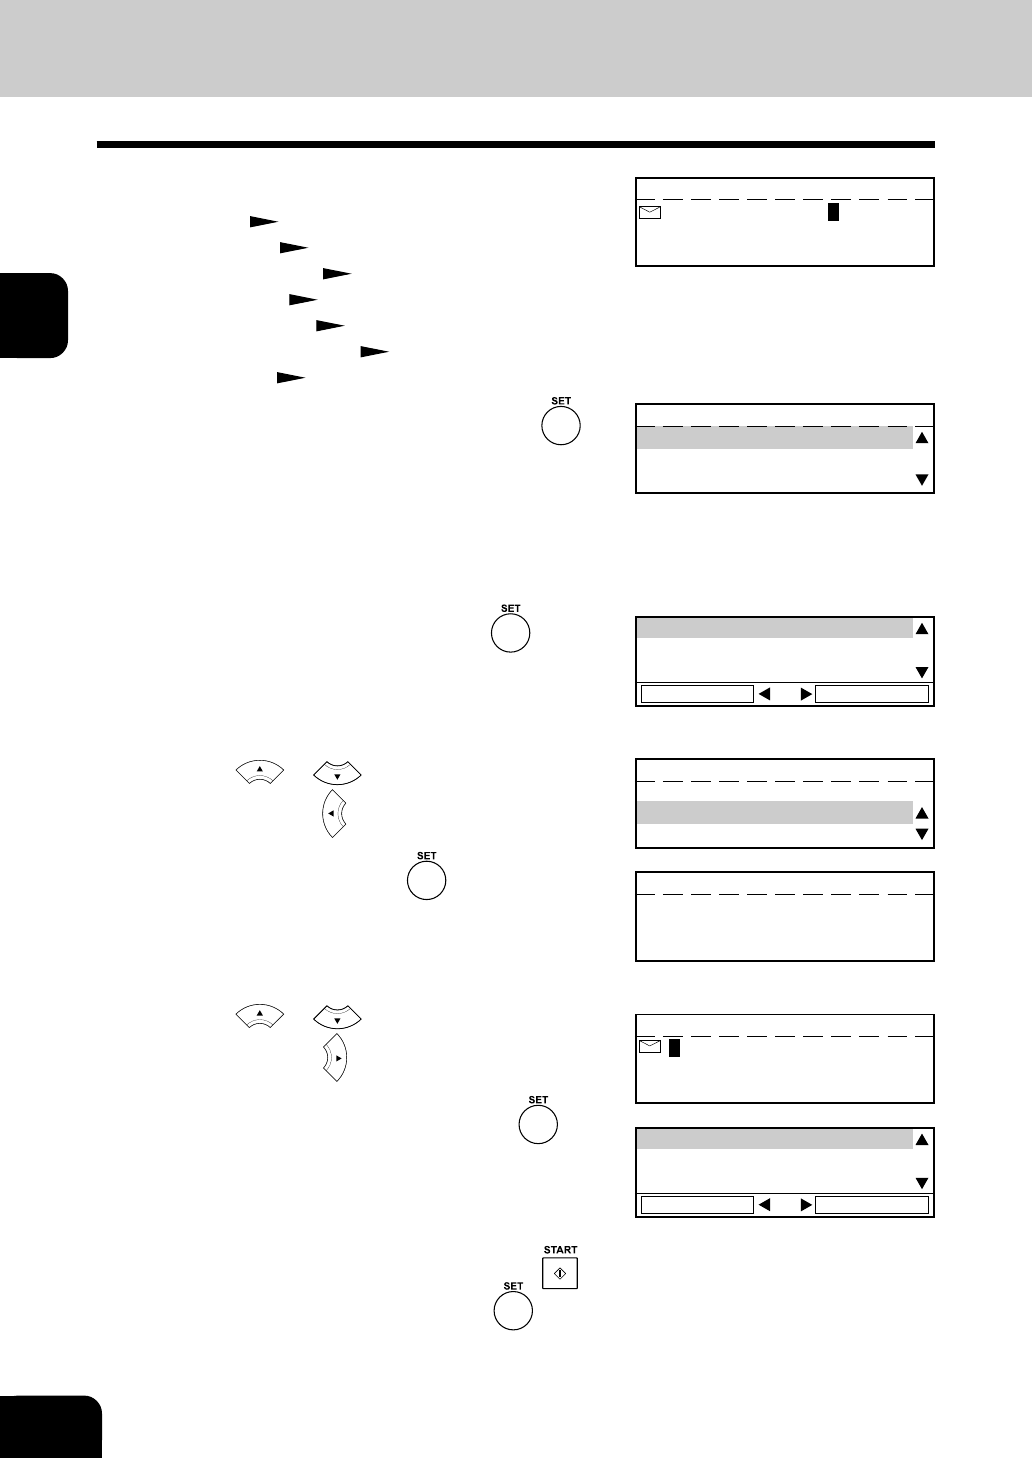
3
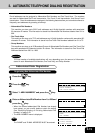
Select “NEXT DESTINATION” and press the key
to specify another E-mail address until the E-mail
addresses of all desired remote parties are entered.
• When the E-mail addresses of all the desired remote parties
are entered, go to step 5.
• To delete or modify an E-mail address already programmed
to a Manual Group Dial, go to step 4.
MULTI GROUP XXX
NEXT DESTINATION
REVIEW LIST
COMPLETE
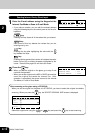
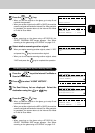
4
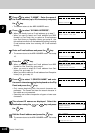
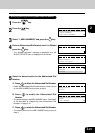
Select “REVIEW LIST” and press the key.
A. Delete the Existing destination.
• Use the or key to select the desired E-mail
address and press key.
• Select “1.YES” and press the key.
B. Modify the Existing destination.
• Use the or key to select the desired E-mail
address and press key.
• Enter correct E-mail address and press the key.
001. ifax@toshiba.com
002. LONDON OFFICE
003. CHICAGO OFFICE
DELETE MODIFY
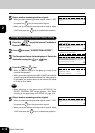
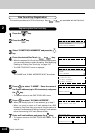
DELETE?
ifax@toshiba.com
1.YES
2.NO
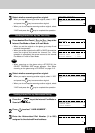
MULTI GROUP XXX
ifax@toshiba.com
Deleted
MULTI GROUP XXX
ifax@toshiba.com
001. user01@toshiba.com
002. LONDON OFFICE
003. CHICAGO OFFICE
DELETE MODIFY
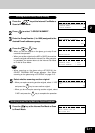
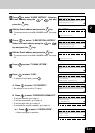
2
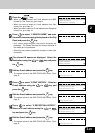
Specify the E-mail addresses.
• Direct Input See page 2-12
• One Touch Key See page 2-13
• Abbreviated Number
See page 2-14
• Alphabet Dialing See page 2-14
• Sent History Dialing See page 2-15
• Reception History Dialing
See page 2-16
• Group Number See page 2-17
MULTI GROUP 000
:ifax@toshiba.com