


2-25
2
9
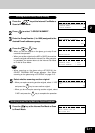
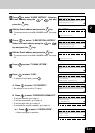
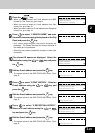
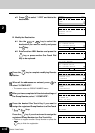
Press to select “1.SEARCH NAME” and enter
the search characters using the keyboard on the Flip
Panel and press the key.
• Only names beginning with the search character are
presented. The names that have the search character in
the middle are not presented.
• Searching can be done irrespective of upper or lower case
characters.
ONE TOUCH KEY 01
ID NAME (MAX20):
L
10
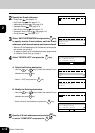
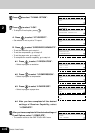
The relevant ID names are displayed. Select the
destination using the or key and press
the key.
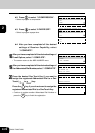
11
Edit the E-mail address and press the key.
• The screen returns to the ONE TOUCH KEY menu. Go to
step 16.
ONE TOUCH KEY 01
ifax@toshiba.com
ONE TOUCH KEY 01
L.A OFFICE
LISBON OFFICE
LONDON OFFICE
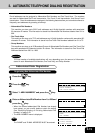
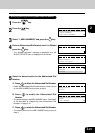
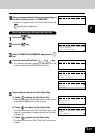
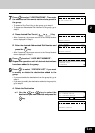
8
Press the key.
• When you want to search an E-mail address from ABB.
Number or One Touch Key, go to step 9.
• When you want to select an E-mail address from Sent
History List, go to step 12.
• When you want to select an E-mail address from Reception
History List, go to step 14.
ONE TOUCH KEY 01
1.SEARCH NAME
2.SENT HISTORY
3.RECEPTION HISTORY
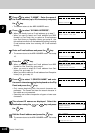
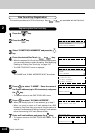
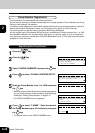
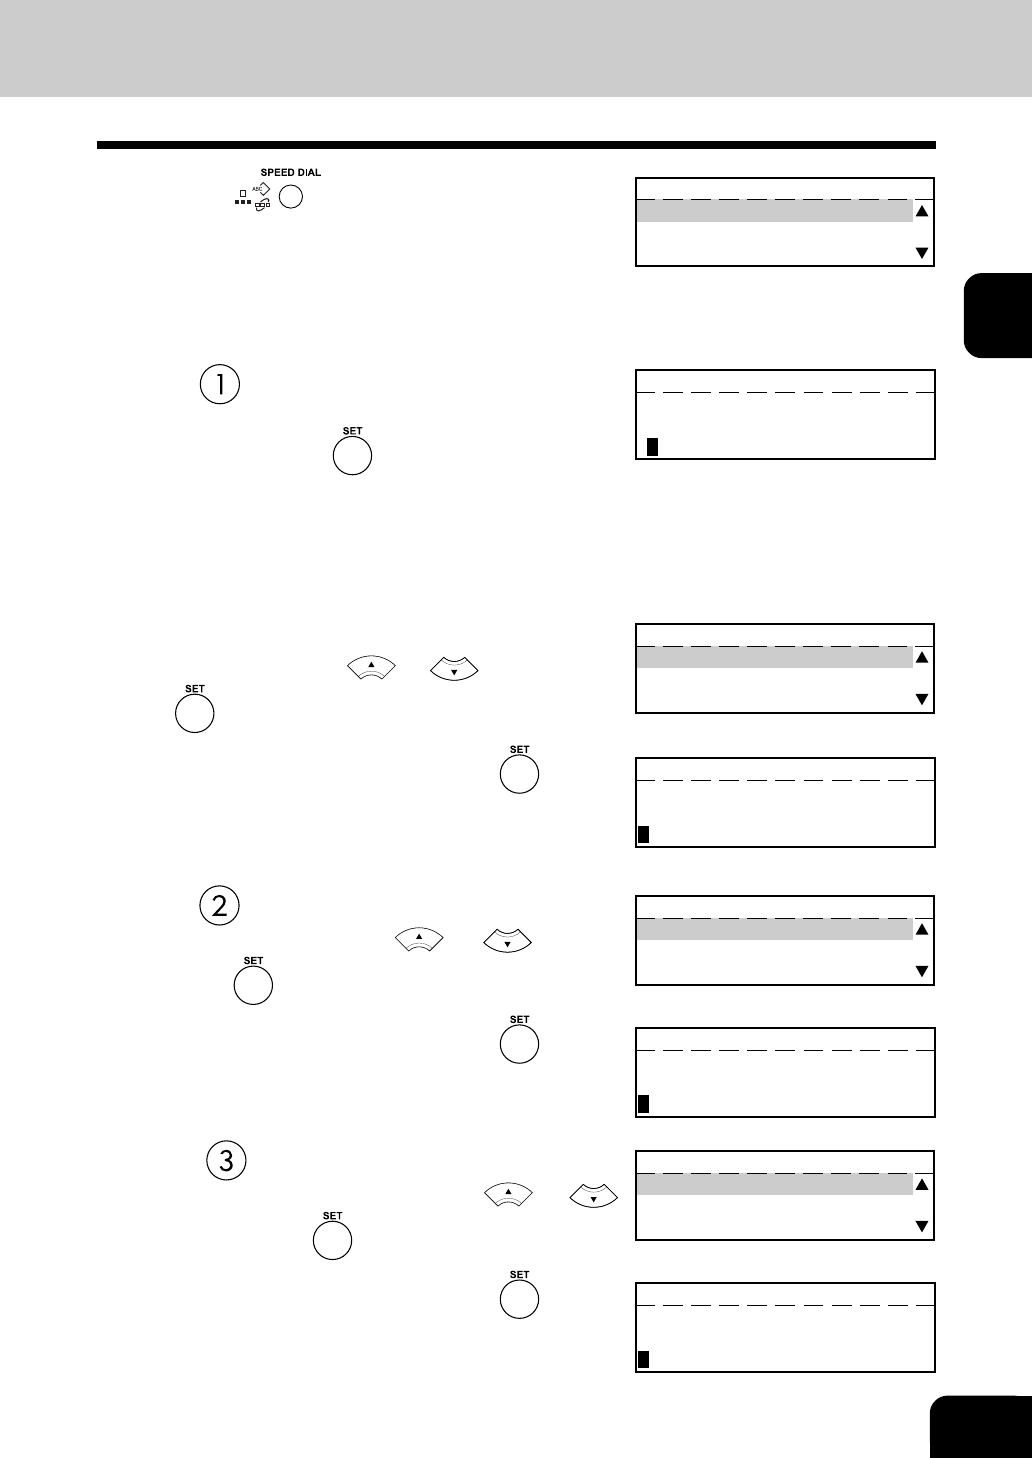
12
Press to select “2.SENT HISTORY”. Select an
E-mail address using the or key and
press the key.
ONE TOUCH KEY 01
ifax@toshiba.com
ifax02@toshiba.com
ifax03@toshiba.com
13
Edit the E-mail address and press the key.
• The screen returns to the ONE TOUCH KEY menu. Go to
step 16.
ONE TOUCH KEY 01
ifax@toshiba.com
14
Press to select “3.RECEPTION HISTORY”.
Select an E-mail address using the or
key and press the key.
ONE TOUCH KEY 01
ifax@toshiba.com
ifax02@toshiba.com
ifax03@toshiba.com
15
Edit the E-mail address and press the key.
• The screen returns to the ONE TOUCH KEY menu. Go to
step 16.
ONE TOUCH KEY 01
ifax@toshiba.com