


3
3-36
SETUP
Setting Up a Relay Box with E-mail Address
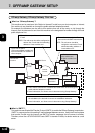
In order to use this machine as a Hub Station for the Onramp Gateway transmission, the Relay Box to
register E-mail addresses must be set up on this machine. This machine as the distributor can send an
E-mail of the fax document received from any ITU-T compatible facsimile.
E-mail addresses assigned to the one touch keys, the abbreviated dial numbers and the group numbers
can be registered as the destinations. E-mail addresses of the destinations must be registered to the
One Touch Keys or the Abbreviated Dial Numbers before the relay box is set up.
Note
• Either of the fax numbers or the E-mail addresses can be registered to a Relay Box. Both of them
cannot be registered to a Relay Box. For the detail information of the ITU-T F-code communication
and the mailbox, including the information on how to set up the relay originating mailbox and
delete the mailbox already set up, refer to the OPERATOR’S MANUAL FOR FACSIMILE FUNCTION.
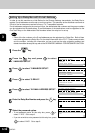
1
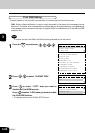
Press the key.
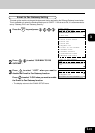
2
Press the key and press to select
“4.MAILBOX SETUP”.
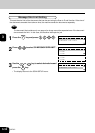
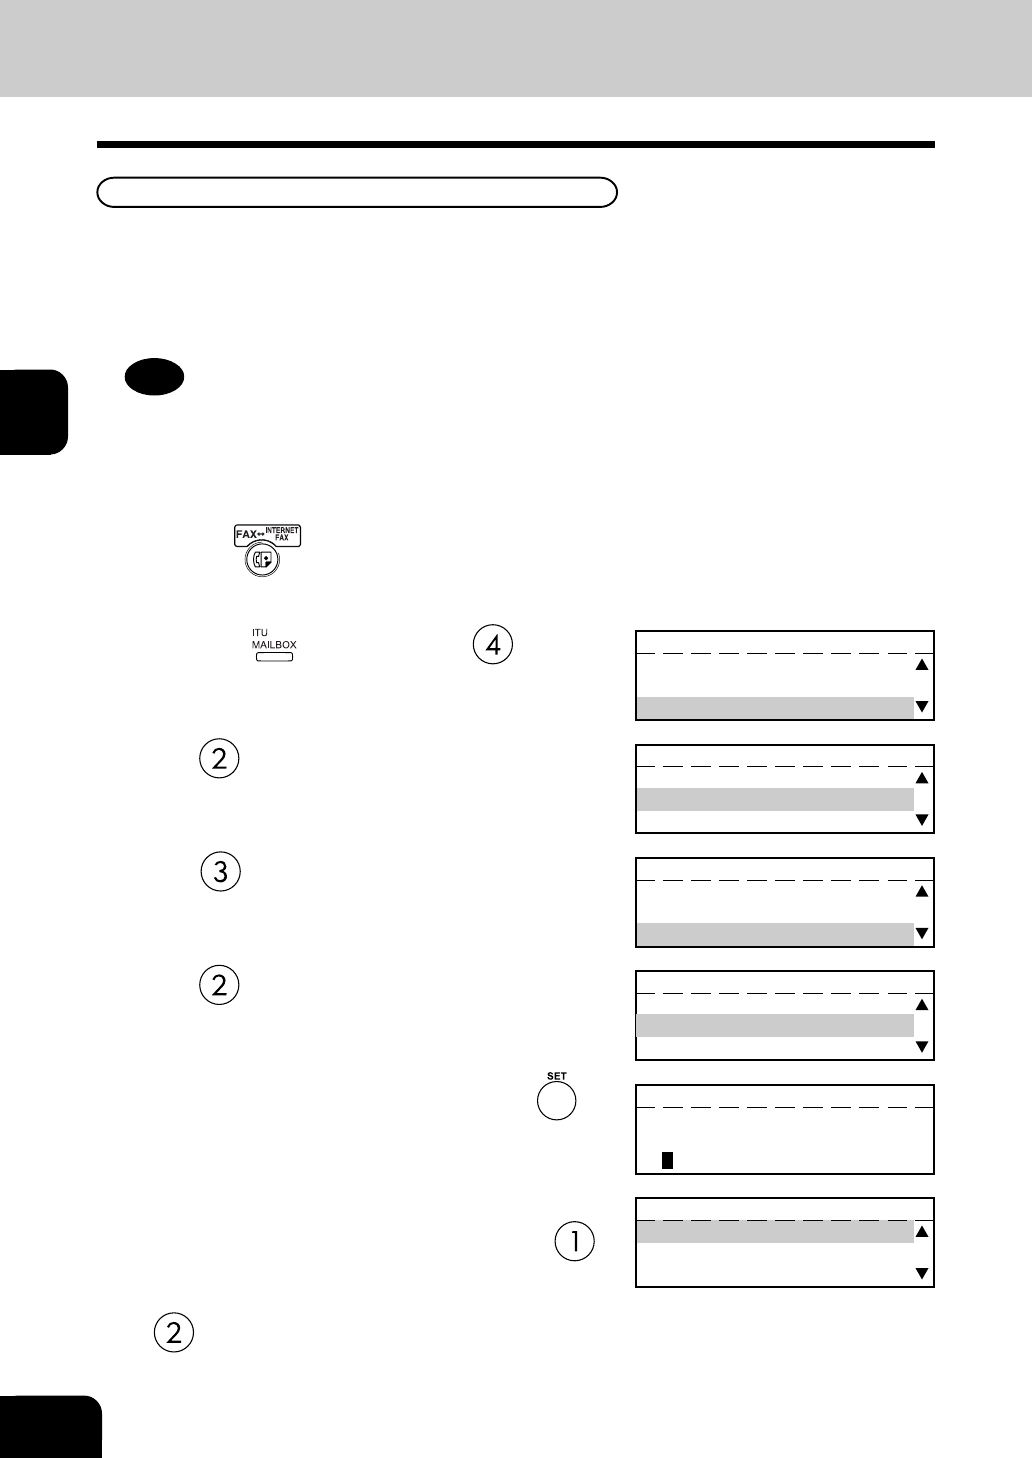
3
Press to select “2.MAILBOX SETUP”.
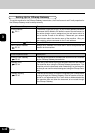
MAILBOX TYPE
1.CONFIDENTIAL
2.BULLETIN BOARD
3.RELAY
4
Press to select “3.RELAY”.
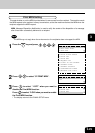
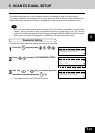
5
Press to select “2.E-MAIL ADDRESS SETUP”.
6
Enter the Relay Box Number and press the key.
MAILBOX SETUP(RELAY)
1.YES
2.NO
MAILBOX SETUP(RELAY)
NEW MAILBOX NUMBER(MAX20):
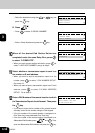
20
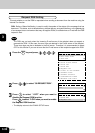
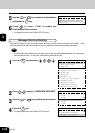
7
Select the password option.
• To set password option for this relay box, press to
select “1.YES”. Go to step 8.
• If you do not wish to set a password to this relay box, press
to select “2.NO”. Go to step 9.
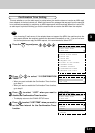
MAILBOX
2.BULLETIN BOARD
3.RELAY
4.MAIL BOX SETUP
MAILBOX SETUP
1.COMPLETE
2.MAILBOX SETUP
3.MAILBOX DELETE
MAILBOX SETUP(RELAY)
1.FAX NUMBER SETUP
2.E-MAIL ADDRESS SETUP