


Setting up Save As File Settings 81
4
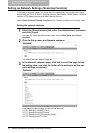
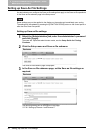
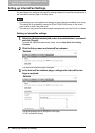
Click [Save].
The confirmation dialog box appears.
If you want to restore the current settings without saving the changes, click [Cancel].
Clicking [Cancel] cannot restore the defaults. This can only clear the changes and
restore the current settings.
5
Click [OK] to apply the changes.
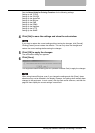
When using Internet Explorer, even if you change the settings and click [Save], these
alterations may not be reflected in the display. However, the settings have actually been
changed in the equipment. In such a case, click the Save as file submenu, and then the
page will then display the current settings in each field.
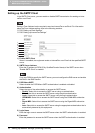
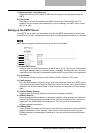
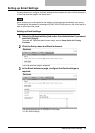
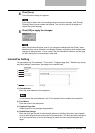
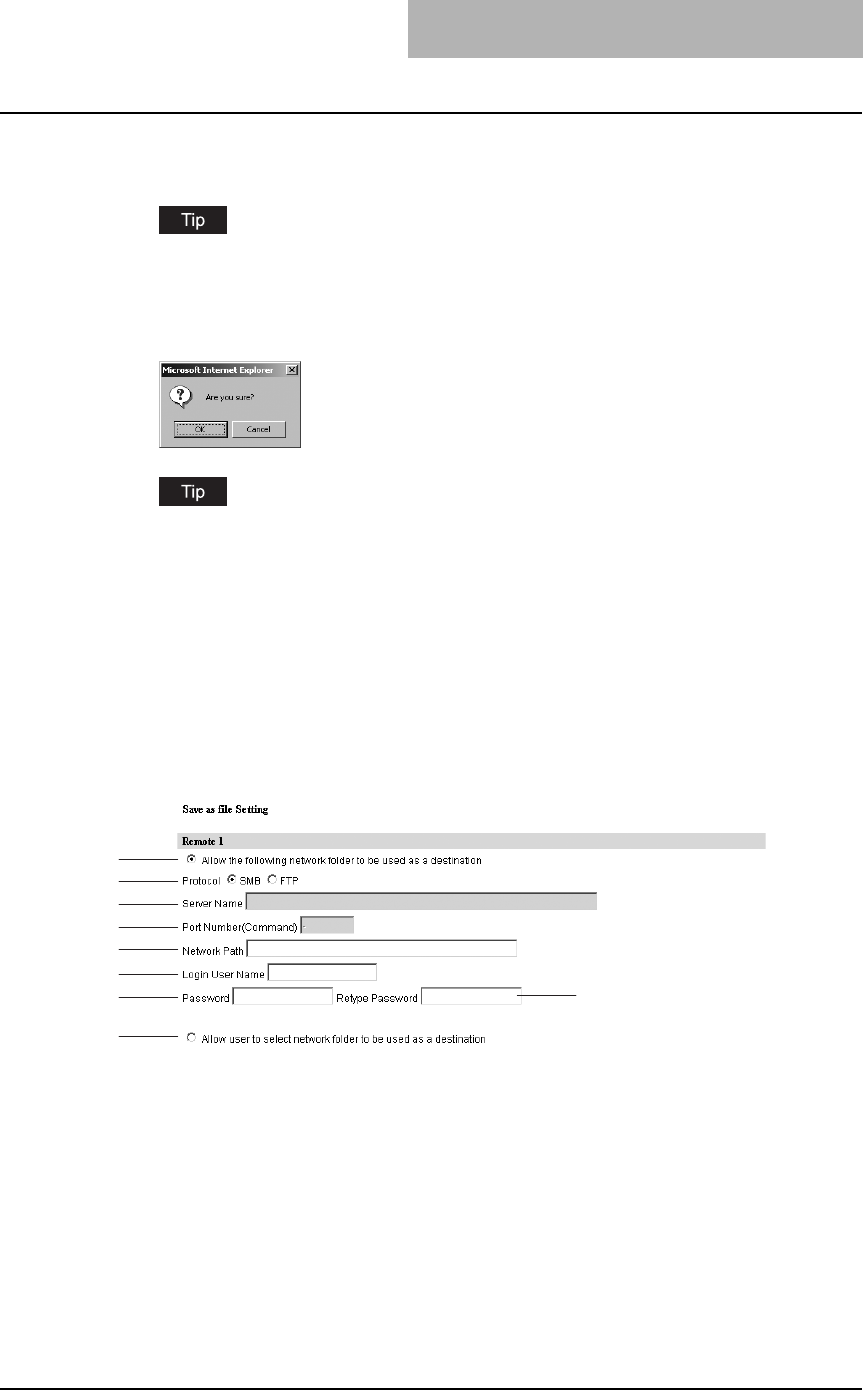
Setting up Remote 1 and Remote 2
In Remote 1 and Remote 2, you can specify how users can select the network folders for Save
as file destinations when you select "Use Network Folder Destination" in the Destination setting.
You can specify two network folders; Remote 1 and Remote 2.
The setting items are the same in Remote 1 and Remote 2.
1) Allow the following network folder to be used as a destination
Select this to restrict users to select only the network folders that you have specified. Other-
wise, select "Allow user to select network folder to be used as a destination".
2) Protocol
Select the protocol to be used for uploading a file to the network folder.
- SMB: Select it to send a file to the network folder using the SMB protocol.
- FTP: Select it to send a file to the FTP server.
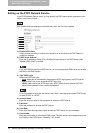
3) Server Name
When you select "FTP" as the protocol, enter the FTP server name or IP address where a
scanned file will be sent. For example, to send a scanned file to the "ftp://192.168.1.1/user/
scanned" FTP folder in the FTP server, enter "192.168.1.1" in this field. You can specify the
directory at the "Network Path" field.
3
4
5
8
9
7
6
2
1