


Scan Procedure
Xerox WorkCentre 3315DN/3325DN/3325DNI
User Guide
48
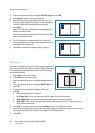
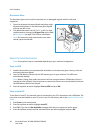
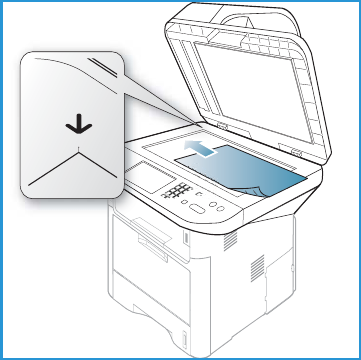
Document Glass
The document glass can be used for oversized, torn or damaged originals and for books and
magazines.
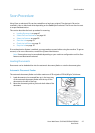
1. Open the automatic document feeder and place single
documents face down on the document glass aligned
with the rear left corner.
2. The default document size is 8.5 x 11” or A4. For other
sized documents, change the Original Size option. Refer
to Scan Options on page 53 for further information.
Note: Documents are only scanned once even when
several copies are selected.
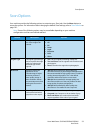
Select the Scan Destination
Note: Some options may be unavailable depending on your machine configuration.
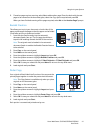
Scan to USB
1. Load the documents to be scanned either face down on the document glass or face up into the
automatic document feeder.
2. Insert a USB Memory Device into the USB memory port on your machine. The USB menu
automatically displays.
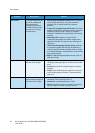
Note: When in Power Save mode, the machine will not recognize when a USB Memory Device is
inserted into the USB port. Press any button to restore the machine to a normal state and reinsert
the USB Memory Device into the port.
3. Press the up/down arrows to highlight Scan to USB and press OK.
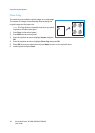
Scan to Local PC
To use Scan to Local PC, the machine must be connected to your PC or workstation via a USB cable. The
scan driver must be installed on your PC prior to use. For instructions, refer to the System Administrator
Guide.
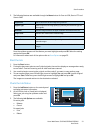
1. Press Scan on the control panel.
2. Press the up/down arrows to highlight Local PC.
3. Press OK. If you see the Not Available message, check the port connection and/or setup.
4. Press the up/down arrows until the scan destination you want highlights and press OK.