


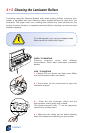

23
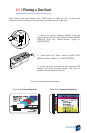
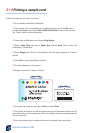
PRINTING A SAMPLE CARD
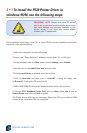
3 • 2 To install the P520 Printer Driver in
windows 2000/NT4.0:
Ensure that you have administrative privileges to
perform this installation or contact your IT
department.
Set printer as Not Shared for stand alone use.
Use the steps provided for windows 95/98 installation with the exception of step 6.
Where you must type in “
A:\nt40” for NT4.0, “A:\winNT4”for Windows 2000 if
using the floppy disc, or “D:\nt40” , “D:\winNT4” if using the CD, instead and click OK.
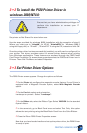
Once the printer driver has been successfully installed, you will need to configure it for
your printer. This driver provides control of several printer features when printing
from Windows applications. These features are accessed through the P520 Plastic
Card Printer Properties. To access these properties select the P520 Card Printer icon in
Printers. Then click File Menu and select Properties.
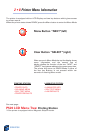
3 • 3 Set Printer Driver Options:
The P520 Printer screen appears. Change the options as follows:
❐ On the Printer tab configure the magnetic encoder feature. If your Printer is
equipped with a Magnetic Encoder option, select
With Magnetic Encoder
option.
❐ On the Card tab select card orientation:
Landscape or portrait - Select
“Landscape”.
❐ On the Ribbon tab, select the Ribbon Type. Select YMCKOK for the standard
6-panel ribbon.
❐ In the same tab, go to Black Panel area and select Text Only. this option
allows the text printing using the Black Resin Panel from the Color Ribbon.
❐ Close the Eltron P520 Printer Properties screen.
Now that you have loaded media and set up the printer driver, the P520 Printer
is ready to print.