


24 PrintServer II User and Reference Guide
Installation
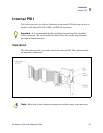
Internal PSII
To prepare for the installation, be sure you have these tools
available:
• #1 Phillips screwdriver
• 3/32” Allen wrench
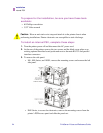
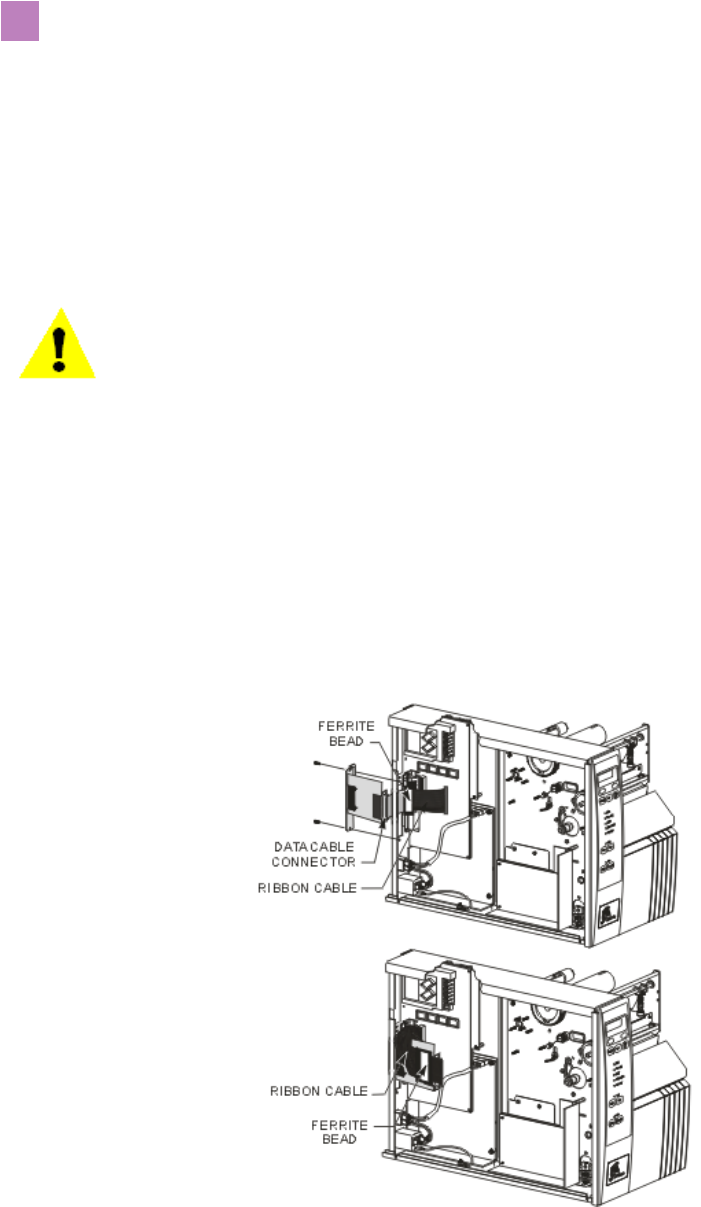
To install an internal PSII, complete these steps:
1. Turn the printer power off and disconnect the AC power cord.
2. At the rear of the printer, remove the two screws and the blank cover plate or an
existing optional interface board positioned next to the main RS-232 and parallel
interface connectors.
3. To remove the side panel:
• XiII-, XiIII-Series, and 105SL, remove the mounting screws and remove the left
side panel.
• PAX-Series, to access the electronics, remove the mounting screws from the
printer’s PCB access panel and slide the panel out.
Caution • Wear an anti-static wrist strap and attach it to the printer chassis when
performing installations. Printer electronics are susceptible to static discharge.