


NetWare Print Configuration
Printing in PServer Mode
PrintServer II User and Reference Guide 69
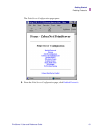
8. Enter the printer name you want, and click OK.
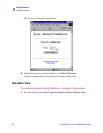
9. Next to the Print Que dialog, click New and click on the directory tree.
10.Repeat steps 6 and 7.
11. Type in the print que name that you want, and click on the Directory Tree icon.
12.In the Volu me dialog, double-click on the volume you want, and click Create.
The Print Que is listed with the name of your context as an extension.
13.Click OK, and then click OK again.
Wait for the print server to reset.
14.To refresh your Directory Tree, double-click on your context twice.
You now see the Object, Printer Name, and Print Que that you created.
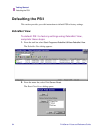
To attach a generic text driver to print to the PSII configured in
NetWare, complete these steps:
1. On Add Printer double-click, and click Next.
2. Select Network Printer, and click Next.
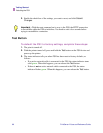
3. Click Browse and click on the context.
You can see the que and printer that you created.
4. Select the Que, and click OK.
The Network path (que name), auto-fills.
5. Click Next.
6. Select Generic for Manufacturer of printer, and click Next.
7. Select Keep Existing Driver, and click Next.
8. Enter the printer name you want and click Next.
9. Select No for printing a Test Page, and click Finish.
10.From the Printers dialog, double-click on your new printer and set it as the default
printer.
11. Open Notepad, create ZPL (Zebra Programming Language) file and print.