


Prestige 2602HW Series User’s Guide
Chapter 20 Introducing the SMT 229
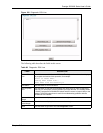
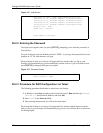
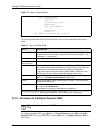
After you enter the password, the SMT displays the main menu, as shown next.
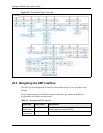
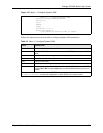
Move to a hidden
menu
Press [SPACE
BAR] to change
No to Yes then
press [ENTER].
Fields beginning with "Edit" lead to hidden menus and have a
default setting of No. Press [SPACE BAR] once to change No
to Yes, then press [ENTER] to go to the "hidden" menu.
Move the cursor [ENTER] or [UP]/
[DOWN] arrow
keys.
Within a menu, press [ENTER] to move to the next field. You
can also use the [UP]/[DOWN] arrow keys to move to the
previous and the next field, respectively.
Entering
information
Type in or press
[SPACE BAR],
then press
[ENTER].
You need to fill in two types of fields. The first requires you to
type in the appropriate information. The second allows you to
cycle through the available choices by pressing [SPACE BAR].
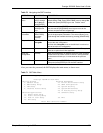
Required fields <? > or
ChangeMe
All fields with the symbol <?> must be filled in order to be able
to save the new configuration.
All fields with ChangeMe must not be left blank in order to be
able to save the new configuration.
N/A fields <N/A> Some of the fields in the SMT will show a <N/A>. This symbol
refers to an option that is Not Applicable.
Save your
configuration
[ENTER] Save your configuration by pressing [ENTER] at the message
"Press ENTER to confirm or ESC to cancel". Saving the data
on the screen will take you, in most cases to the previous
menu.
Exit the SMT Type 99, then press [ENTER].Type 99 at the main menu
prompt and press [ENTER] to exit the SMT interface.
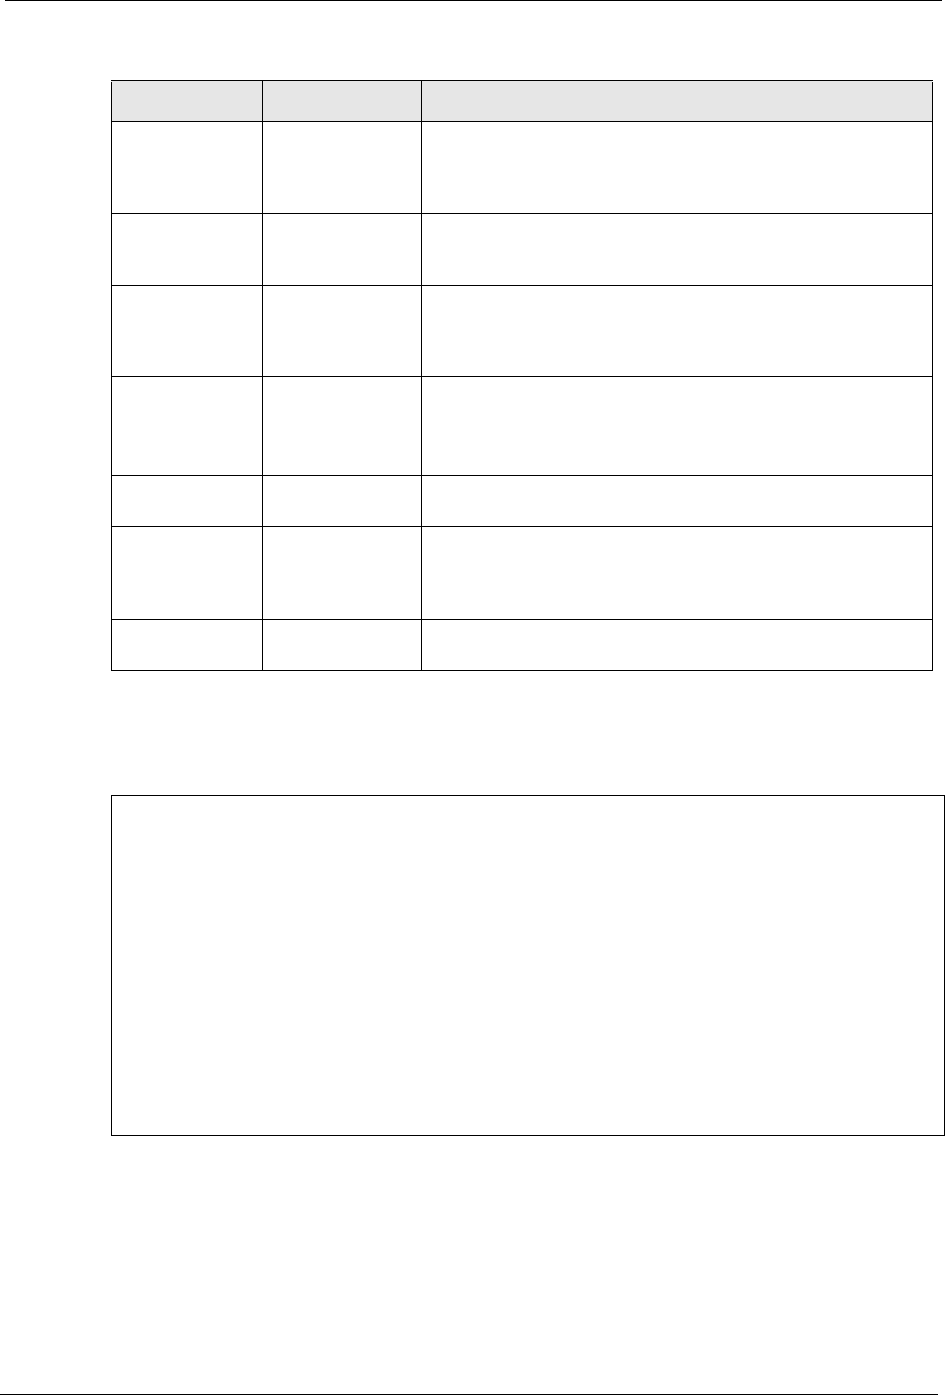
Table 71 SMT Main Menu
Copyright (c) 1994 - 2004 ZyXEL Communications Corp.
Prestige 2602HW-61 Main Menu
Getting Started Advanced Management
1. General Setup 21. Filter and Firewall Setup
2. WAN Backup Setup 22. SNMP Configuration
3. LAN Setup 23. System Security
4. Internet Access Setup 24. System Maintenance
25. IP Routing Policy Setup
Advanced Applications 26. Schedule Setup
11. Remote Node Setup
12. Static Routing Setup
14. Dial-in User Setup 99. Exit
15. NAT Setup
Enter Menu Selection Number:
Table 70 Navigating the SMT Interface
OPERATION KEY STROKE DESCRIPTION