Setting Advanced Options 15
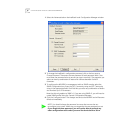
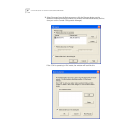
the IP Address, Subnet Mask, and Default Gateway information in the appropriate
fields.
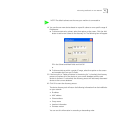
12 If you wish, check the box next to Lock IP Address. Selecting this option will
ensure that the IntelliJack will always use a particular address.
13 Click the Configure button. Any changes you specify are sent to the NJ240FX and
will become effective immediately.
Those are the only steps required to initialize your NJ240FX.
Setting Advanced
Options
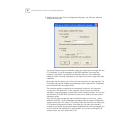
If you want to change the default password of the NJ240FX or change SNMP
community strings, you can configure these settings from either the Local
Configuration Manager or the Central Configuration Manager (covered in the
next chapter). In the Local Configuration Manager, both settings are found under
the Advanced tab.
NOTE: By default, the NJ240FX is configured to automatically obtain an IP
address from a DHCP server. If no DHCP server exists, or if the NJ240FX cannot
obtain an IP address, it will default back to its previously configured static IP
address. If it had previously been assigned an IP address, it will default to that
one. If it did not, it will default to the static IP address of 192.168.1.252.
WARNING: If you lock an IP address and reserve it for this IntelliJack, make sure
you configure your DHCP server so it won’t distribute that address to other
devices.


