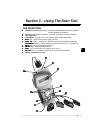
• • • • • • • • • • • • • • • • • • • • • • • • • • • • • • • • • • • • • • • • • • • • • • • • • • • • • • • • • 3 – 5
Using The Scan Tool
3
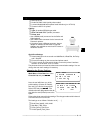
❒ Seiko DPU-414
❒ Kodak DICONIX 180si (serial printer model)
❒ Lexmark Model 2480 with optional serial interface (p/n 12T0154)
❒ Panasonic KX-P1131 printer
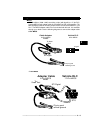
Cabling
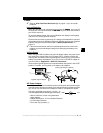
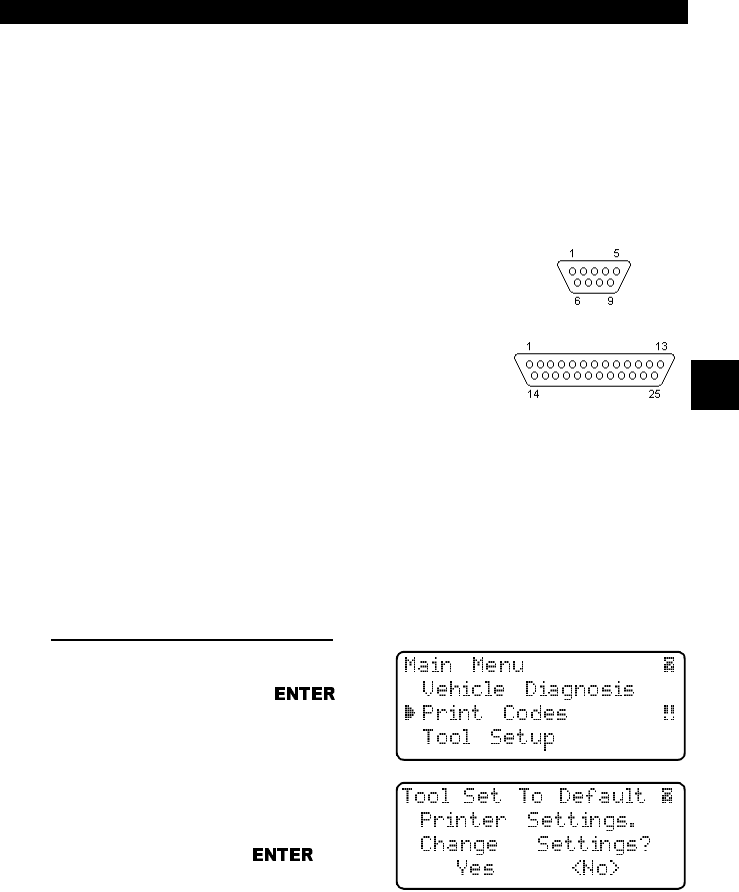
❒ Type: A standard RS-232 type cable.
❒ Scan Tool end: DB9F (female) connector.
❒ Printer end:
• Use a DB9M (male) connec-tor for the Seiko and
Kodak printers.
• Use a DB25 male connector for the Lexmark and
Panasonic printers.
• If the printer uses a different connector, then an
adapter or different RS-232 cable is required.
Adapters are available at most local PC stores or
electronics outlets.
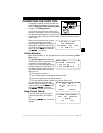
Serial Port Settings
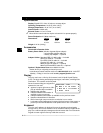
❒ Default settings for the scan tool are: 9600 Baud, 8 Data Bits, No Parity
and 1 Stop Bit.
❒ Ensure the settings on the scan tool and printer match.
❒ For the Lexmark and Panasonic printers, ensure the printer’s interface
selection is set to either “auto” or “serial”.
The printer and scan tool must have the same communication settings. You can
change the scan tool’s settings if necessary.
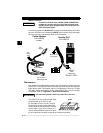
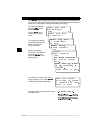
Changing the Printer Settings
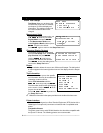
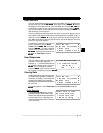
Select either Print Codes from the
Main Menu
or Print Data from of the
Function List
and press .
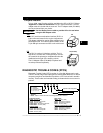
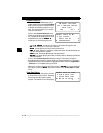
Next, the tool will inform you of the
printer settings (Custom or Default),
then ask if you wish to change them.
Select YES and press
.The
default values are designated on the dis-
play with the word (Default) next to the
option.
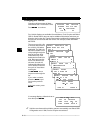
Refer to the printer manual for the settings. The changes made reside in the tool
even when the tool is turned off.
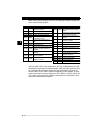
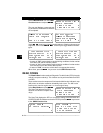
Tool settings are as follows. Defaults are in [ . . . ]
❒ Baud Rate: [9,600], 1200, 2400
❒ Stop Bits: [1 Bit], 2 bits
❒ Parity: [None], Odd, Even
❒ Printer Speed: [Fast], Slow
DB9
DB25


