


17
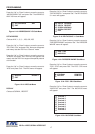
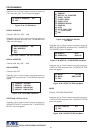
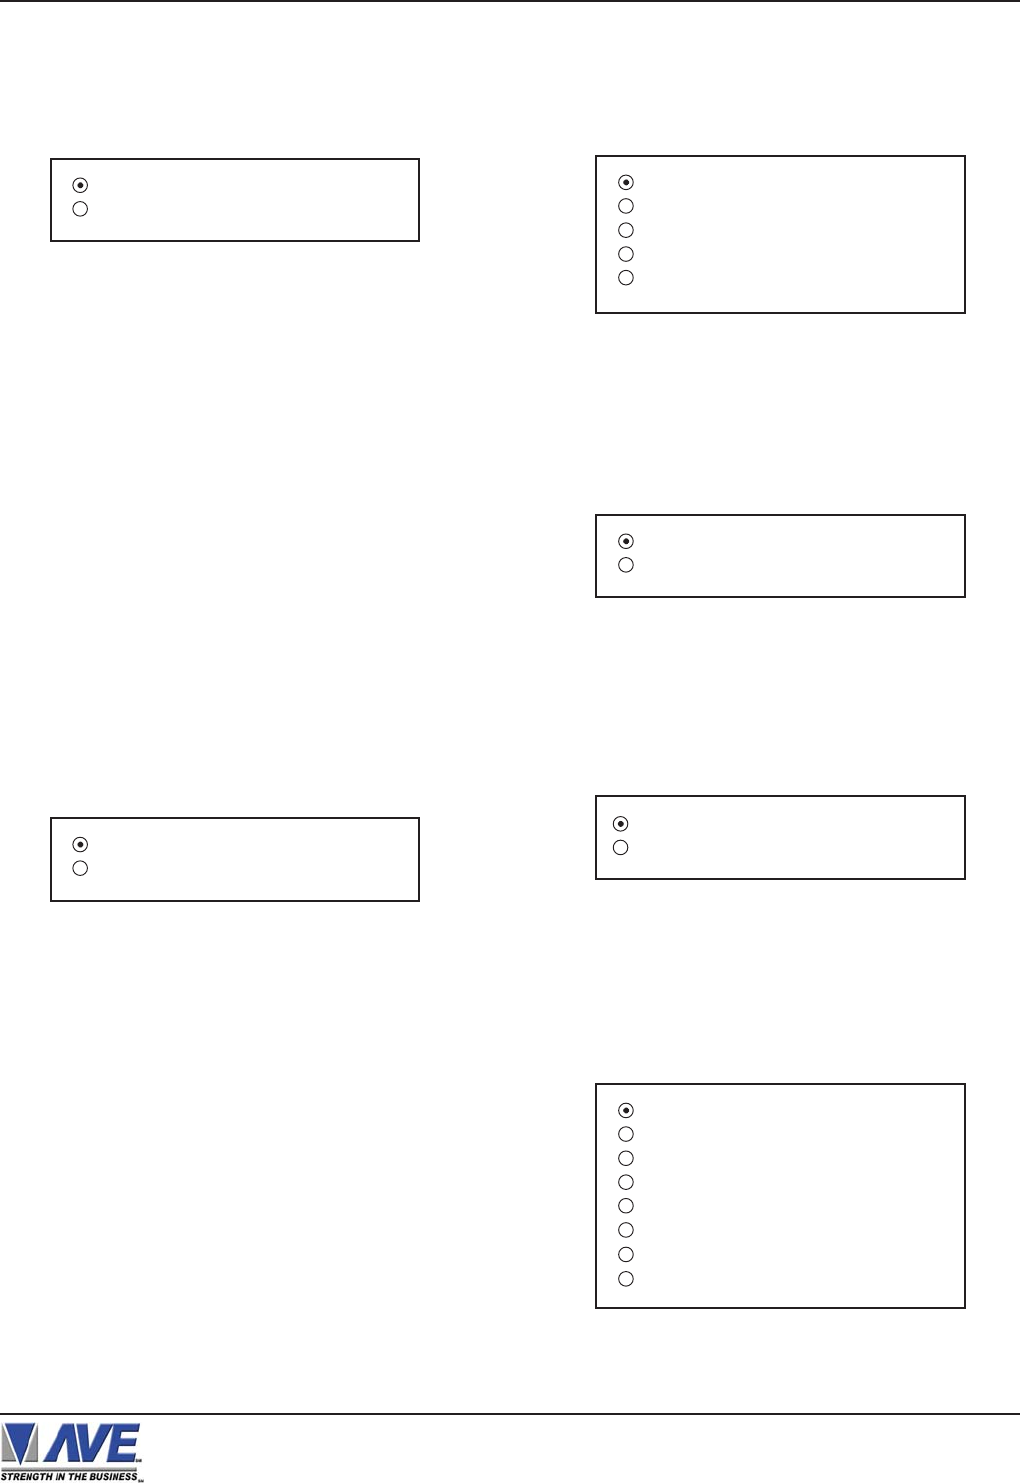
SET ADDRESS ANY
EXIT
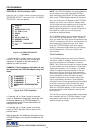
Figure 11-A: ADDRESSABLE VSI Sub-Menu
SET ADDRESS
Choices: ANY, 1, 2, 3,..., 253, 254, 255
Press the “Up” or “Down” button to move the cursor to
“PC COM 1,2,3,4” and press “Set”. No menu will apprear
and merely sets the VSI-Pro to “Generic” mode.
Press the “Up” or “Down” button to move the cursor to
“AD4323” and press “Set”. No menu will apprear and
merely sets the VSI-Pro to support the special protocol
of this model.
Press the “Up” or “Down” button to move the cursor to
“ADS” and press “Set”. The ADS menu will appear.
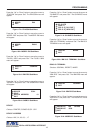
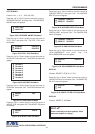
Figure 16-A: NUCLEUS Sub-Menu
Terminal 1
Terminal 2
Terminal 3
Terminal 4
Terminal 5
Terminal 6
Terminal 7
Terminal 8
DISPLAY RECEIPT
EXIT
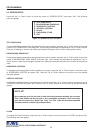
Figure 12-A: ADS Sub-Menu
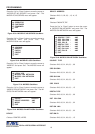
DISPLAY
Choices:JOURNAL, RECEIPT
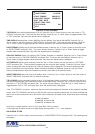
DELTA JOURNAL
DELTA RECEIPT
EPSON JOURNAL
EPSON RECEIPT
EXIT
Figure 13-A: DELTA SONO 3.1 Sub-Menu
Press the “Up” or “Down” button to move the cursor to
“ADDRESSABLE VSI” and press “Set”. The ADDRESS-
ABLE VSI menu will appear:
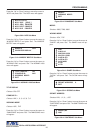
VSI-Pro VIDEO SERIAL INTERFACE
POS / CDU
NUCLEUS
Figure 14-A: DRESSER WAYNE Sub-Menu
Figure 15-A: POS / CDU Sub-Menu
JOURNAL PRINTER
RECEIPT PRINTER
Press the “Up” or “Down” button to move the cursor to
“DELTA SONO 3.1” and press “Set”. The DELTA SONO
3.1 menu will appear:
Press the “Up” or “Down” button to move the cursor to
“DRESSER WAYNE” and press “Set”. The DRESSER
WAYNE menu will appear:
Press the “Up” or “Down” button to move the cursor to
“POS / CDU” and press “Set”. The POS / CDU menu
will appear:
Press the “Up” or “Down” button to move the cursor to
“NUCLEUS” and press “Set”. The NUCLEUS menu
will appear:
PROGRAMMING