


User Manual version 2305
APOLLO 120/150 III
5-
60
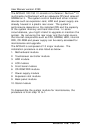
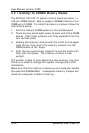
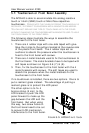
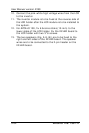
FIGURE 5-5: APOLLO W/O TOUCH
5.7. Touchscreen or Front Bezel Assembly
The APOLLO is able to accommodate Elo analog resistive
touch or Intelli (SAW) touch or MicroTocu capacitive
touchscreen. PLEASE NOTE THAT WHEN DIFFERENT TOUCH MODULE IS
INSTALLED, DIFFERENT TOUCHSCREEN METAL BRACKETS ARE NEEDED.
YOU CAN NOT REPLACE ONE TYPE OF TOUCH PANEL WITH THE OTHER
WITHOUT CHANGING THE TOUCHSCREEN METAL BRACKETS USED TO HOLD
THE TOUCH PANEL TO THE FRONT BEZEL.
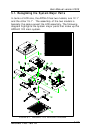
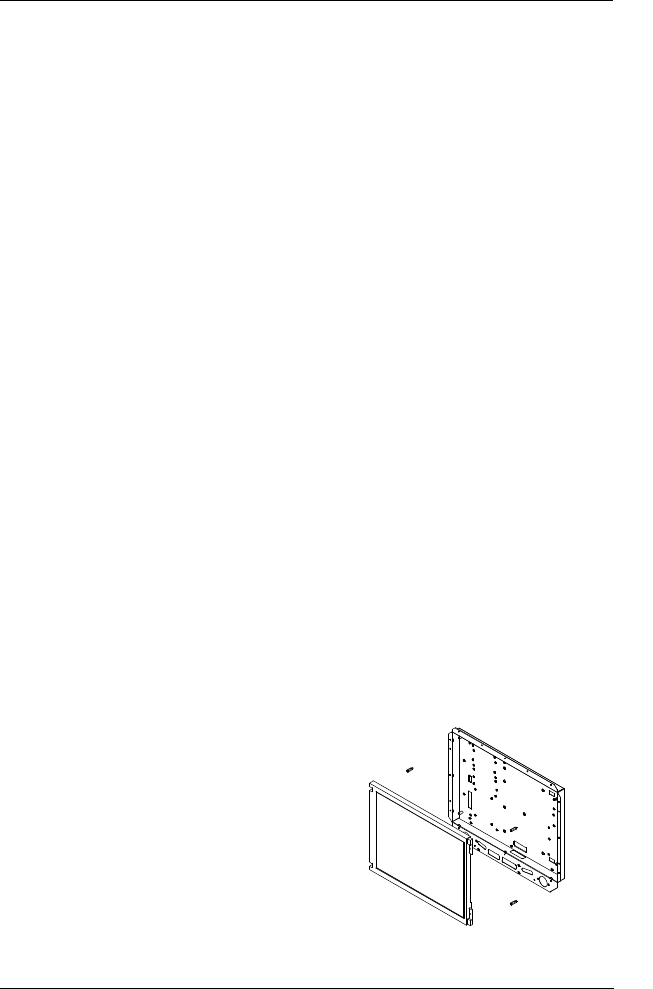
The following steps illustrate the ways to assemble the
toucshcreen to the front bezel.
1. There are 4 rubber slips with one-side taped with glue.
Glue the 4 slips to the gutters located at the reverse side
of the plastic front bezel. The 4 rubber slips act as
cushions to absorb the pressure when the touchscreen is
fixed to the front bezel with screws.
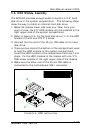
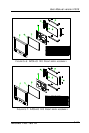
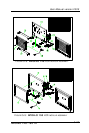
2. There are 4 metal brackets used to fix the touchscreen to
the front bezel. The metal brackets have to be taped with
soft tapes as shown on Figure 5-6 (7) & (8).
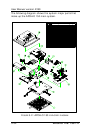
3. Then, fix the touchscreen to the front bezel with the 4
metal brackets with screws. The soft tapes are used to
absorb the pressure when the metal brackets fix the
touchscreen to the front bezel.
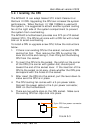
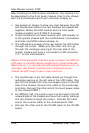
If no toushcreen is installed, there are two options. One is to
put a resilient glass instead. The advantage of putting a
resilient glass is to protect the LCD panel.
The other option is to fix 4
bronze sticks (5 mm) to the
LCD bracket to push the LCD
panel forward to make up the
gap between the LCD and the
front bezel. But when using
this way, two screw holes on
the front bezel need to be cut
to prevent LCD mechanism
interference to the front bezel.