


MacBook (13-inch) Take Apart — Top Case 33
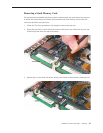
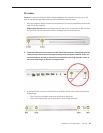
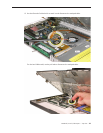
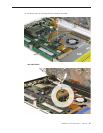
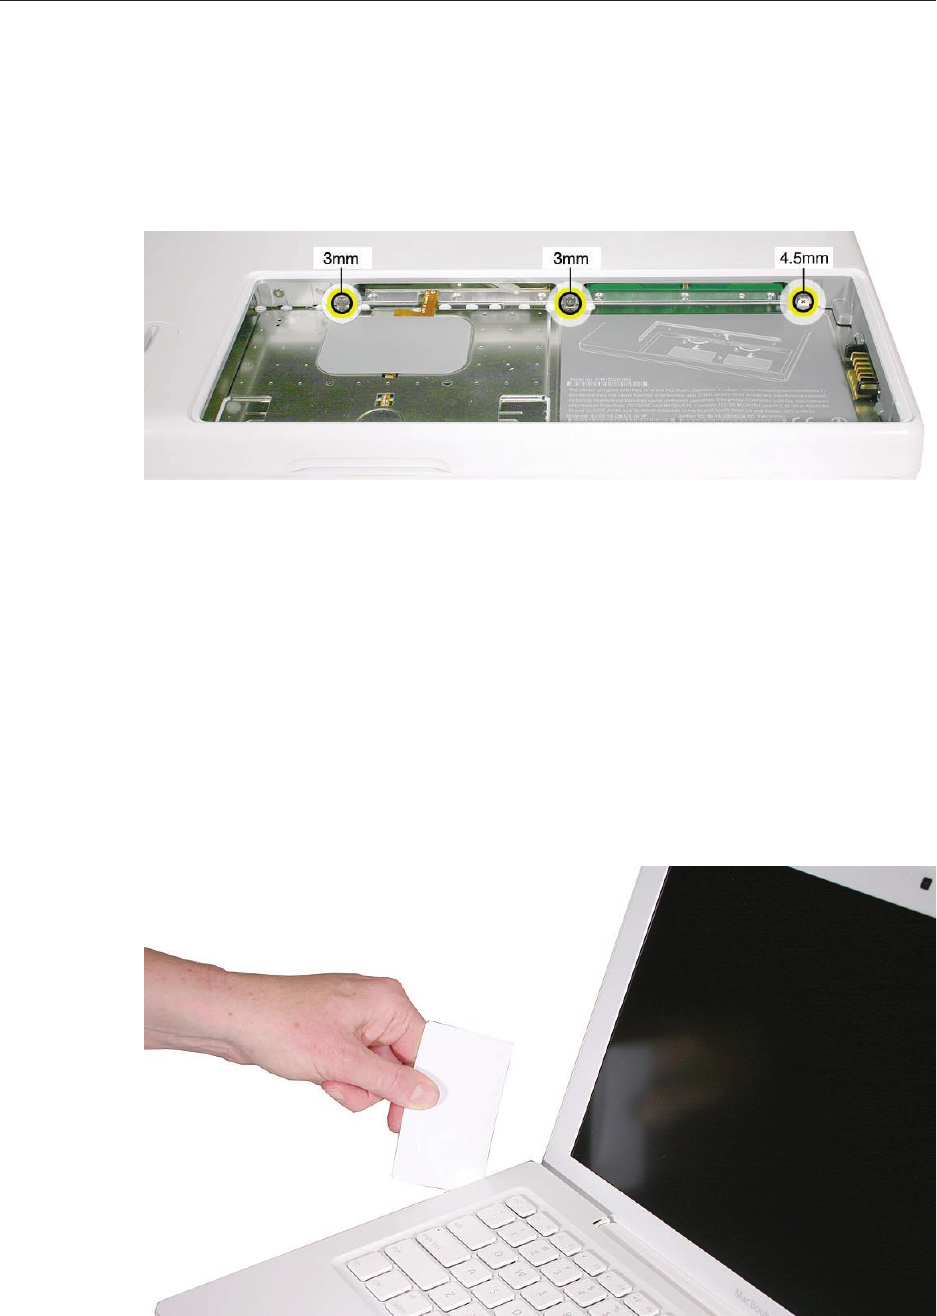
In the battery bay, use a long-handled screwdriver to remove the three #00 Phillips screws at
the inner edge of the battery bay near where the RAM slots are located:
• Two identical 3-mm long screws
• One longer 4.5-mm long screw at the corner of the battery bay nearest the battery
connector
Because this is a recessed area, the screwdriver has to go in at an angle. Keep the screwdriver
in line with the screw head as much as possible.
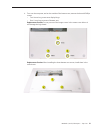
Replacement Caution: When installing these three screws, an incorrect installation could
cause the reassembled computer to wobble in use. To prevent a wobble symptom, use light
pressure to hold the top case onto the assembly when installing the screws.
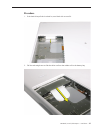
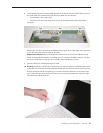
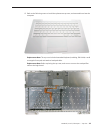
Open the display to a 90-degree angle or wider.
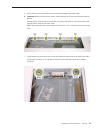
Warning: Inserting a tool too far or performing this step too quickly could break some of the
snaps that secure the top case. Be especially careful with the left front corner of the top case.
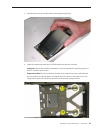
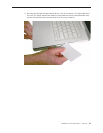
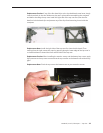
Starting at the left corner and working in a counter-clockwise direction, use an access card
tool to open the gap along the front of the top case, around the perimeter, and to the right
side above the optical drive slot.
8.
9.
10.