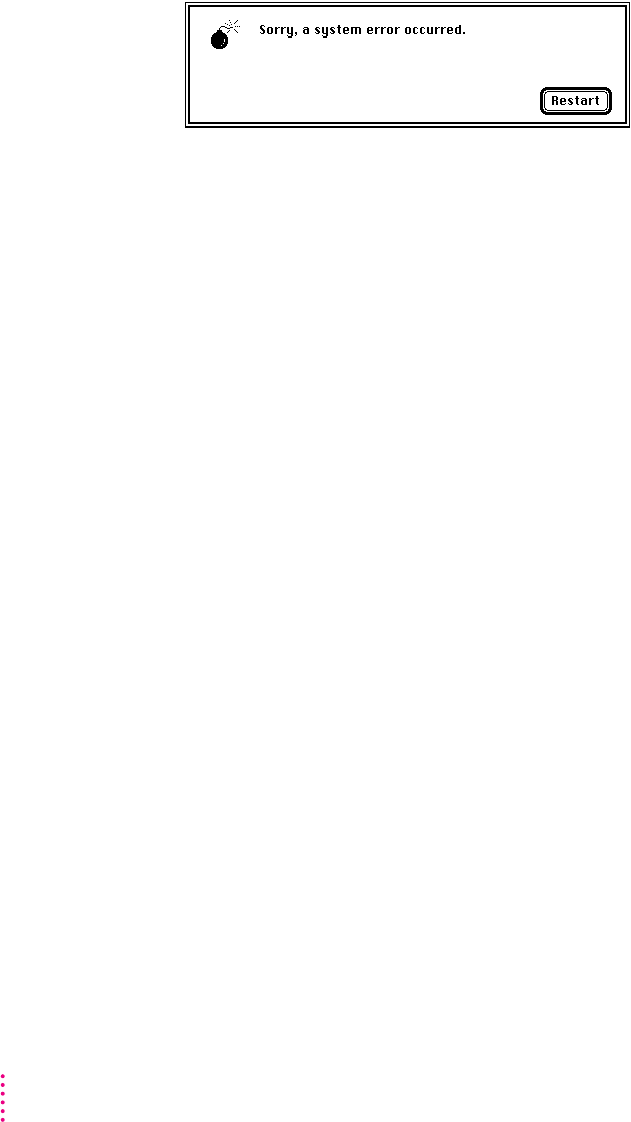
A dialog box with a bomb appears.
There is a software problem.
m Write down what you were doing when the message appeared, and write
down the text of the message.
m Restart your Macintosh. (See “Start Over” in the section “If You Have
Trouble” earlier in this chapter for instructions.) Most software problems
are temporary, and restarting usually corrects the problem.
m If the problem recurs, check the startup disk and application program you
were using when the dialog box appeared. Make sure that all programs,
desk accessories, and system extensions you’re using are compatible with
the system software (as described in the next paragraph). Reinstalling the
system software may correct the problem. See Chapter 7, “Installing or
Reinstalling Your Software.”
m Sometimes incompatible system extensions or control panels can cause
system software problems. Restart while holding down the Shift key; this
temporarily turns off all system extensions. If your computer works
normally after you do this, use the Extensions Manager control panel (in
the Control Panels folder in the Apple [K] menu) to turn on extensions and
control panels one at a time. Restart after you turn on each extension. This
procedure should identify incompatible extensions and control panels. (If
you just added new software to your computer, its system extension is the
most probable cause of the problem.) For detailed instructions, see the
information about managing system extensions in the “Customizing Your
Computer” topic of Macintosh Guide, available in the Guide (h) menu.
If your computer performs better when a particular extension or control
panel is turned off, contact the software’s manufacturer for information or
an upgrade.
70
Chapter 6


