


20 ASUS P2B-D2 User’s Manual
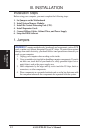
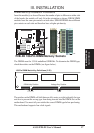
III. INSTALLATION
CPU
III. INSTALLATION
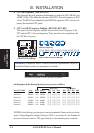
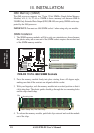
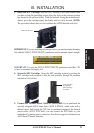
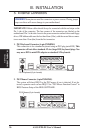
2. Attach the Heatsink: Place the SEC cartridge face down on a flat surface and lay
the heatsink flush on the back (metal side) of the SEC cartridge. Be sure that the
heatsink is firmly pressed against the SEC cartridge. When correctly installed, no
light can be seen between the thermal pad of the heatsink and the SEC cartridge.
IMPORTANT: The heatsinks must not be more than 2.8 cm (1.1 inch) thick.
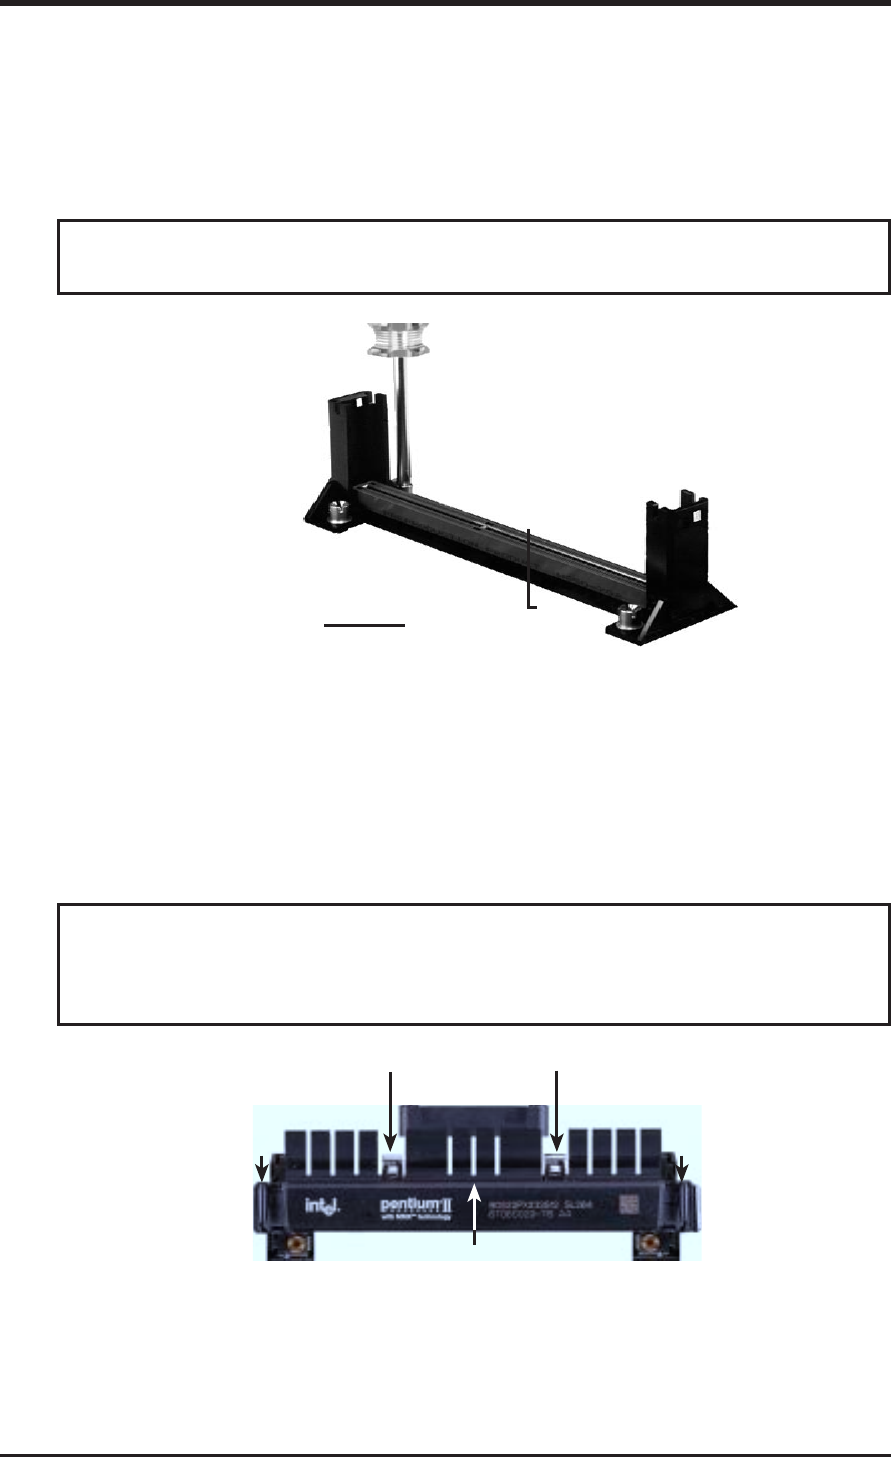
SEC Cartridge with Heatsink (Top View)
Push each end of the clamps until they lock
The thermal pad & SEC cartridge should not have a gap!
Lock
Lock
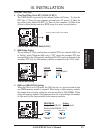
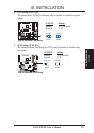
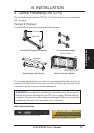
Installing the Pentium II Processor
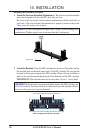
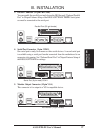
1. Mount the Processor Retention Mechanism(s): The processor retention mecha-
nisms are designed to fit into the SEC slots only one way.
Be sure to align the notches in the retention mechanisms with the small ribs on
each side of the slots and that the mechanism is properly seated on the board.
Then, screw the captive nuts in place.
Captive nut
Captive nut
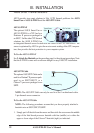
WARNING! Do not overtighten the captive nuts. Doing so could damage your
motherboard. Tighten captive nuts to no more than 6±1 inch/pound.
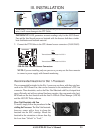
WARNING! If the heatsink is not mounted tightly against the SEC cartridge, the
CPU will overheat. You may install an auxiliary fan to provide adequate circula-
tion across the processor’s passive heatsink.