


Chapter 3: Installation
724-746-5500 l www.blackbox.com
13
3.1.3 Power On
The switch supports a 100-240 VAC, 50-60 Hz power supply. The power supply will automatically convert the local AC
power source to DC power. It does not matter whether any connection is plugged into the switch or not when powering on.
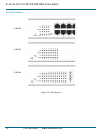
After the power is on, all LED indicators will light immediately and then all go off except the power LED, which stays on.
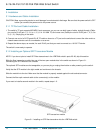
3.2 Installing Switch to a 19-Inch Wiring Closet Rail
CAUTION: Allow a proper spacing and proper air ventilation for the cooling fan at both sides of the switch.
Wear a grounding device for electrostatic discharge.
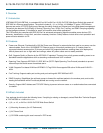
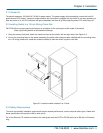
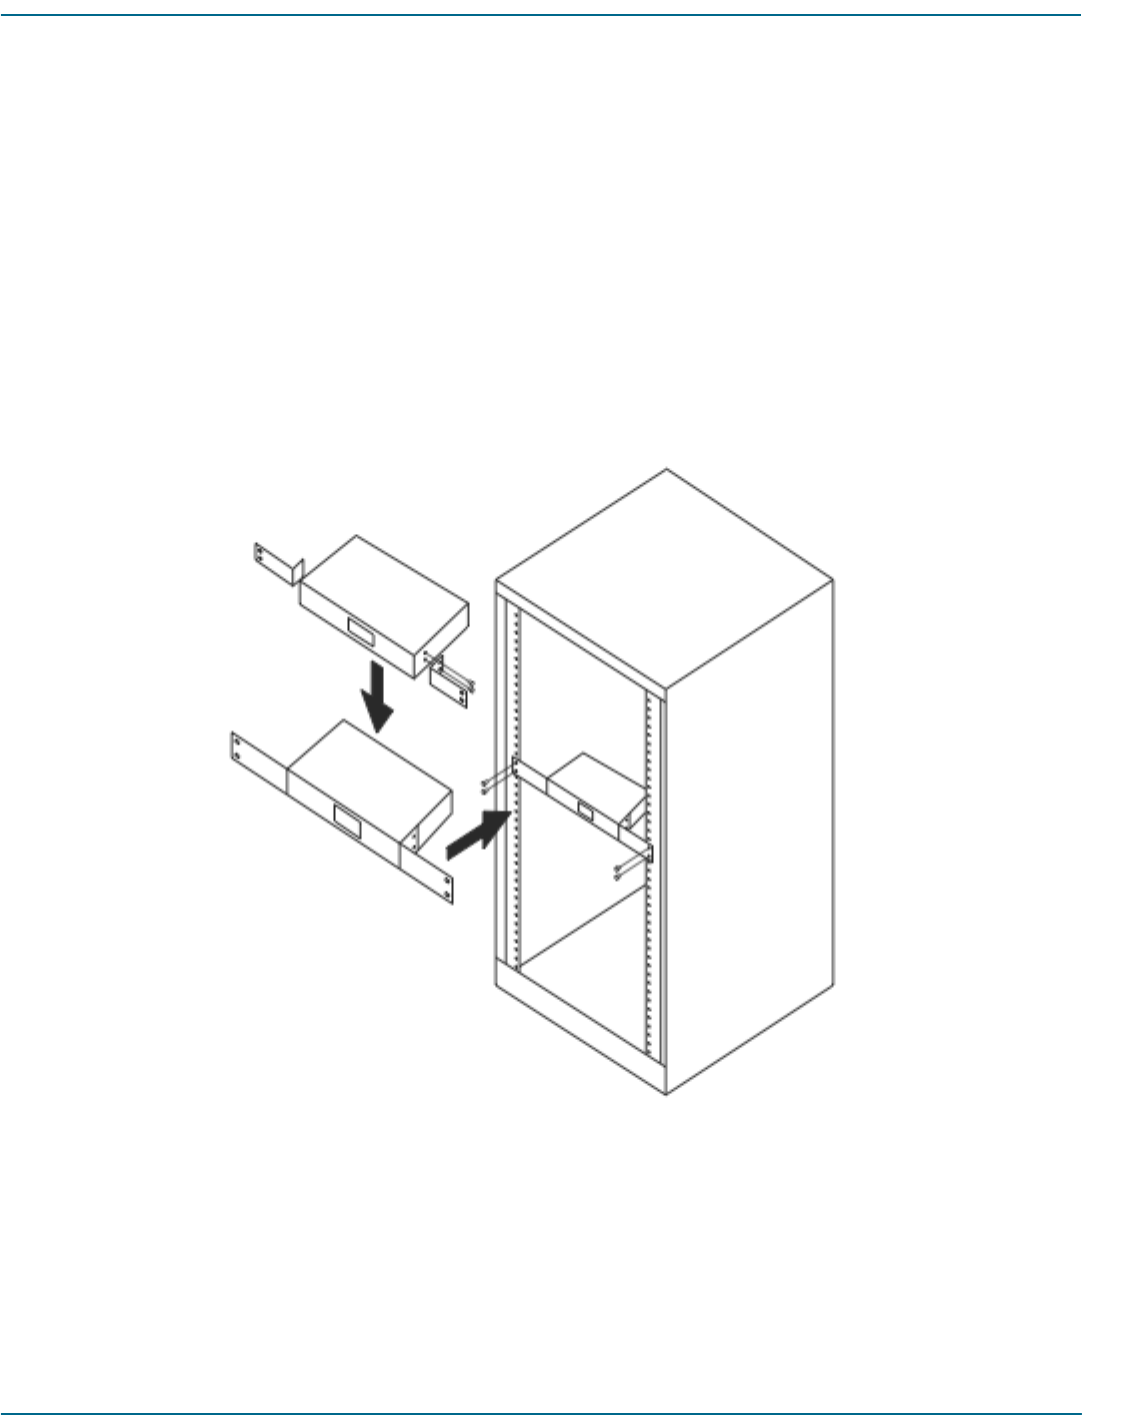
1. Using two screws (included), attach the rackmount ears to the switch’s left and right sides. See Figure 3-2.
2. Line up the mounting holes on the switch assembly (the switch with rackmount ears installed) with the mounting holes
on a 19" wiring closet rack. Install two screws (included) to hold the switch in place in the rack.
Figure 3-2. Install the switch chassis in a 19"rack.
3.3 Cabling Requirements
To ensure a successful installation and maintain proper network performance, use the required cable types. Cables with
lesser specification will cause the LAN to work poorly.
For a Fast Ethernet TP network connection, the cable grade must be CAT5 or CAT5e that‘s up to 328 feet (100 meters)
long.