


ENABLING/DISABLING TRAFFIC MONITORING
CONFIGURING SNMP.
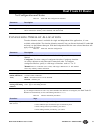
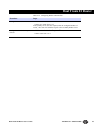
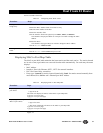
Table 4-15 Enabing/ Disabling Traffic Monitoring
Procedure Description
Disabling Traffic monitoring
1.Select Menu-0A
2.Set Traffic Monitoring field to Disabled
By default Traffic monitoring is Disabled.
Enabling Traffic Monitoring
1.Select Menu-0A
2.Set Traffic Monitoring field to Enabled
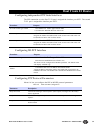
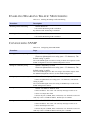
Table 4-16 Configuring Menu-0B SNMP
Procedure Steps
Setting get community string
1.Select Community get field
1.Enter an alphanumeric text string (max—32 characters). The
default setting is public
The router SNMP agent uses this text string to check GET requests for the
SNMP configuration from the SNMP management station.
Setting set community string
1.Select Community set field
1.Enter an alphanumeric text string (max—32 characters). The
default setting is public.
The router SNMP agent uses this text string to check SET requests from
the SNMP management station to set the SNMP configuration.
Setting trap community string
1.Select Community trap field
2.Enter an alphanumeric text string (max—32 characters). The default
setting is public.
The router SNMP agent inserts this string in SNMP traps it sends to the
SNMP management stations.
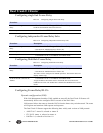
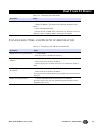
Setting First NMS IP addresses
1.Select 1st NMS IP Address field
2.Enter IP address. The router will send trap messages to this server.
3.Select 1st Output Port field
4.Selects the port (COMM, NET, or Ethernet) over which the router will
send trap to the 1st NMS IP address. Default port is COMM.
Setting second NMS IP addresses
1.Select 2nd NMS IP Address field
2.Enter IP address. The router will send trap messages to this server.
3.Select 2nd Output Port field
4.Selects the port (COMM, NET, or Ethernet) over which the router will
send trap to the 1st NMS IP address.Default port is COMM.