


1
2
3
4
5
6
7
8
9
45
z EDITING A LABEL
Creating a Barcode Label
Using the Barcode function you can create labels with barcodes for use with cash
registers, stock control systems or other barcode reader systems, or even asset control
tags used in an asset management system.
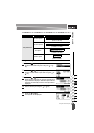
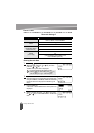
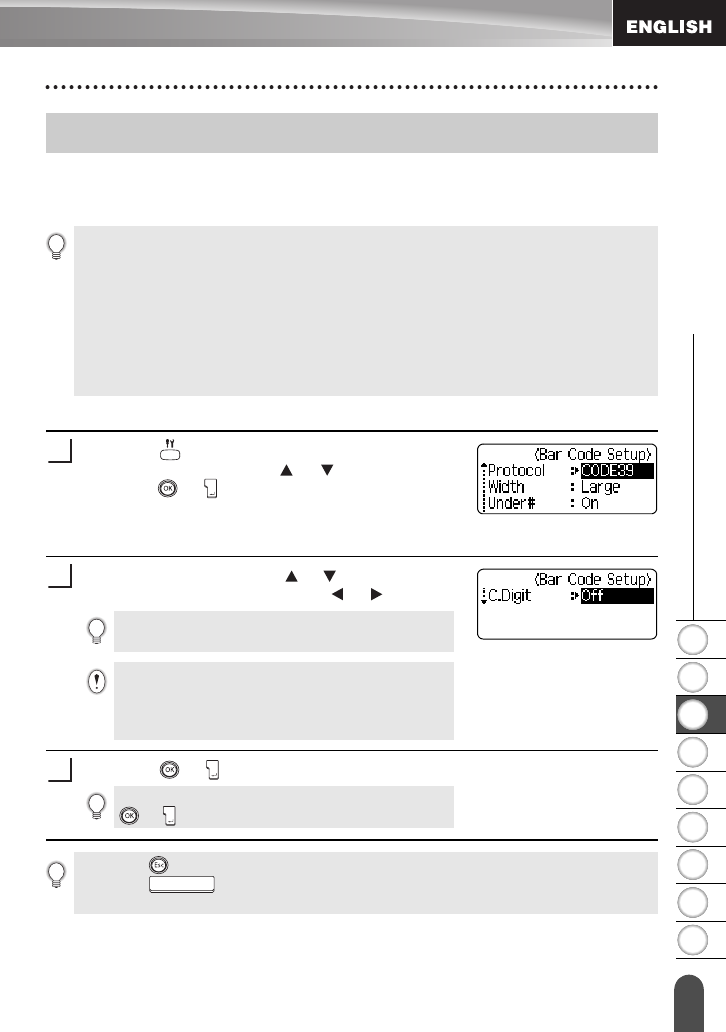
Setting Barcode Parameters
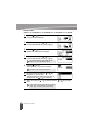
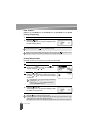
Press the key to display the Setup menu, select
"Barcode Setup" using the or key, and then
press the or
key
.
The Barcode Setup screen is displayed.
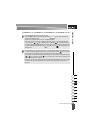
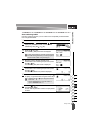
Select an attribute using the or key, and then set
a value for that attribute using the or key.
Press the or key to apply the settings.
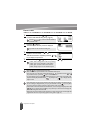
Creating a Barcode Label
• The P-touch is not designed exclusively for creating barcode labels. Always check that
barcode labels can be read by the barcode reader.
• For best results, print barcode labels in black ink on white tape. Some barcode readers may not
be able to read barcode labels created using coloured tape or ink.
• Use the "Large" setting for "Width" whenever possible. Some barcode readers may not be able
to read barcode labels created using the "Small" setting.
• Continuously printing a large number of labels with barcodes can overheat the print head,
which may effect printing quality. If this happens you should stop printing for a few moments
to let the print head cool down.
The "C-Digit" attribute is only available for the
CODE39, I-2/5 and CODABAR protocols.
Characters may not appear below the barcode even
when "ON" is selected for "Under #", depending on the
tape width being used, the number of lines entered, or
the current character style settings.
1
2
New settings are NOT applied if you do not press the
or key.
3
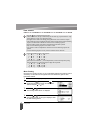
• Press the key to return to the previous step.
• Press the key to set the selected attribute to the default value.
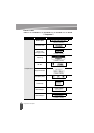
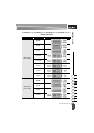
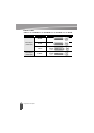
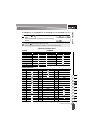
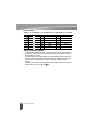
• Refer to the Barcode Settings table for a list of all available settings.