


1
2
3
4
5
6
7
8
9
58
z LABEL PRINTING
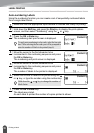
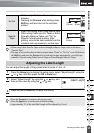
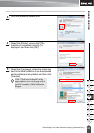
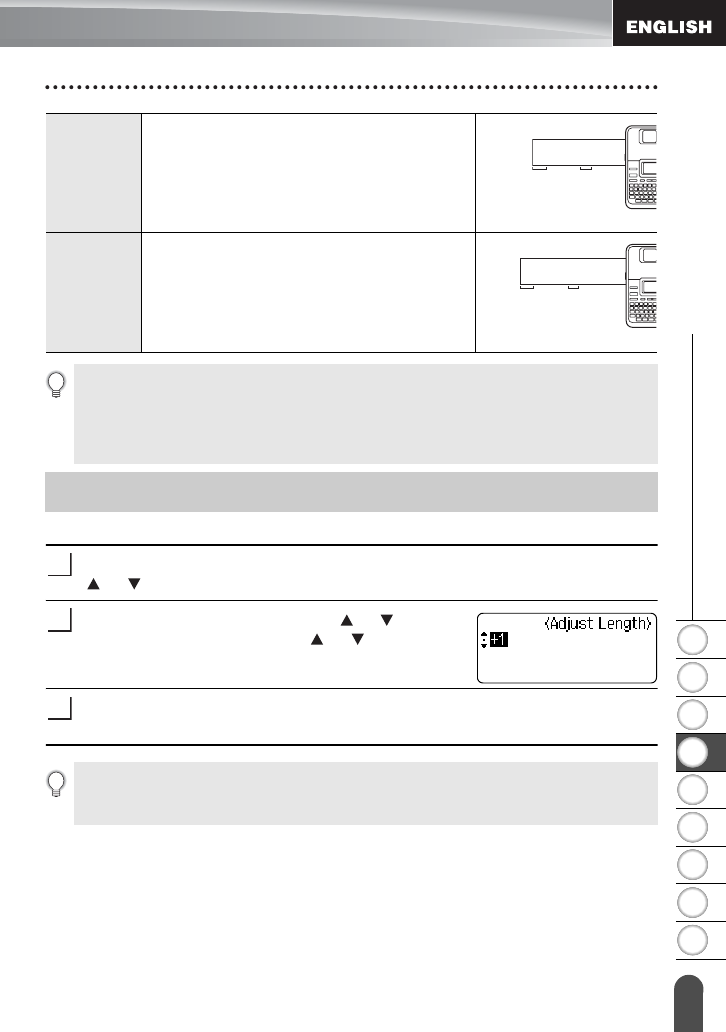
Adjusting the Label Length
You can adjust the length of the printed label in levels of -5 to +5.
Press the
Setup
key to display the setup menu, select "Adjust Length" using the
or key, and then press the
OK
or
Enter
key.
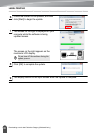
Select "Adjust Length" by using the or key, and
then set the value by using the or key.
Press the
OK
or
Enter
key to apply the setting.
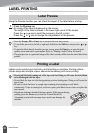
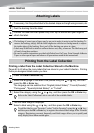
No Cut
• Prints a strip of labels with no cuts in
between.
• Pressing the
Preview
while holding down
Shift
key will feed and cut the last label
printed.
Special
Tape
• Select this setting when using special tape.
• When using Fabric Iron-On Tapes or Extra
Strength Adhesive Tapes, set "On" for
Manual Cutting before printing. After
printing, remove the tape cassette from the
machine and use scissors to cut the tape.
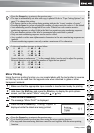
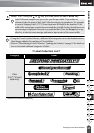
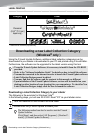
ABC ABC
0.94"
(24 mm)
0.31"
(8 mm)
ABC ABC
0.94"
(24 mm)
• When using Fabric Iron-On Tapes or Extra Strength Adhesive Tapes, refer to the above
"Special Tape".
• The tape is not cut after the last label is printed when “Chain” or “No Cut” is set. Hold down
the
Shift
key and press the
Preview
key to feed and cut tape automatically, or cut the tape
manually if you are using Fabric Iron-on Tapes or Extra Strength Adhesive Tapes.
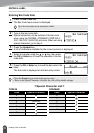
Adjusting the Label Length
1
2
3
•Press the
Escape
key to return to the previous step.
•Press the
Space
key to set the value to default setting.
• Approximately 1% of the total label length will be adjusted by 1 level.