


22
Ch. 2 Getting Started
Getting Started
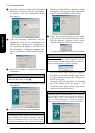
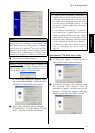
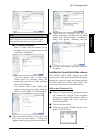
8 When the dialog box appears, indicating
that the installation is finished, click the
Quit button.
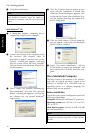
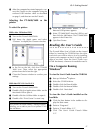
9 When the dialog box appears, asking if you
wish to restart the computer, click the
Restart button to restart the computer.
1 With the P-touch and the Macintosh turned
off, connect the P-touch to the computer
using the enclosed USB interface cable as
described on page 9. Be sure to leave the
P-touch turned off.
2 Turn on the Macintosh.
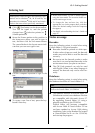
3 Insert the enclosed CD-ROM into the com-
puter’s CD-ROM drive.
4
Double-click the Mac OS X folder to open it.
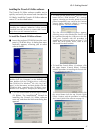
5 Double-click the P-touch Editor 3.2 folder
to open it.
6
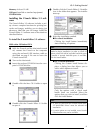
Double-click the P-touch Editor 3.2 Installer icon
in the folder that appears. The installer starts up,
and then the Introduction dialog box appears.
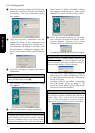
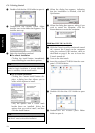
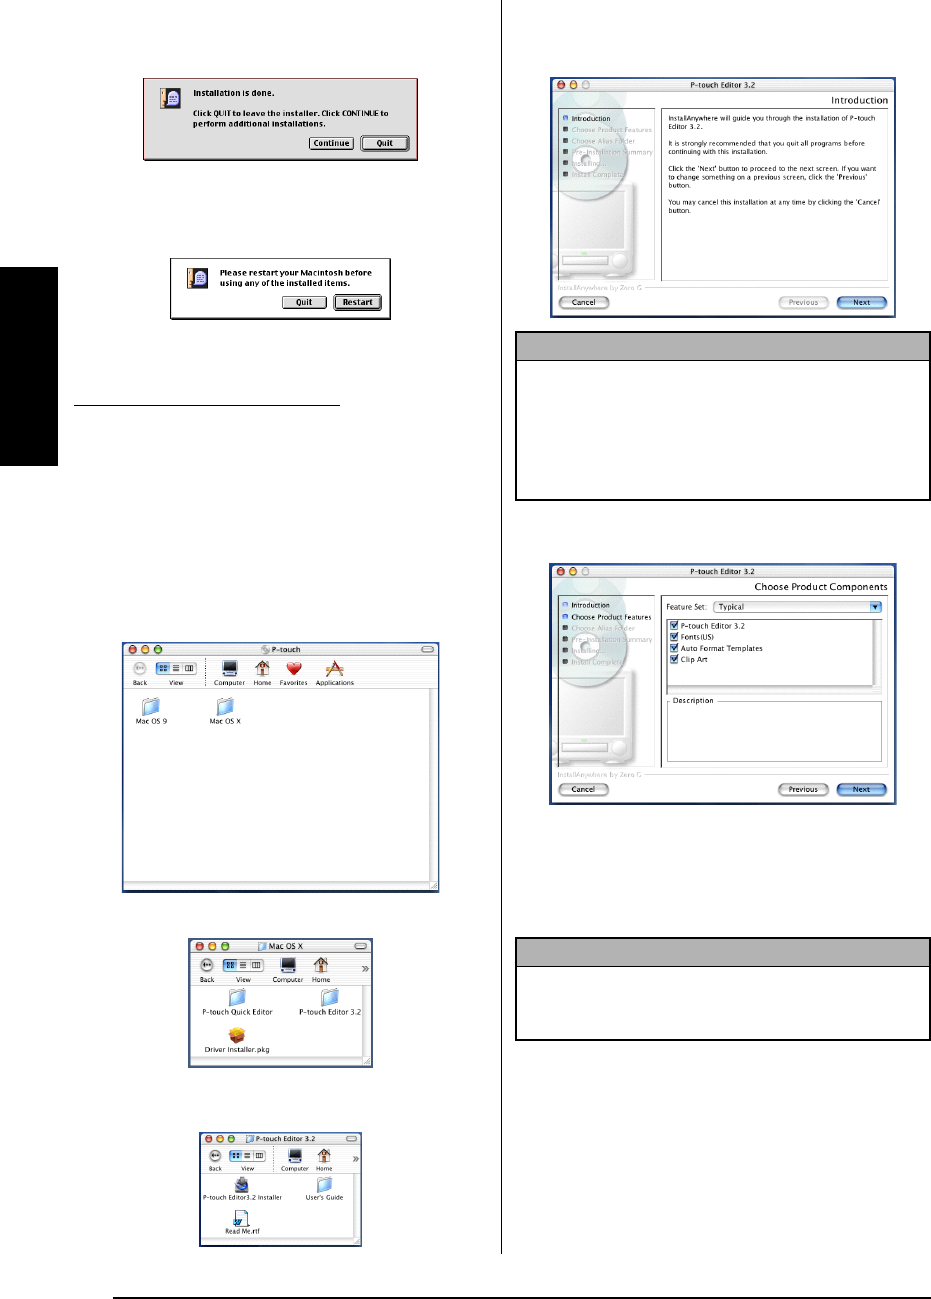
7 Click the Next button. The Choose Product
Components dialog box appears.
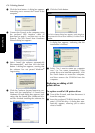
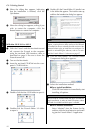
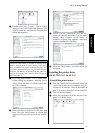
8 Select the installation method.
● For a typical installation
Click the Next button to immediately start
installing all options.
● For a minimal installation
Select “Minimal” from the Feature Set list,
and then click the Next button to start install-
ing just the P-touch Editor 3.2 application.
With Mac OS X 10.1 to 10.2.3
NOTE
When the Next button is pressed, a message may
appear, warning that an older version of the software
is installed. Be sure to uninstall the older version of the
software before trying to install the new software. For
details on uninstalling the software, refer to To unin-
stall the P-touch Editor 3.2 software: on page 37.
NOTE
About 20 MB of available hard-disk space is needed to
begin installation. In order to install all options, about
100 MB of available hard-disk space is needed.