27
Ch. 2 Getting Started
Getting Started
F After the computer has started up again, con-
nect the P-touch to the computer using the
enclosed USB interface cable as described
on page 9, and then turn on the P-touch.
Selecting the PT-9600/3600 as the
printer
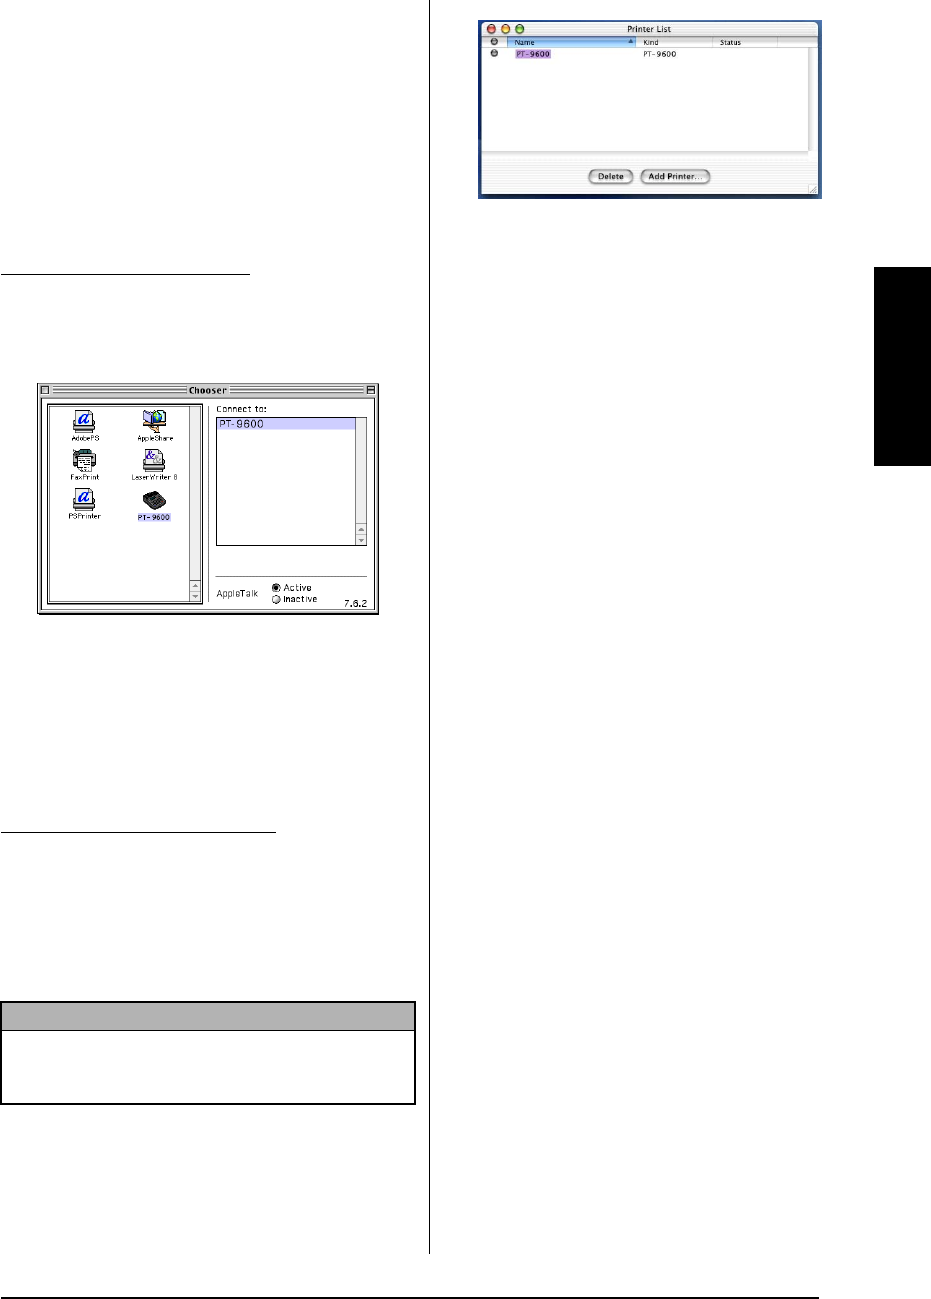
To select the printer:
1 Turn on the P-touch 9600/3600.
2 Pull down the Apple menu and select
“Chooser” to display the Chooser window.
3 In the list on the left, click the PT-9600/
3600 icon. Then, select the appropriate
printer from the list on the right.
4 Close the Chooser window to confirm your
settings.
1 Turn on the P-touch 9600/3600.
2 Double-click the Applications folder on the
Macintosh HD to open it.
3 Double-click the Utilities folder to open it.
4 Double-click “Print Center” to start it up.
5 Click the Add Printer button. A list of
detected USB printers appears.
6
Select “PT-9600/3600” from the USB list, and
then click the Add button. The PT-9600/3600
appears in the Printer List.
7 Quit Print Center.
●
●
●
●
●
●
●
●
●
●
●
●
●
●
●
●
●
●
●
●
●
●
●
Reading the User’s Guide
The P-touch Editor User’s Guide can be viewed
either by inserting the CD-ROM into the drive
each time you wish to refer to it or by installing
it onto your computer so that it is quickly avail-
able at any time. Since the User’s Guide is an
HTML document, a browser is needed to read it.
On a Computer Running
Windows
®
To view the User’s Guide from the CD-ROM:
1 Start up Windows
®
Explorer.
2 Select the CD-ROM drive.
3 Double-click the Ptouch folder
4 Double-click the Manual folder
5 Double-click “Main.htm”.
To view the User’s Guide installed on the
hard disk:
1 Click the Start button in the taskbar to dis-
play the Start menu.
2 Point to “Programs”.
3 Point to “P-touch Editor 3.2”.
4 Click “The User’s Guide P-touch Editor
3.2”.
With a Mac OS before OS X:
With Mac OS X 10.1 to 10.2.3:
NOTE
If no printers have been added, a message appears,
allowing you to add to your list of printers. Click
the Add button.


