


21
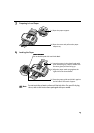
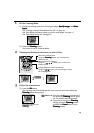
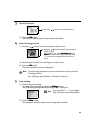
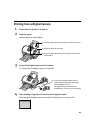
3 Specify the layout.
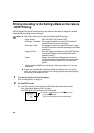
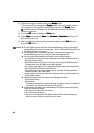
(2) Press the OK
OKOK
OK button.
The screen for specifying the image to print is displayed.
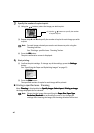
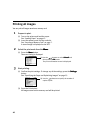
4 Select the image to print.
(1) Using the buttons, select the image you wish to print.
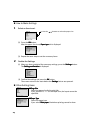
(3) Repeat steps (1) and (2) for each image you wish to print.
(4) Press the OK
OKOK
OK button.
The print confirmation screen is displayed.
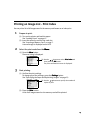
5 Start printing.
(1) Confirm the print settings.
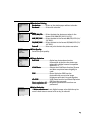
To change any of the settings, press the Settings
SettingsSettings
Settings button.
See “Specifying the Paper and Optimizing Images” on page 23.
(2) Press the Print
PrintPrint
Print button.
The specified number of copies for each image will be printed.
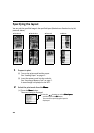
Note
For each image selected you can also set the area to print using the
Trimming function.
See “Printing a specified area - Trimming” on page 16.
(1) Press the buttons to specify the layout.
(2) Using the buttons to specify the number of
copies to print.
For example, if you select Borderless x 2
Borderless x 2Borderless x 2
Borderless x 2 in the
Layout
LayoutLayout
Layout and set the number of copies to print to
"2", two identical images will be printed on a
sheet.
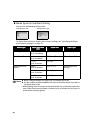
Note
If you specified 5" × 7" as the Paper
Size, the layout cannot be specified.