Using the Printing Functions
4-45
Printing a Document
4
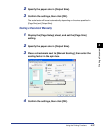
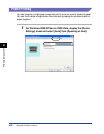
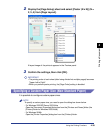
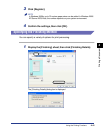
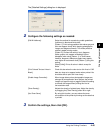
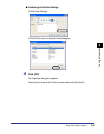
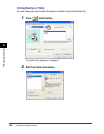
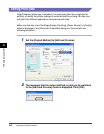
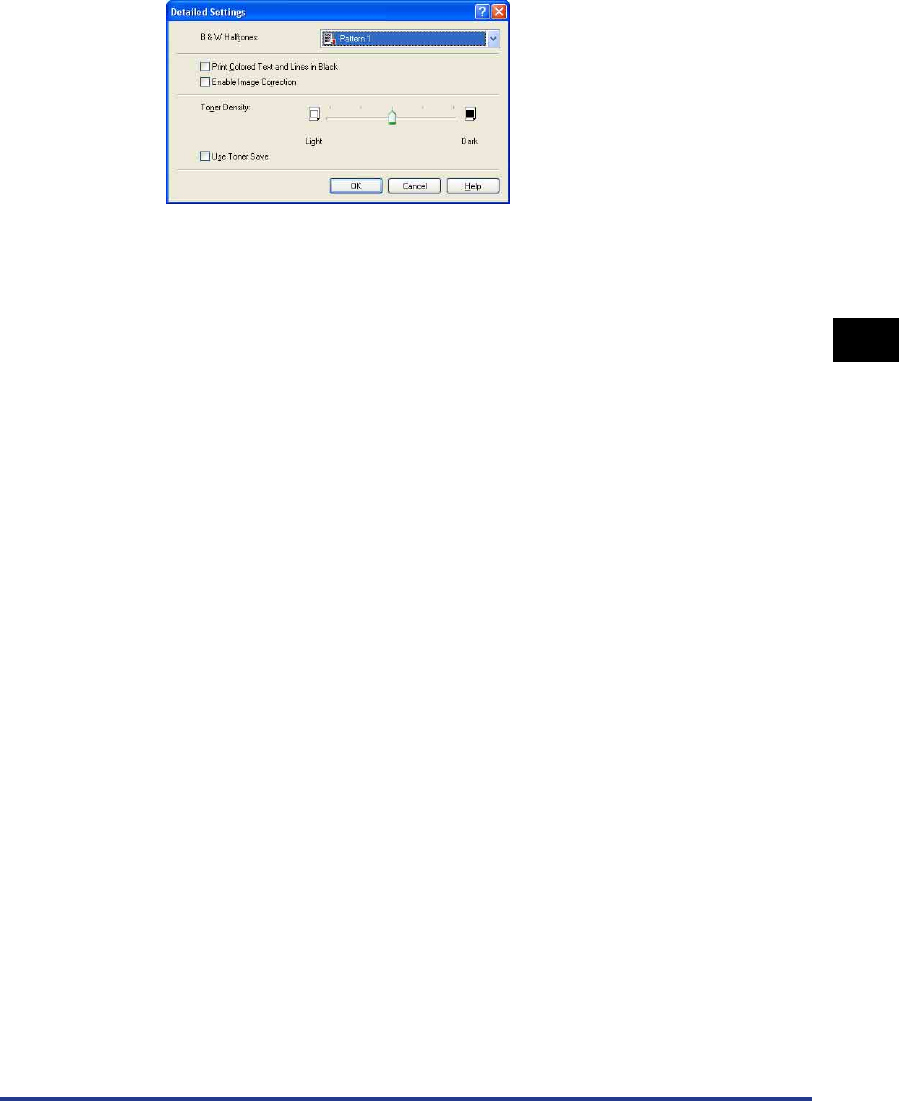
The [Detailed Settings] dialog box is displayed.
2
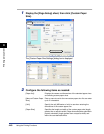
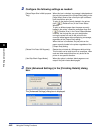
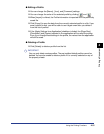
Configure the following settings as needed:
3
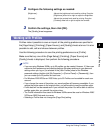
Confirm the settings, then click [OK].
[B & W Halftones]: Select the method for reproducing subtle gradations
(halftones) in black-and-white data.
[Pattern 1]: Prints using gradation that makes gray and
color text appear sharp, while keeping photographic
images and diagrams smooth. This mode produces
relatively stable printing results.
[Pattern 2]: Choose this setting if text, diagrams,
tables, graphs, etc. appear exceedingly light or
disappear when using [Pattern 1]. In some cases,
however, diagrams, tables and graphs may appear
even lighter or less smooth than [Pattern 1] using this
setting.
[None [Solid]]: Prints all colors in black, except for
white.
[Print Colored Text and Lines in
Black]:
Check this box when the color text or thin lines in CAD
data etc. drop out or appear broken when printed. You
should be able to print thin lines clearly.
[Enable Image Correction]: When image data such as photographic images are
enlarged by an application when printed, the printed
images can appear rough or jagged. Select this setting
to smooth the images when printing this kind of
low-resolution data.
[Toner Density]: Adjusts the density of printed toner. Adjust the density
by dragging the [Toner Density] slider left or right.
[Use Toner Save]: By using this function, you can reduce the toner
consumption of the printer by thinning out the data that
is printed.


