4-9
Cisco Wide Area Application Engine 512 and 612 Hardware Installation Guide
OL-9137-02
Chapter 4 Installing Hardware Options
Working with Hard Disk Drives
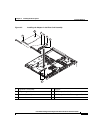
Caution To avoid breaking the retaining clips or damaging the DIMM connectors, open
and close the clips gently.
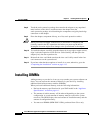
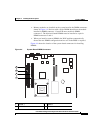
b. Insert the DIMM into the connector by aligning the DIMM edges with the
slots at each end of the DIMM connector. Firmly press the DIMM straight
down into the connector by applying pressure on both ends of the DIMM
simultaneously. Be sure that the retaining clips snap into the locked position
when the DIMM is firmly seated in the connector.
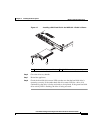
c. If a gap exists between the DIMM and the retaining clips, the DIMM has not
been properly installed. In this case, open the retaining clips and remove the
DIMM, and then reinsert the DIMM.
Step 5 If you have other options to install, do so now; otherwise, go to the “Completing
the Installation” section on page 4-15.
Working with Hard Disk Drives
This section describes how to install a hard disk drive in the Wide Area
Application Engine (WAE). The WAE-512 requires simple-swap
Serial Advanced
Technology Attachment II (SATA) hard disk drives, and the WAE-612 accepts
Serial Attached
SCSI (SAS) hard disk drives or hot-swap SATA hard disk drives.
Consider the following information when installing a hard disk drive:
• Locate the documentation that comes with the hard disk drive and follow
those instructions in addition to the instructions in this chapter.
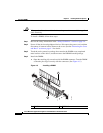
• In the WAE-512 and WAE-612, disk00 belongs in the left drive bay and
disk01 belongs in the right drive bay as seen when facing the drive bays.
• If you are installing a SAS hard disk drive, see the documentation that comes
with the drive before installing it.
Note To avoid damage to the hard disk drive connectors, make sure that the
cover is in place and fully closed whenever you install or remove a hard
disk drive.


