


3-12
Cisco IAD2430 Series Integrated Access Devices Hardware Installation Guide
OL-4234-06
Chapter 3 Installing Cisco IAD2430 Series IADs
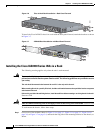
Wall-Mounting the Chassis
Caution If you are mounting the router on drywall, use two hollow-wall anchors (1/8 inch with 5/16-inch drill
bit, or M3 with 8-mm drill bit) to secure the screws. If the screws are not properly anchored, the strain
of the network cable connections could pull the router from the wall.
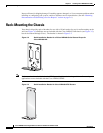
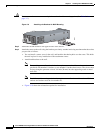
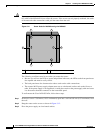
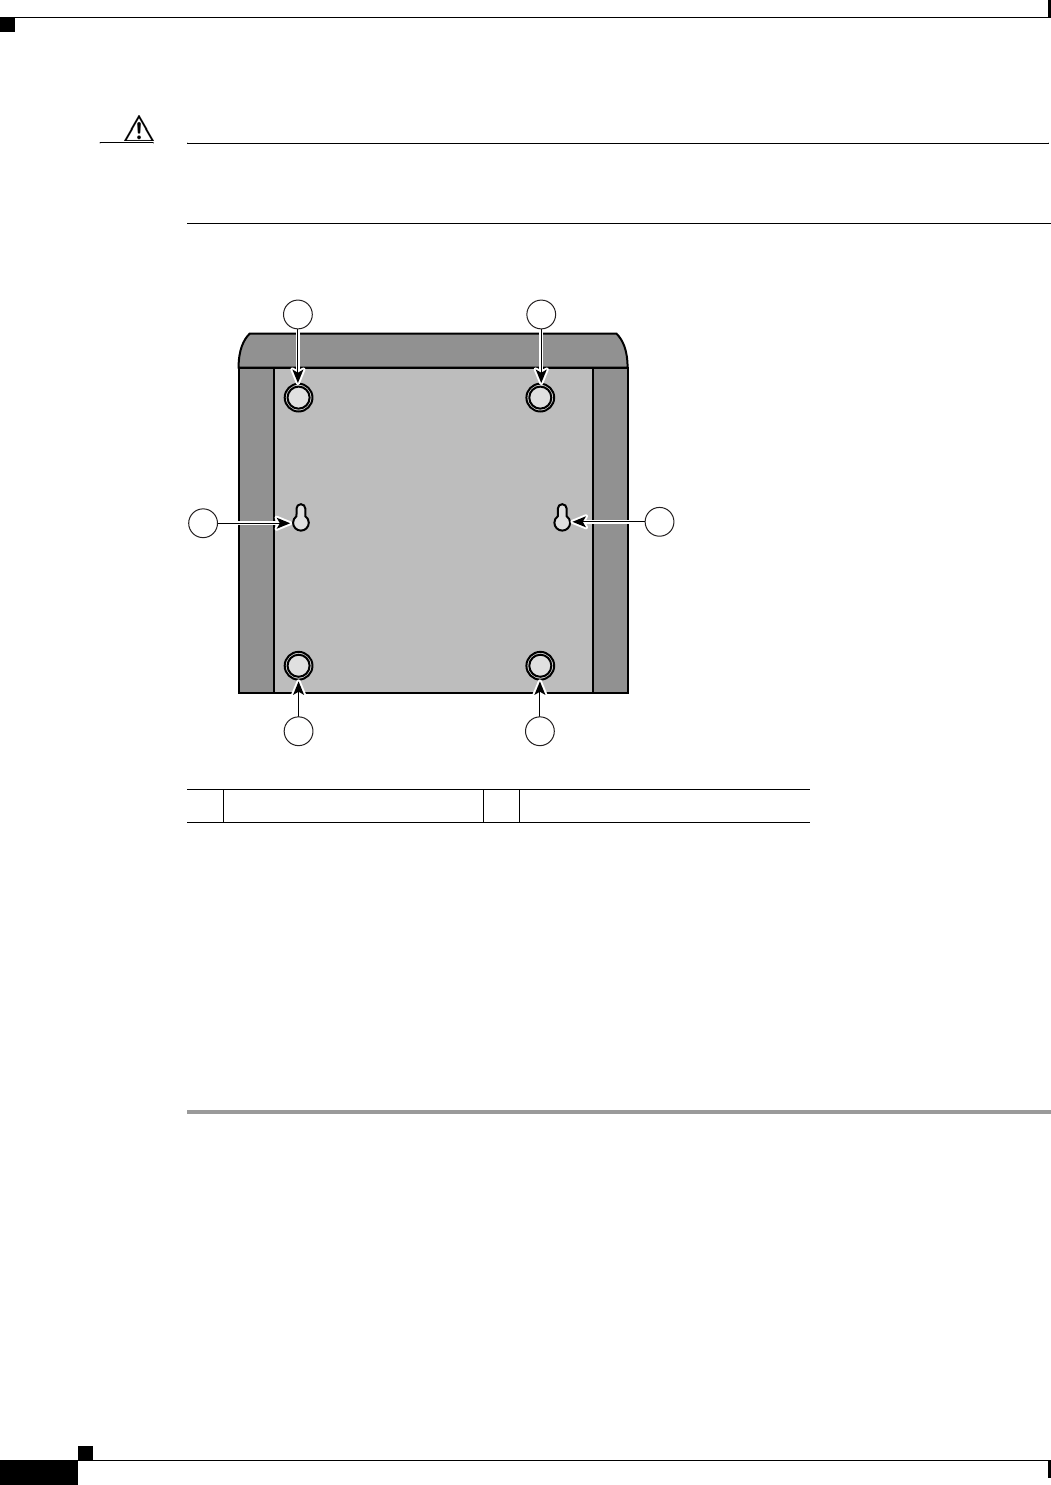
Figure 3-11 Screw Holes for Wall-Mounting the IAD2435
The following conditions must be met when you mount the router:
• Because you will use the LEDs as status and problem indicators, the LEDs on the front panel must
face upward and must be easily visible.
• The back panel must face downward to reduce strain on the cable connections.
• The external 60-W power supply adapter must rest on a horizontal surface such as the floor or a
table. If the power supply is not supported, it could place strain on the powersupply cable and cause
it to disconnect from the connector on the router back panel.
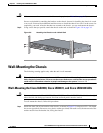
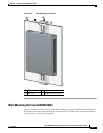
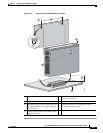
To wall-mount the Cisco IAD2435 IADs, follow these steps:
Step 1 Secure two screws 7 5/8 inches (19.35 centimeters) apart into a wall and 1/8 inch (0.32 centimeter) from
the wall.
Step 2 Hang the router on the screws as shown in Figure 3-12.
Step 3 Place the power supply on a horizontal surface.
1 Rubber feet 2 Screw holes
231984
1
1
1
1
2
2