Using the auto-complete function
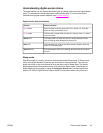
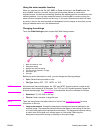
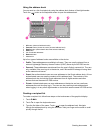
When you type text into the To:, CC:, BCC: or From: text boxes in the E-mail screen, the
auto-complete function is invoked. As you type the required address or name at the
keyboard screen, the device automatically searches the address book list and shows the first
matching address. You can then accept that name by touching OK, or continue typing the
name until auto-complete finds the correct entry. If you type a character that does not match
any entry in the list, the auto-complete text disappears from the display to show that you are
typing an address that is not in the address book.
Changing the settings
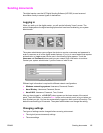
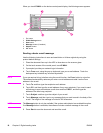
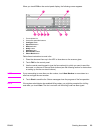
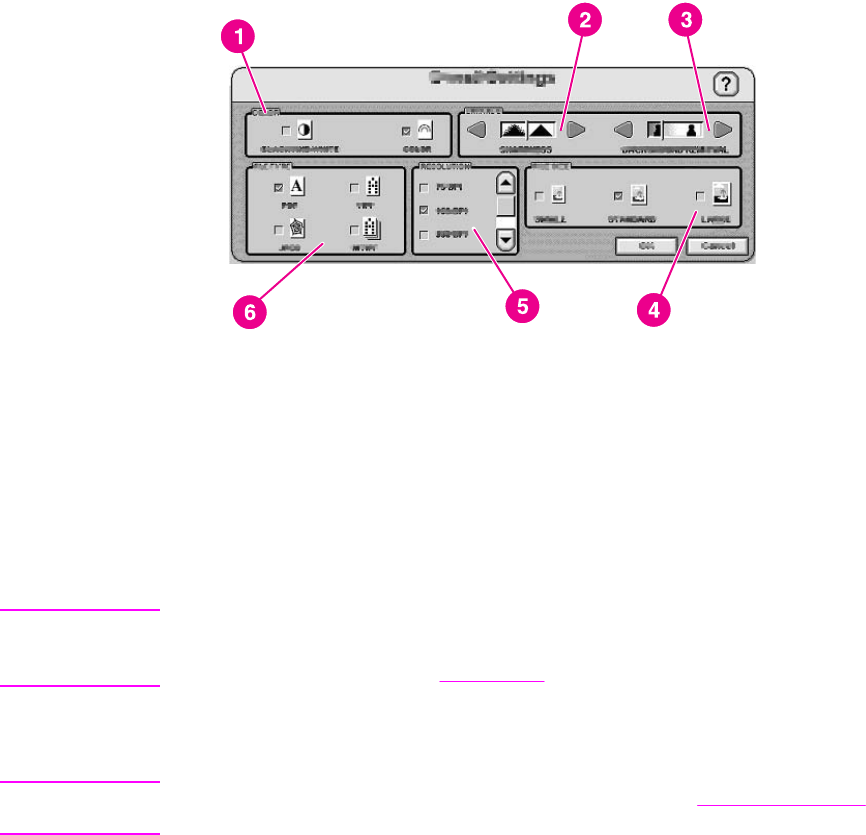
Touch the E-Mail Settings button to open the E-Mail Settings screen.
1 Black and white or color
2 Sharpness setting
3 Background Removal setting
4 File size (small, standard, or large)
5 Resolution (dpi)
6 File type
Before you send a document in e-mail, you can change the following settings:
● Color: Select black-and-white or color.
● File Type: Select .PDF, .TIFF, .MTIFF, or .JPG.
NOTE
If the document has multiple pages, the .PDF and .MTIFF formats produce a single e-mail
attachment that contains all of the pages. The .TIFF and .JPG formats produce a single file
for each scanned page. See
File formats for more details about the individual file formats.
● Resolution: 75, 150, 200, or 300 dpi.
● File size: Small, standard, or large file size.
NOTE
There are many factors that affect the size of the file. See Controlling file size for more
information on file size.
● Image enhancement: Change the sharpness or background-removal settings for the
scanned image. The sharpness setting enhances the edges of the printing so that faint
or fine text and graphics are reproduced more sharply. The background removal setting
is useful when the original is on colored paper or is two-sided. Removing the
background can prevent blurring or streaking in the output image.
ENWW Sending documents 19


