


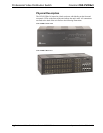

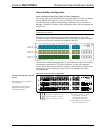
Professional Video Distribution Switch Crestron CNX-PVID8x3
12 • Professional Video Distribution Switch: CNX-PVID8x3 Operations Guide - DOC. 8159A
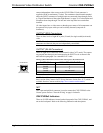
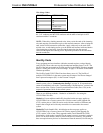
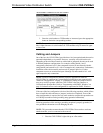
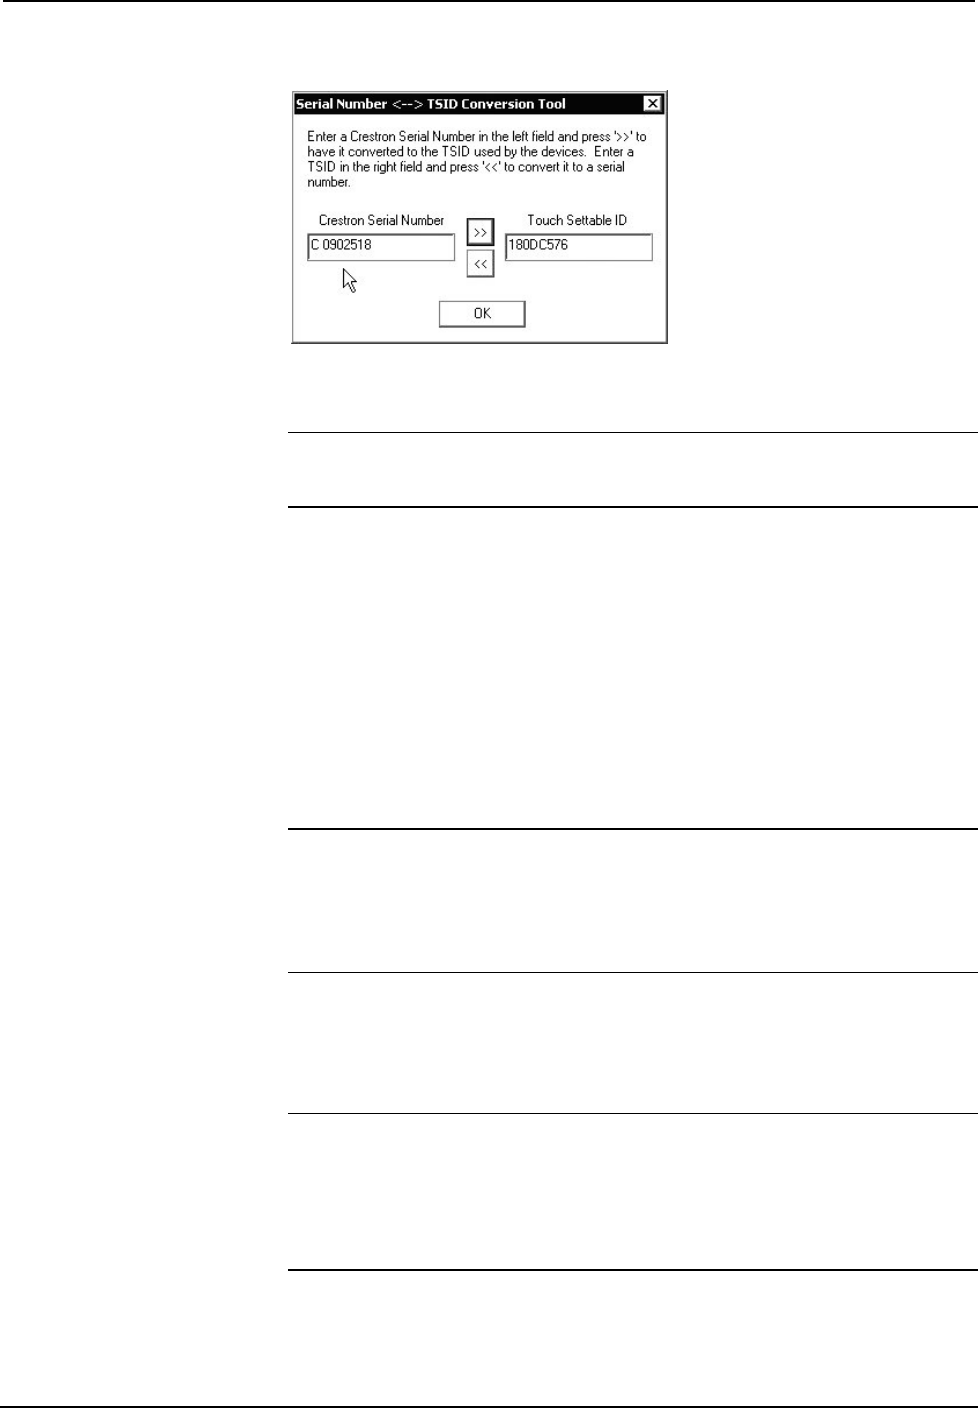
“Serial Number to TSID Conversion Tool” Window
3. Enter the serial number or TSID number as instructed; press the appropriate
button to obtain the corresponding number.
NOTE: Enter serial numbers, including spaces, exactly as they appear on the unit
label. Alpha characters in serial numbers or TSID numbers may be entered in upper
or lower case.
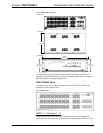
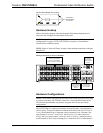
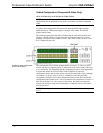
Cabling and Jumpers
Out of the box, the CNX-PVID8x3 provides three 16x8 crosspoint boards that can be
operated independently or in parallel. However, versatility was built into the unit.
Depending on how the three boards are cabled and/or jumpered, the unit can be used
in different hardware configurations. For example, cabling boards 1 and 3
conceptually eliminates level 3 (thus component sources are not allowed with this
configuration) and extends level 1 with 16 composite-only connections. Furthermore,
installation of the cable assembly and removal of jumpers splits level 3 (thus
component sources are restricted to inputs 9 through 16) and extends level 1 with
eight composite-only connections.
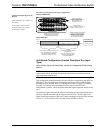
NOTE: Possible configurations and their respective applications when the
CNX-PVID8x3 is connected to Crestron Room Solution Boxes are summarized in
"Hardware Configurations" on page 15. Furthermore, cabling and jumper removal
may prove useful in systems where the CNX-PVID8x3 does not connect to a
Crestron Room Solution Box. Refer to "Programming with SIMPL Windows" on
page 24 for details of how each configuration is represented in SIMPL Windows.
If the out-of-the-box configuration is desired, the following procedure, which defines
how to install the cable and remove jumpers, need not be completed. If one of the
other configurations is required, the only tools needed to complete this procedure are
a #2 Phillips screwdriver and a grounding strap (grounded workstation).
CAUTION: The CNX-PVID8x3 contains ESD sensitive devices. Perform the
following procedure while wearing a grounding strap that is properly grounded, or
on a grounded workstation to avoid damaging the unit.
NOTE: This procedure assumes that the CNX-PVID8x3 does not have rack ears
attached and has yet to be connected to the network.
1. Place the CNX-PVID8x3 right side up on a flat surface.