Crestron CNX-PVID8x3 Professional Video Distribution Switch
Operations Guide - DOC. 8159A Professional Video Distribution Switch: CNX-PVID8x3 • 25
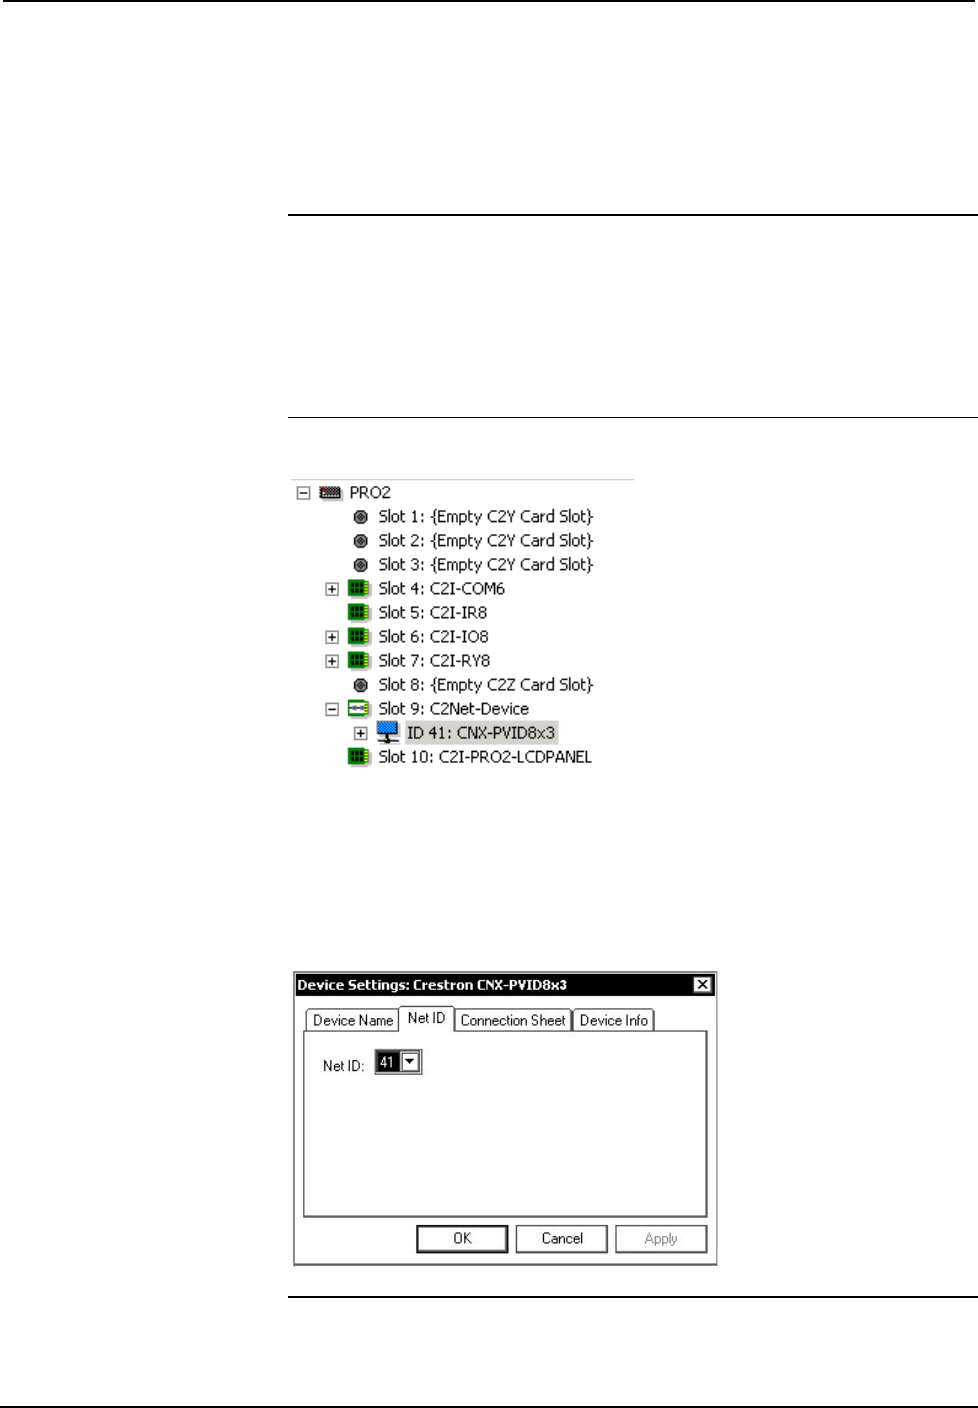
C2Net Device Slot in Configuration Manager
To incorporate a CNX-PVID8x3 into the system, drag the CNX-PVID8x3 from the
Cresnet Control Modules | Cresnet Video Modules folder of the Device Library and
drop it in System Views. The PRO2 system tree displays the CNX-PVID8x3 in Slot
9, with a default Net ID of 41 as shown in the following illustration.
NOTE: SIMPL Windows provides three separate symbols for the CNX-PVID8x3,
each one intended for a particular system configuration. Select the appropriate one to
be placed in System Views. Refer to “CNX-PVID8x3 Symbols” on page 26 for
details about each symbol.
NOTE: The first CNX-PVID8x3 in a system is preset with a Net ID of 41 when its
symbol is dragged into the upper pane of System Views. Additional units are assigned
different Net ID numbers as they are added.
C2Net Device, Slot 9
Setting the Net ID in Device Settings
Double-click the CNX-PVID8X3 icon to open the “Device Settings” window. This
window displays the CNX-PVID8X3 device information. If necessary, select the Net
ID tab to change the unit’s Net ID, as shown in the following figure.
CNX-PVID8x3- “Device Settings” Window
NOTE: SIMPL Windows automatically changes Net ID values of a device added to a
program if a duplicate device or a device with the same default Net ID already exists in


