Operation
12 QuickScan
®
L
Scanning
To scan a bar code:
1. Install and program the scanner (See “Setting Up the Scanner” on page 6.). For
assistance, contact Technical Support.
2. Ensure all connections are secure. (See the host chapter for the scanner.)
3. Aim the scanner at the bar code.
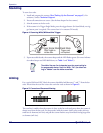
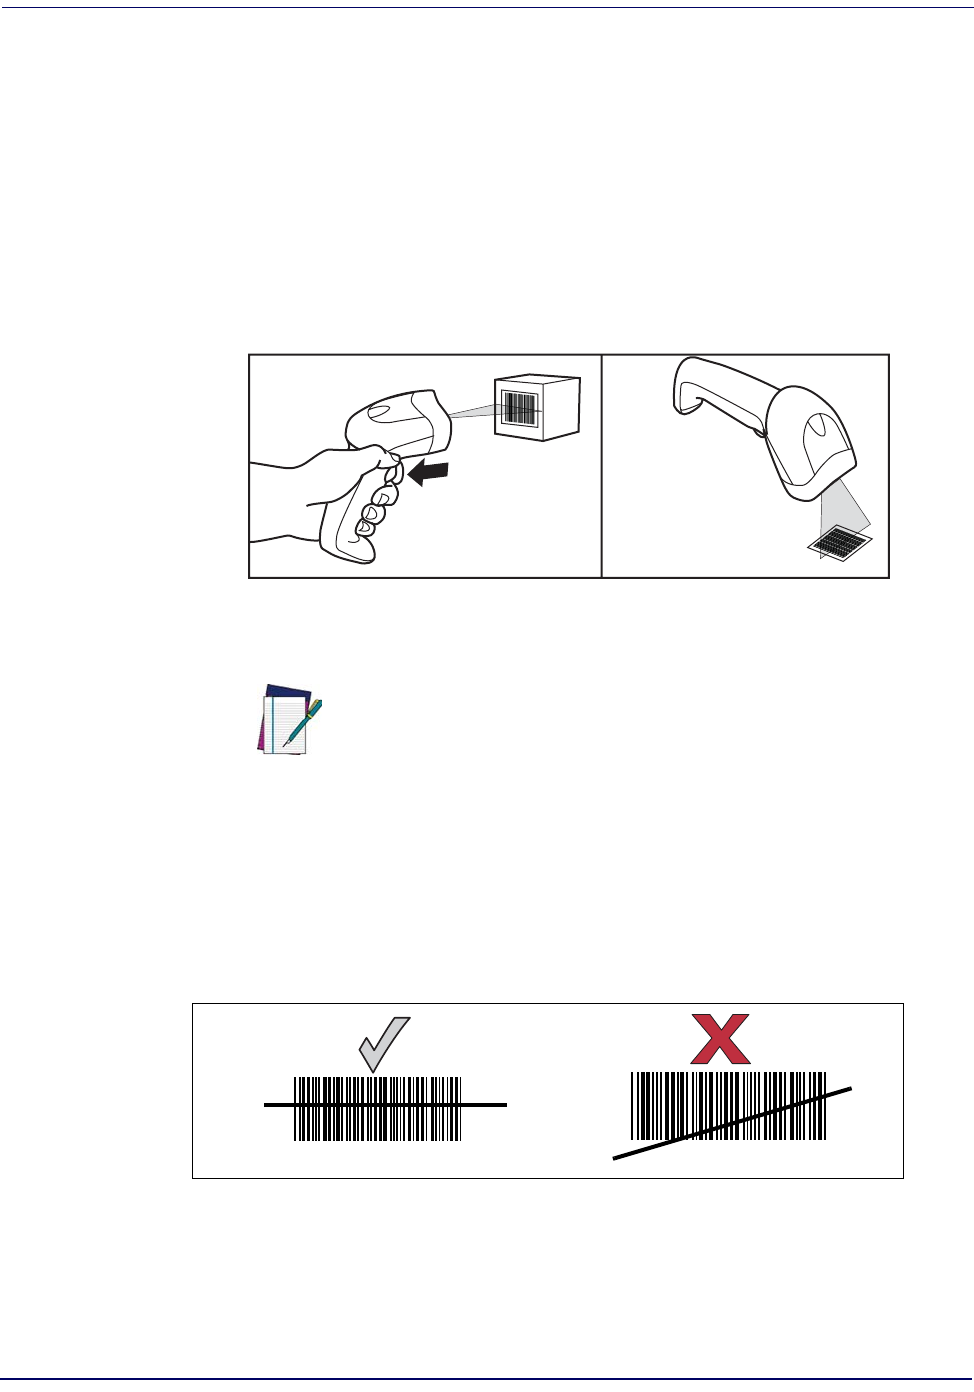
4. If the scanner is in Trigger Single Mode, press the trigger button. (In Stand Mode, no trig-
ger button press is required. The scanner laser is in constant ON mode.)
Figure 4. Scanning With/Without the Trigger
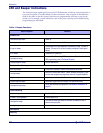
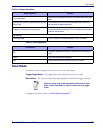
5. Upon successful decode, the scanner beeps and the LED flashes green. (For more informa-
tion about beeper and LED definitions, see Tab le 1 and Ta ble 2 .)
Aiming
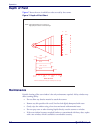
For a typical, full-sized UPC label, the scanner should be held between 1” and 7” from the bar
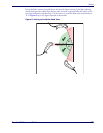
code. Ensure that the scan line crosses the entire bar code as shown in Figure 5.
Figure 5. Correct and Incorrect Aiming
The scan line is smaller when the scanner is closer to the bar code and grows when the scanner is
drawn away from the bar code. For best results, hold the scanner closer to bar codes with very
small bars or elements (mil size) and pull the scanner further away from labels having larger bars
or elements (mil size).
NOTE
The width of the scan line is dependent upon the current setting for
the programmable feature, Scan Line Width. “Full” (the default set-
ting) or “Medium” scan line widths are available.
Trigger Single Mode
Push Trigger to
initiate scan.
Trigger push
not required.
Stand Mode
012345
012345


