Installing System Components 57
• If a SAS controller card is present, attach the HDD0 cable from the SAS controller to hard drive 0
and attach the HDD1 cable to hard drive 1. See the controller card documentation for further
information.
7
Install the CD drive.
Install the CD drive if you are removing hard drive 0. See "Installing the Optical Drive" on page 51.
8
Close the system. See "Closing the System" on page 47.
Installing a SAS Controller Card
See "Installing an Expansion Card" on page 63 for general instructions about installing the controller
card. See the controller card documentation for specific information on installing and configuring the
card.
NOTICE: If your SAS controller has an external storage connector, you must install the optional PCI fan assembly
in your system to maintain the proper cooling environment. Failure to install the fan assembly could result in the
system overheating and shutting down unexpectedly. See "Installing the PCI Fan Assembly" on page 60 for
instructions on installing the PCI fan assembly.
Fan Assembly
The fan assembly contains two fans and provides cooling for the processor and memory modules.
Removing the Fan Assembly
CAUTION: Only trained service technicians are authorized to remove the system cover and access any of the
components inside the system. Before performing any procedure, see your Product Information Guide for
complete information about safety precautions, working inside the computer and protecting against electrostatic
discharge.
1
Open the system. See "Opening the System" on page 46.
2
Remove the cooling shroud. See "Removing the Cooling Shroud" on page 47.
3
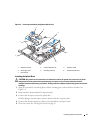
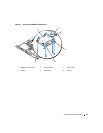
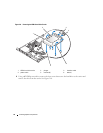
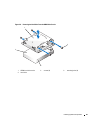
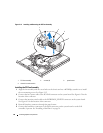
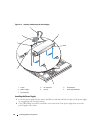
Disconnect the fan assembly’s power cable from the system board. See Figure 3-11.
4
Remove the data cable from hard drive 1 if installed. See Figure 3-11.
5
Remove the hard drive 0 power cable if installed.
6
Pull the cables out of the fan assembly’s cable tray. See Figure 3-11.
7
While pressing the two release levers on the fan assembly, lift the fan assembly off of the two securing
posts and out of the chassis. See Figure 3-11.


