Installing System Components 129
Installing an Expansion-Card Riser
CAUTION: Many repairs may only be done by a certified service technician.
You should only perform troubleshooting and simple repairs as authorized in
your product documentation, or as directed by the online or telephone service
and support team. Damage due to servicing that is not authorized by Dell is not
covered by your warranty. Read and follow the safety instructions that came
with the product.
1
Unpack the expansion-card riser and prepare it for installation.
2
Turn off the system, including any attached peripherals, and disconnect
the system from the electrical outlet.
3
Open the system. See "Opening the System" on page 89.
4
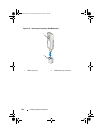
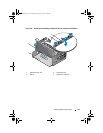
Pull the latch toward the front of the system and lift the expansion-card
panel out of the system. See Figure 3-21.
5
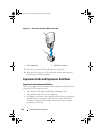
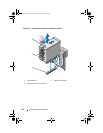
To add expansion cards on the expansion-card riser, press the tabs toward
each other and open the expansion-card latch. See Figure 3-22.
6
Holding the card by its edges, position the card so that the card-edge
connector aligns with the connector on the expansion-card riser.
7
Insert the card-edge connector firmly into the expansion-card connector
until the card is fully seated.
8
Close the expansion-card latch.
9
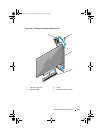
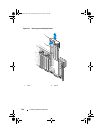
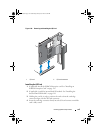
Align the expansion-card riser with the slots on the chassis.
See Figure 3-23.
10
Lower the expansion-card riser until the riser is fully seated in the
connector and the latch clicks into place. See Figure 3-23.
11
Close the system. See "Closing the System" on page 90.
12
Reconnect the system to its electrical outlet and turn the system on,
including any attached peripherals.
13
Install any device drivers required for the card as described in the
documentation for the card.
book.book Page 129 Wednesday, January 20, 2010 10:20 AM


