


Removing and Installing Parts: Dell Dimension E520 Service Manual
file:///T|/htdocs/systems/dimE520/en/SM_EN/parts.htm[10/16/2012 1:05:24 PM]
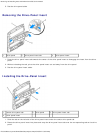
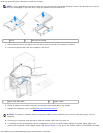
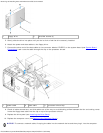
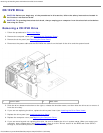
1 drive release latch 2 sliding plate 3 floppy drive
7. If you are not replacing the drive, reinstall the drive panel insert (see Installing the Drive-Panel Insert
).
8. If you are not replacing the drive, be sure to reflect these changes in system setup. When you restart your computer,
enter system setup (see System Setup), then go to the "Drives" section of the BIOS and under Diskette Drive set the
value to none.
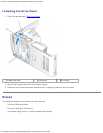
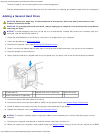
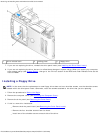
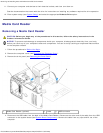
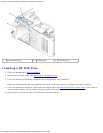
Installing a Floppy Drive
NOTE: In the event that the replacement or new floppy drive does not have shoulder screws, use the shoulder screws
located within the drive panel insert. Otherwise, reuse the screws attached to the drive that you are replacing.
1. Follow the procedures in Before You Begin
.
2. Remove the computer cover (see Removing the Computer Cover
).
3. Remove the drive panel (see Removing the Drive Panel
).
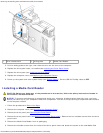
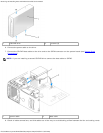
4. If this is a new drive installation:
Remove the drive panel insert (see Removing the Drive-Panel Insert).
Remove the four shoulder screws from the insert.
Install two of the shoulder screws on each side of the drive.