


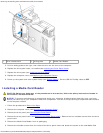


Removing and Installing Parts: Dell Dimension E520 Service Manual
file:///T|/htdocs/systems/dimE520/en/SM_EN/parts.htm[10/16/2012 1:05:24 PM]
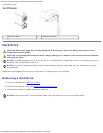
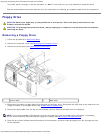
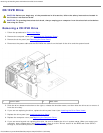
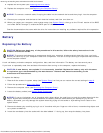
1 drive release latch 2 sliding plate 3 Media Card Reader
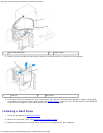
5. Pull the sliding plate to the right, then slide the drive out the front of the computer.
6. Replace the drive panel insert, as needed (see Installing the Drive-Panel Insert).
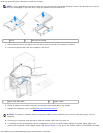
7. Replace the drive panel (see Installing the Drive Panel
).
8. Replace the computer cover (see Replacing the Computer Cover
).
9. Power up the system and enter system setup (see System Setup
). Set the USB for FlexBay value to OFF.
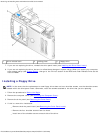
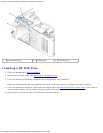
Installing a Media Card Reader
CAUTION: Before you begin any of the procedures in this section, follow the safety instructions located in
the Product Information Guide.
NOTICE: To prevent static damage to components inside your computer, discharge static electricity from your body
before you touch any of your computer's electronic components. You can do so by touching an unpainted metal surface
on the computer chassis.
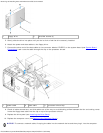
1. Follow the procedures in Before You Begin
.
2. Remove the computer cover (see Removing the Computer Cover
).
3. Remove the drive panel (see Removing the Drive Panel
).
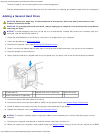
4. Remove the drive panel insert (see Removing the Drive-Panel Insert
). Remove the four shoulder screws from the drive
panel insert.
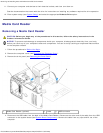
5. Remove the Media Card Reader from its packaging.
6. Remove the shoulder screws from the inside of the drive-panel insert and attach the screws to the new Media Card