


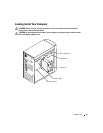


Adding Parts 65
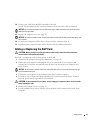
9
Unpack the additional hard drive.
10
Check the jumper setting on the back of the second drive.
Ensure that the jumper setting on the new device is set for "cable select" (see the
documentation that came with the drive for information).
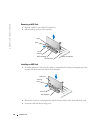
11
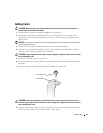
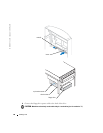
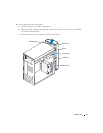
Install the additional hard drive:
a
Insert hard-drive securing screws.
b
Place the two bracket tabs into the drive slots inside the computer’s front panel.
c
Swing the bracket forward so that it is flush with the computer’s front panel.
d
Replace the bracket-securing screws.
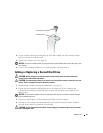
12
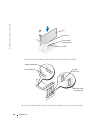
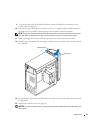
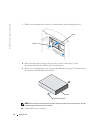
Reinstall the existing hard drive into the computer.
CAUTION: Match the colored strip on the cable with pin 1 on the drive (pin 1 is marked as "1").
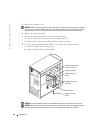
13
Connect the power and data cables to the back of the drives.
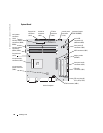
front computer frame
bracket tabs (2)
drive slots (2)
drive bracket
bracket-securing
screw
bracket-securing
screw
second hard drive