


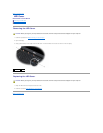


2. Grasp the module at the side edges and pull it straight away from the connector. Place the module into anti-static packaging such as an anti- static bag.
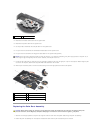
DIMM A
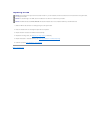
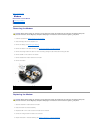
1. To remove the DIMM A module, spread away the retaining clips from the side edges of the memory module and lift the free edge of the module so that it
sits at about a 30-degree angle to the system board.
2. Grasp the module at the side edges and pull it straight away from the connector. Place the module into anti-static packaging such as an anti- static bag.
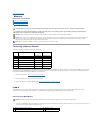
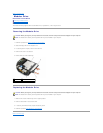
Replacing a Memory Module
DIMM A
The DIMM A socket is the one closest to the system board. If a memory module is installed in the DIMM B socket, it must be removed before a memory module
in the DIMM A socket can be replaced.
1. Ground yourself by touching a bare-metal part in the computer chassis.
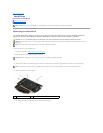
2. Remove the memory module from its anti-static packaging and, grasping the module at the side edges, align the slot in the module edge connector with
the key in the DIMM A socket connector.
3. Slide the memory module into the socket connector at a 30-degree angle to the system board until it is fully seated.
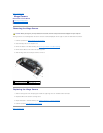
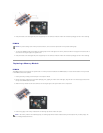
4. Push the long edge of the memory module down until retaining clips lock the module into place.
NOTICE: To prevent damage to the memory module connector, do not use tools to spread the memory-module retaining clips.
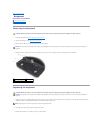
NOTE: If the memory module is not installed properly, the retaining clips will not hold the module securely and the computer may not boot properly. No
error message indicates this failure.