47
Chapter 2. Getting Started the BHT and System Mode
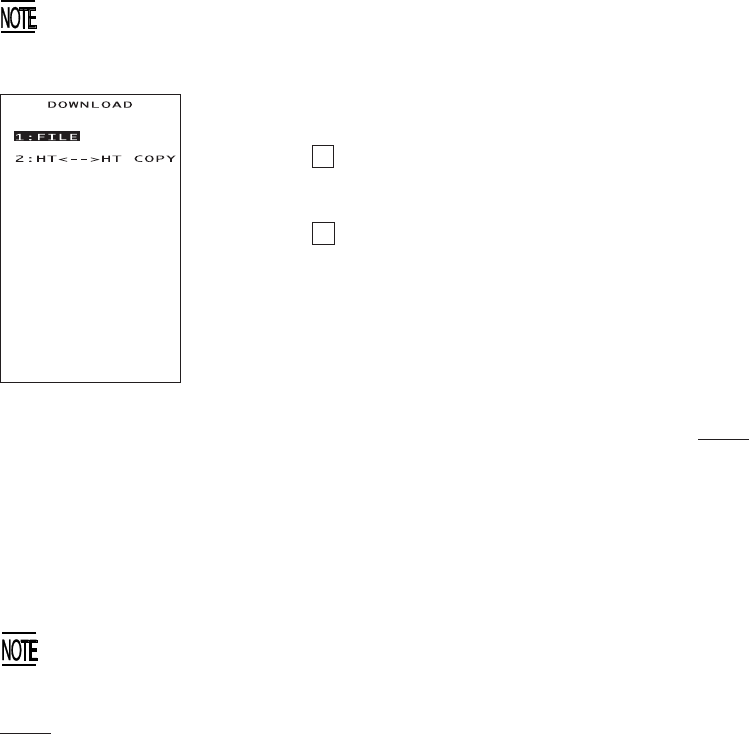
Selecting "2: DOWNLOAD" on the SYSTEM MENU
calls up the screen shown at left.
1 FILE : Downloads a user program
file or data file to the user
area of the BHT.
2 HT<-->HT COPY : Downloads all of the files,
system parameters, and cal-
endar clock data stored in
the connected BHT.
This function enables copy-
ing between the BHTs.
For the preparation to be
made preceding the start of
this function, refer to
NOTE
below.
Select a desired item by using the numerical keys
or M1 and M2 keys, and the selected item be-
comes highlighted. Then press the ENT key.
To return to the SYSTEM MENU, press the C key.
[ 2 ] Downloading
If you download a file having the same name as one already used in the user area of
the target memory in the BHT, the newly downloaded file replaces the old one.
NOTE Preparation for Copying between the BHTs
Before downloading to the BHT from another BHT, make the following prepa-
ration:
•
At each BHT, set the interface port. The default is an optical interface
(Optical).
Interface setting procedure: Starting on the SYSTEM MENU, select "4:SET
SYSTEM," "5:COM," and "3:COM PORT." On the SET COM PORT screen,
select the optical interface (Optical) or direct-connect interface (Connector)
of "2:SYSTEM MODE."
• When using the direct-connect interface, pull out the connector cover on
each BHT to expose the direct-connect interface port. Connect the BHTs via
those ports with the direct-connect interface cable (having 3-pole mini stereo
plugs). For the details about the cable, refer to Chapter 3, Section 3.2.
• On the uploading BHT, run System Mode and select "3:UPLOAD" and "3:HT<-
->HT COPY."
Carrying out "2:HT<-->HT COPY" will not copy the JIS1 and JIS2 font files.
Those font files may be downloaded by "1:FILE."


