


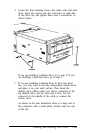

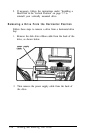
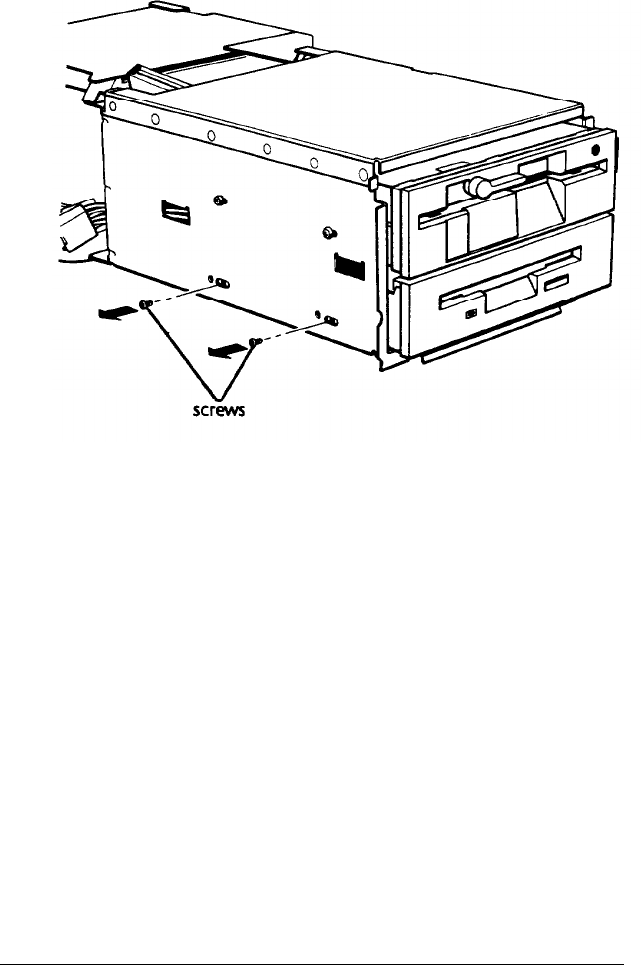
3.
Remove the screws securing the drive to the drive bay.
There are two screws on each side.
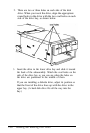
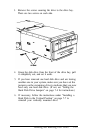
4.
Grasp the disk drive from the front of the drive bay, pull
it completely out, and set it aside.
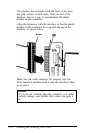
5.
If you have removed one hard disk drive and are leaving
another one in your system, make sure you have set the
jumpers on the remaining drive to indicate that you now
have only one hard disk drive. (If not, see “Setting the
Hard Disk Drive Jumpers” on page 7-4 for instructions.)
6.
If necessary, follow the instructions under “Installing a
Hard Disk in the Vertical Position” on page 7-7 to
reinstall your vertically mounted drive.
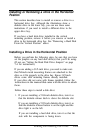
Installing and Removing Disk Drives
7-27