


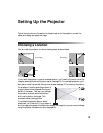


18 Displaying and Adjusting the Image
Displaying and Adjusting the Image
Make sure your video or computer equipment is turned on, then turn on the projector as
described on page 21. If necessary, select the correct source to display the image (see page 22).
Note: If you turn on the connected equipment before starting the projector, the projector
automatically detects and displays the image. If you turn on the projector first, or have multiple
pieces of connected equipment, you may have to select the source manually.
If an image does not appear, check the troubleshooting tips on page 61.
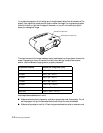
Focusing and Zooming the Image
Follow the steps below to adjust the sharpness or size of the image.
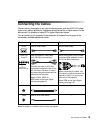
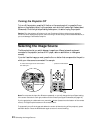
Note: Before starting, you may want to display a test pattern to facilitate adjustment. Press the
Pattern button on the remote control, then select Cross-hatching.
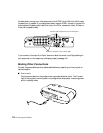
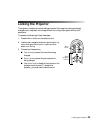
1. Press the Focus or Zoom button on the projector or remote control.
You see this screen:
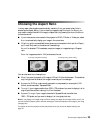
2. Use the arrow buttons to adjust the image.
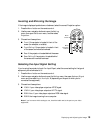
Note: If you use the remote control, you can stand close to the screen while focusing the
image. This lets you adjust the picture more precisely.
3. Press ESC when done.