


Setting Up Your Computer 43
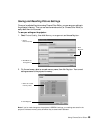
Connecting With a Serial or USB Cable
If you want to connect to your computer using a serial (RS-232C) or USB cable, follow the
steps below. To connect using a network cable, see page 44.
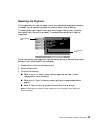
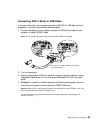
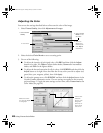
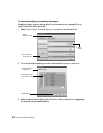
1. Connect the projector to your computer using either a USB cable (included with your
projector) or a serial (RS-232C) cable.
Note: You can use any standard (commercially available) USB or serial cable.
2. Turn on the projector.
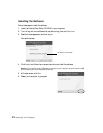
3. Make sure the projector’s COM Port setting is correct for the type of cable you’re using
(see page 38). Select either
USB (if you’re using a USB cable) or RS-232C (for a serial
cable).
4. Windows: If you see a Found New Hardware or Add New Hardware screen, follow the
instructions on the screen to finish installing the EPSON USB driver.
Caution: Make sure you have already installed all the software from the CD-ROM. If not, click
Cancel and follow the instructions on page 42 first.
If you see a screen saying that the software has not passed Windows Logo testing, click
Continue anyway.
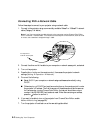
Connect either a USB or RS-232C (serial) cable;
do not connect both